That’s why I like your work, you tell straight. You are right, I could wait and see, but I would lose the KS price advantage. Waiting might be the better option anyway.
I consider the printer because it is fast and still seems to produce quality prints. I just have the feeling that the proprietary nozzle was not necessary. I have a printer with proprietary software and tool head and it is very limiting. Materials and ideas evolve.
Sorry for pushing you but printing more demanding filaments is what I could not find anywhere else. Most reviewers take an easy route but you are known to me for quality, knowledge and experience.
Keep it up, I love your work
3 Likes
No offense taken ![]()
If you ask me, after using the printer for a short while is that it’s worth every penny. But right now it needs time for software development. And this will surely take more than a month while it’s “cooking” in the Kickstarter campaign.
But don’t forget about the Kickstarter message in the first post.
To be honest, I am considering trying my luck in buying the cheapest option via Kickstarter, just so I can compare it with the Carbon.
2 Likes
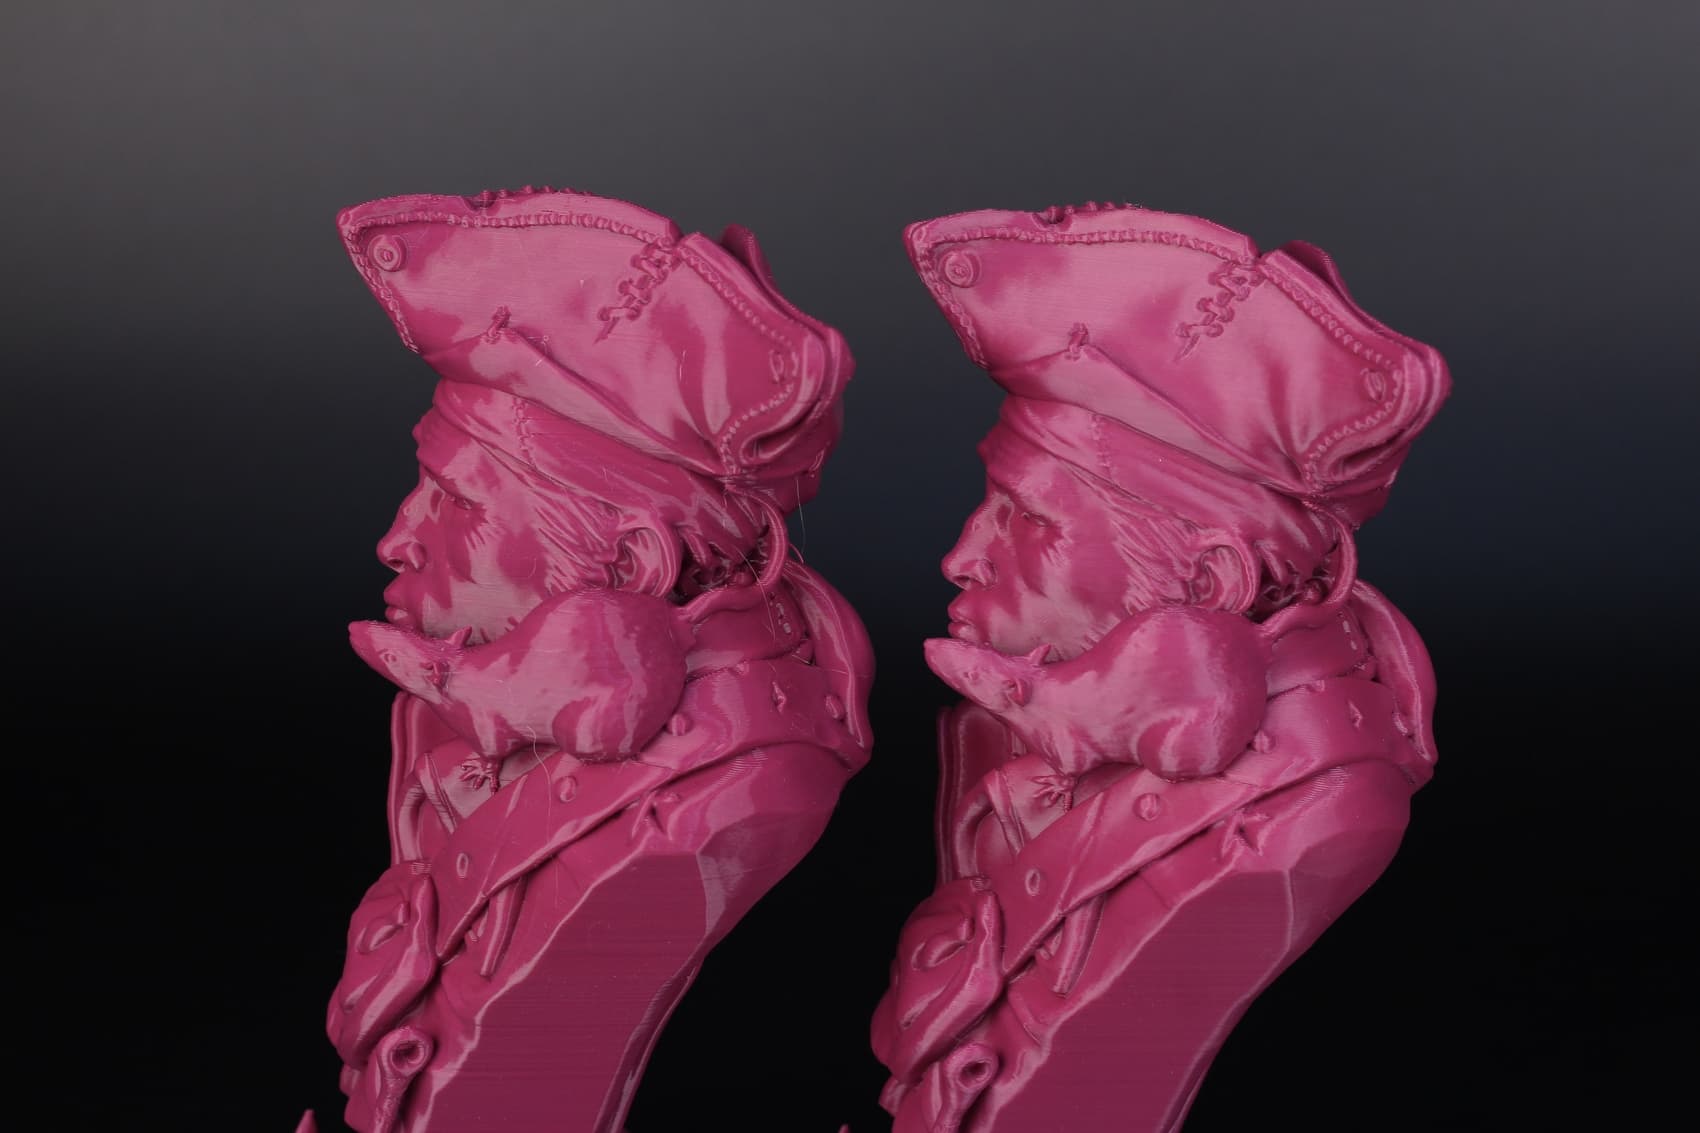
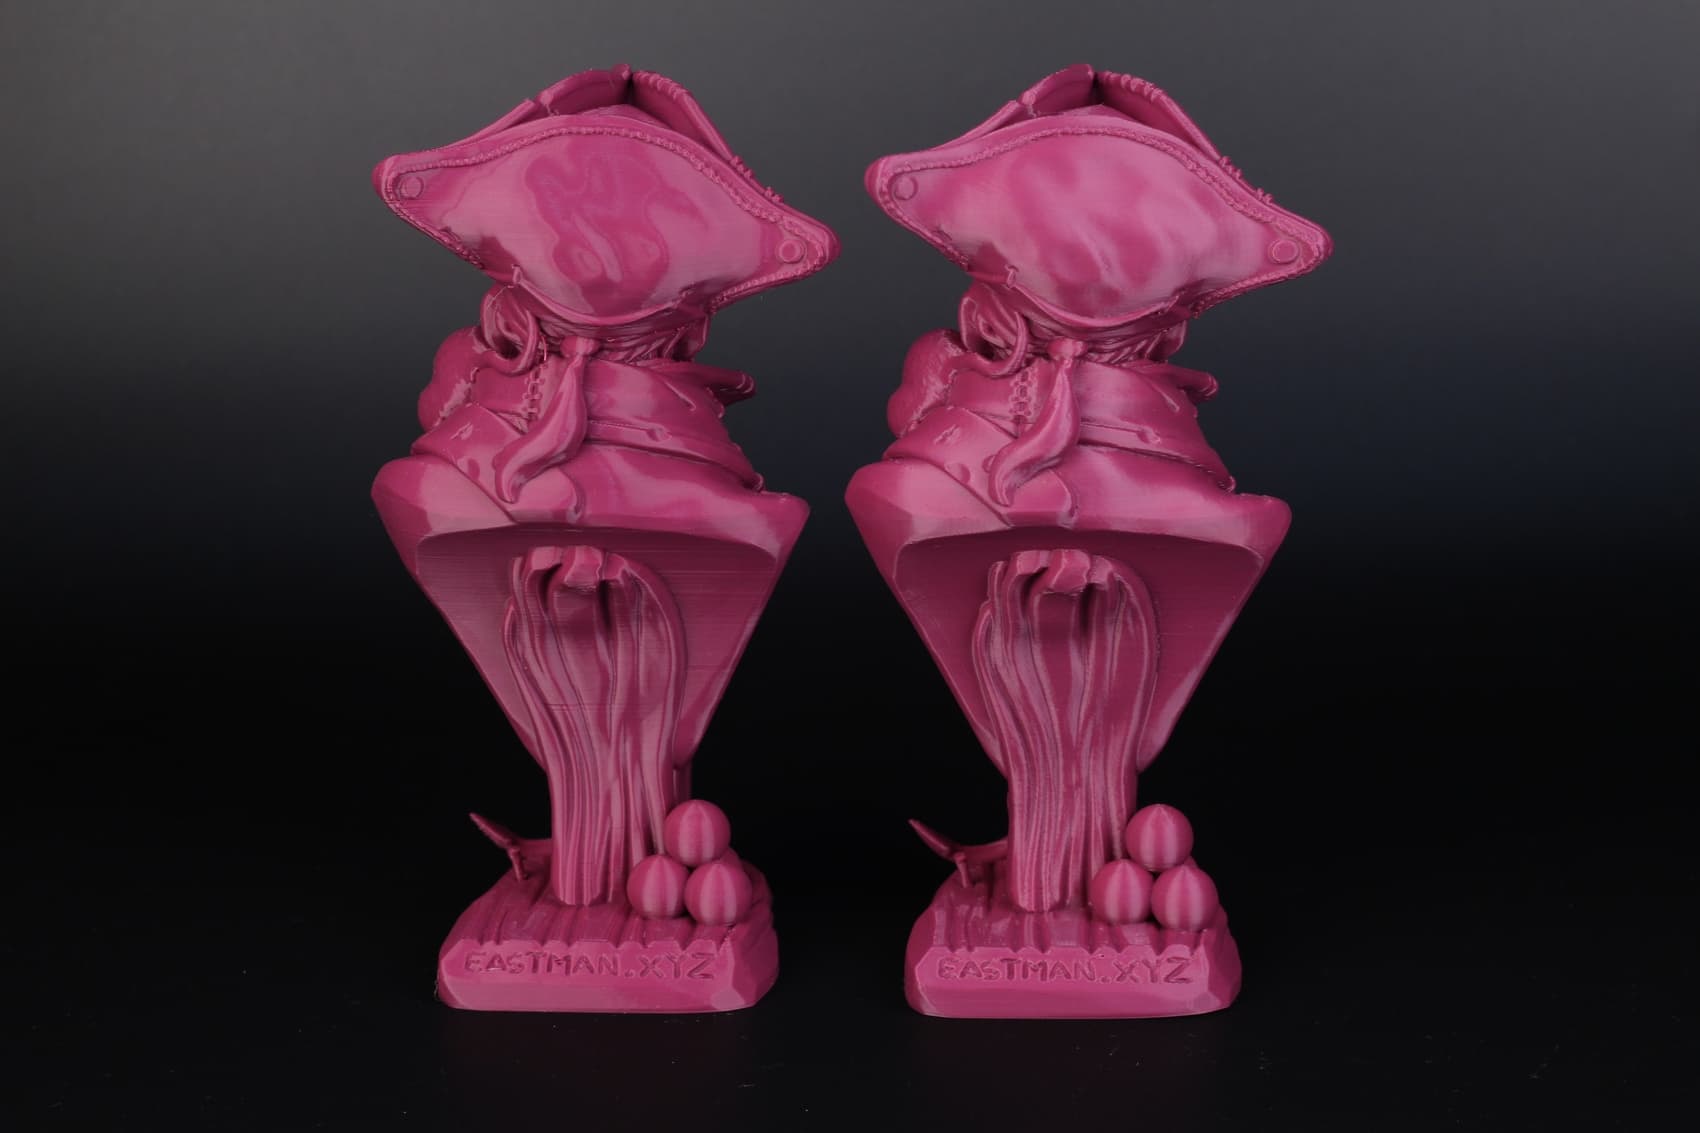
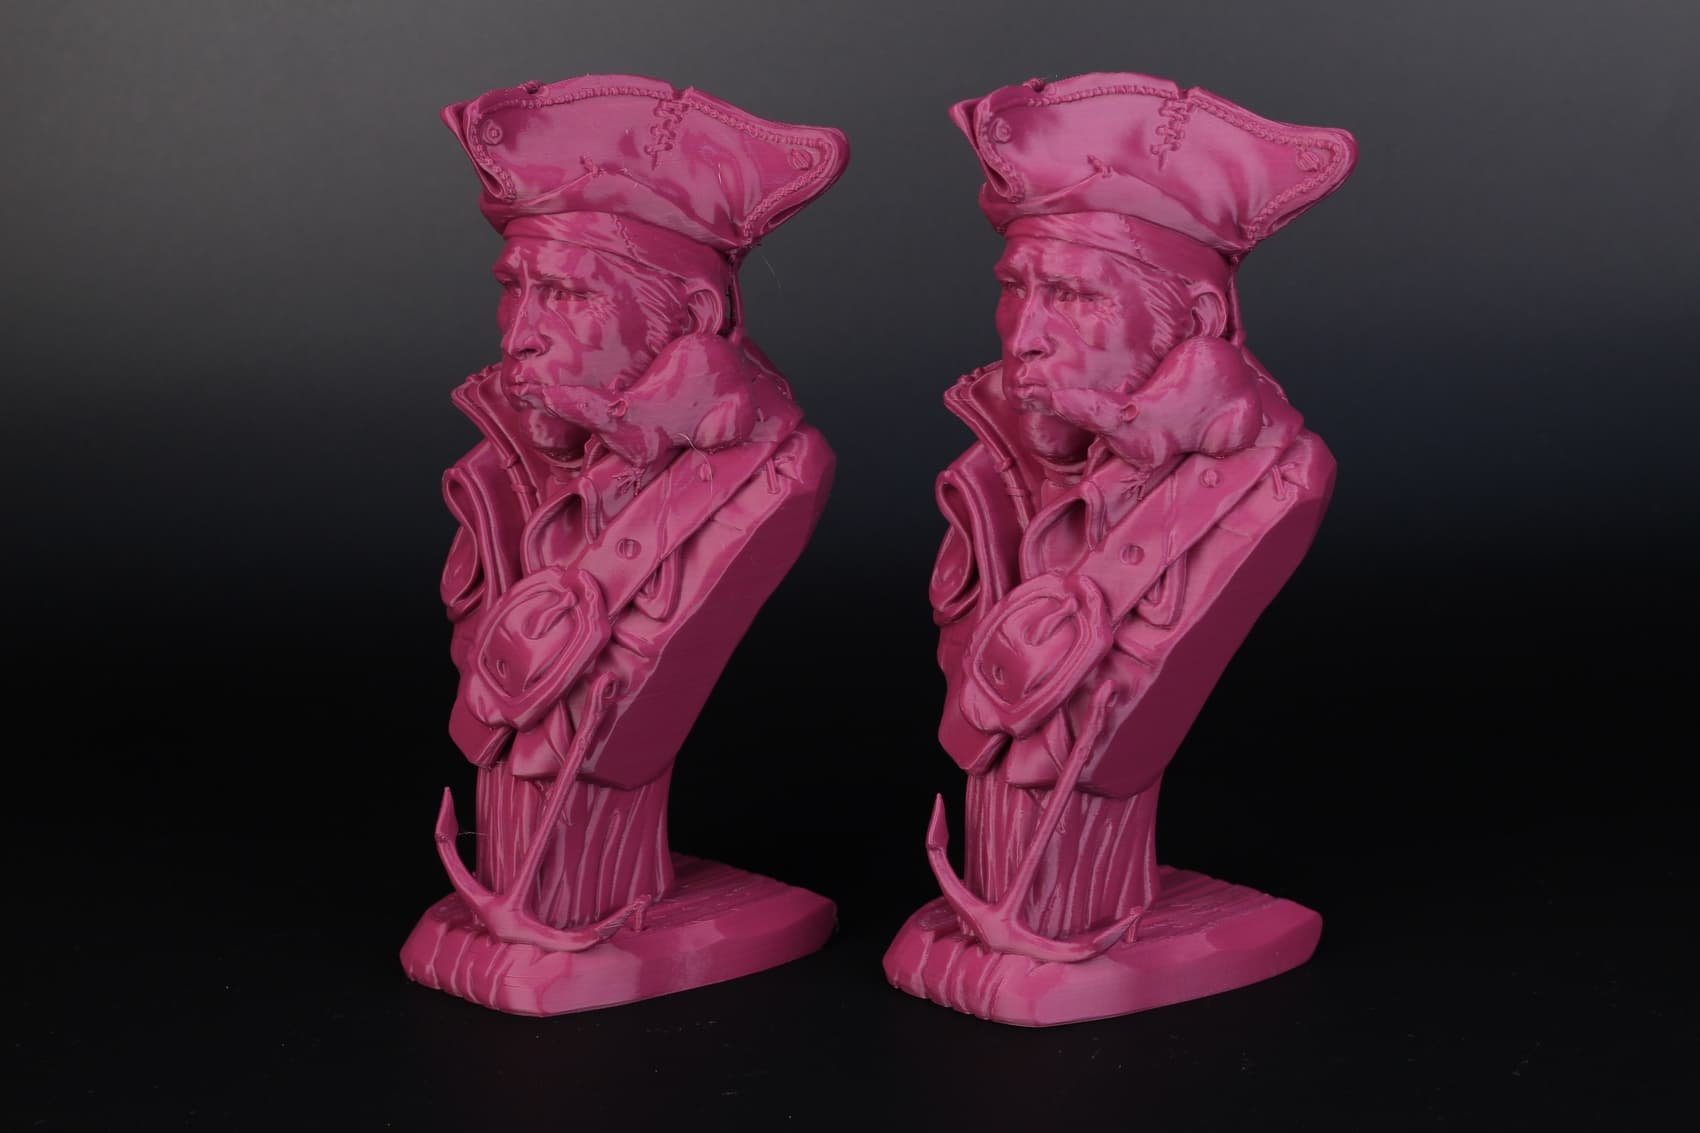
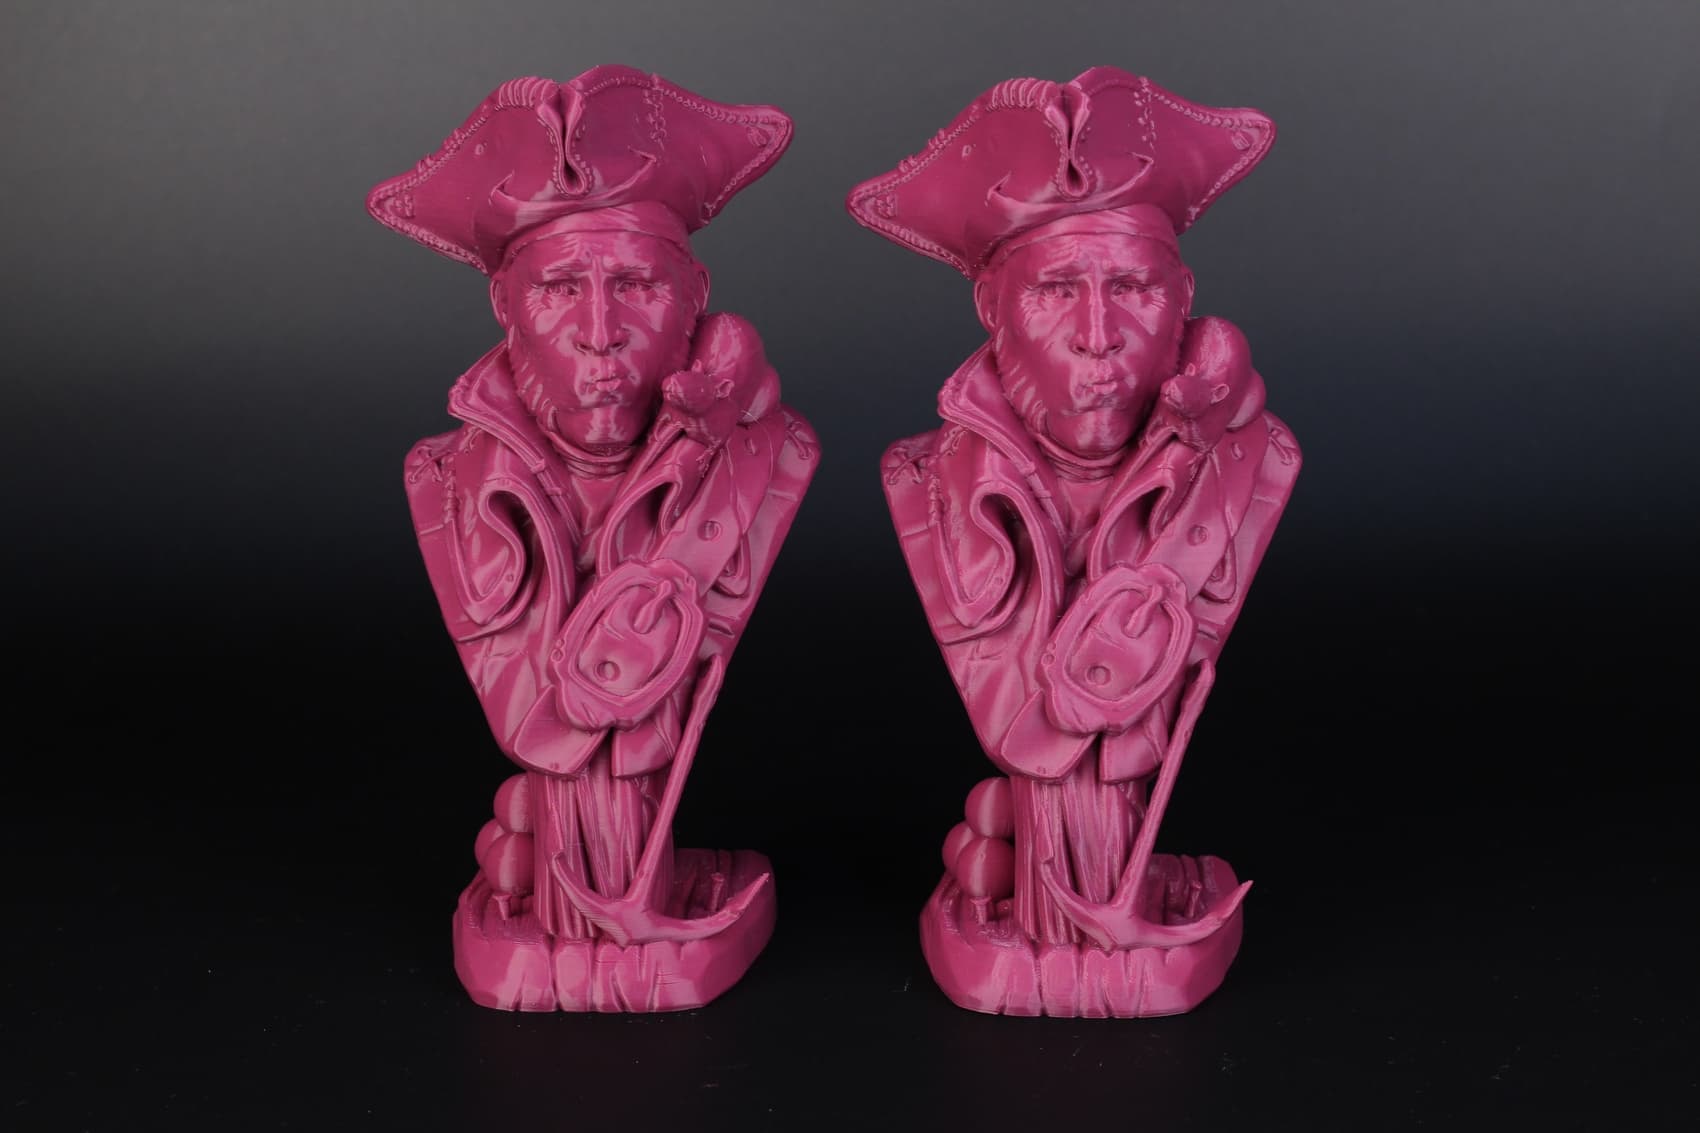
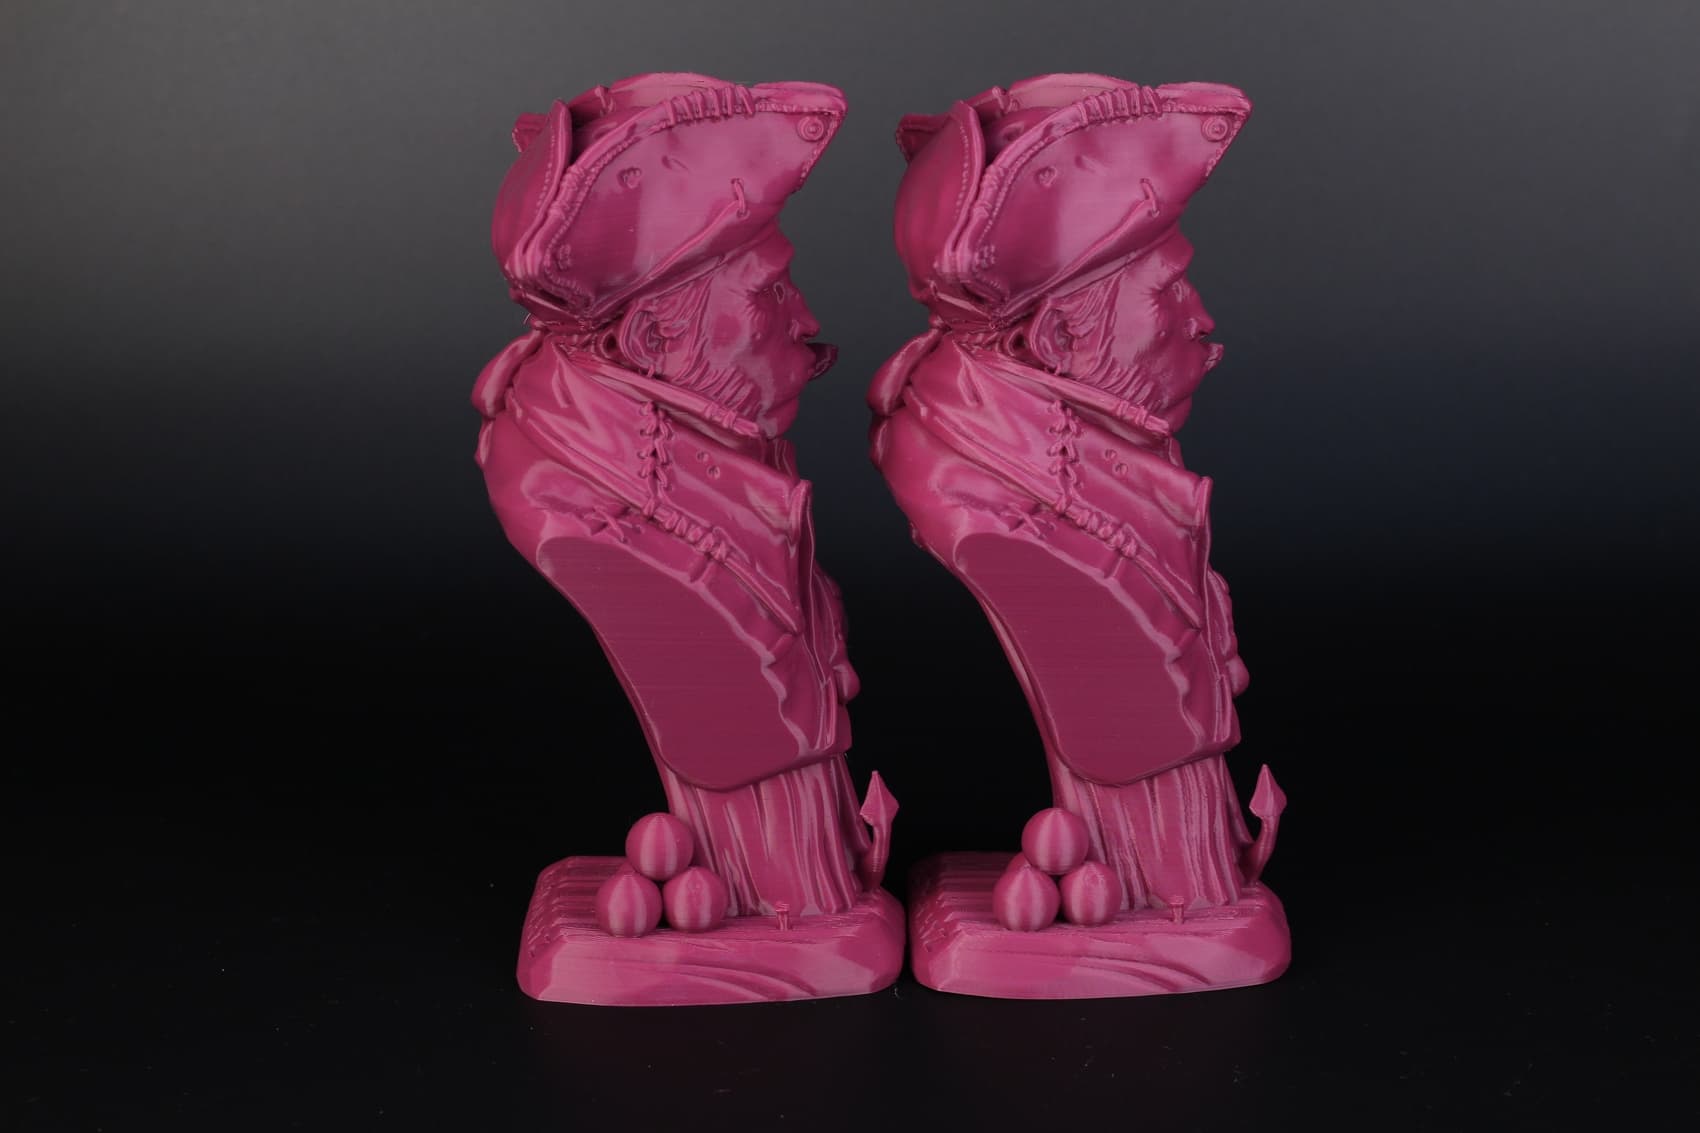
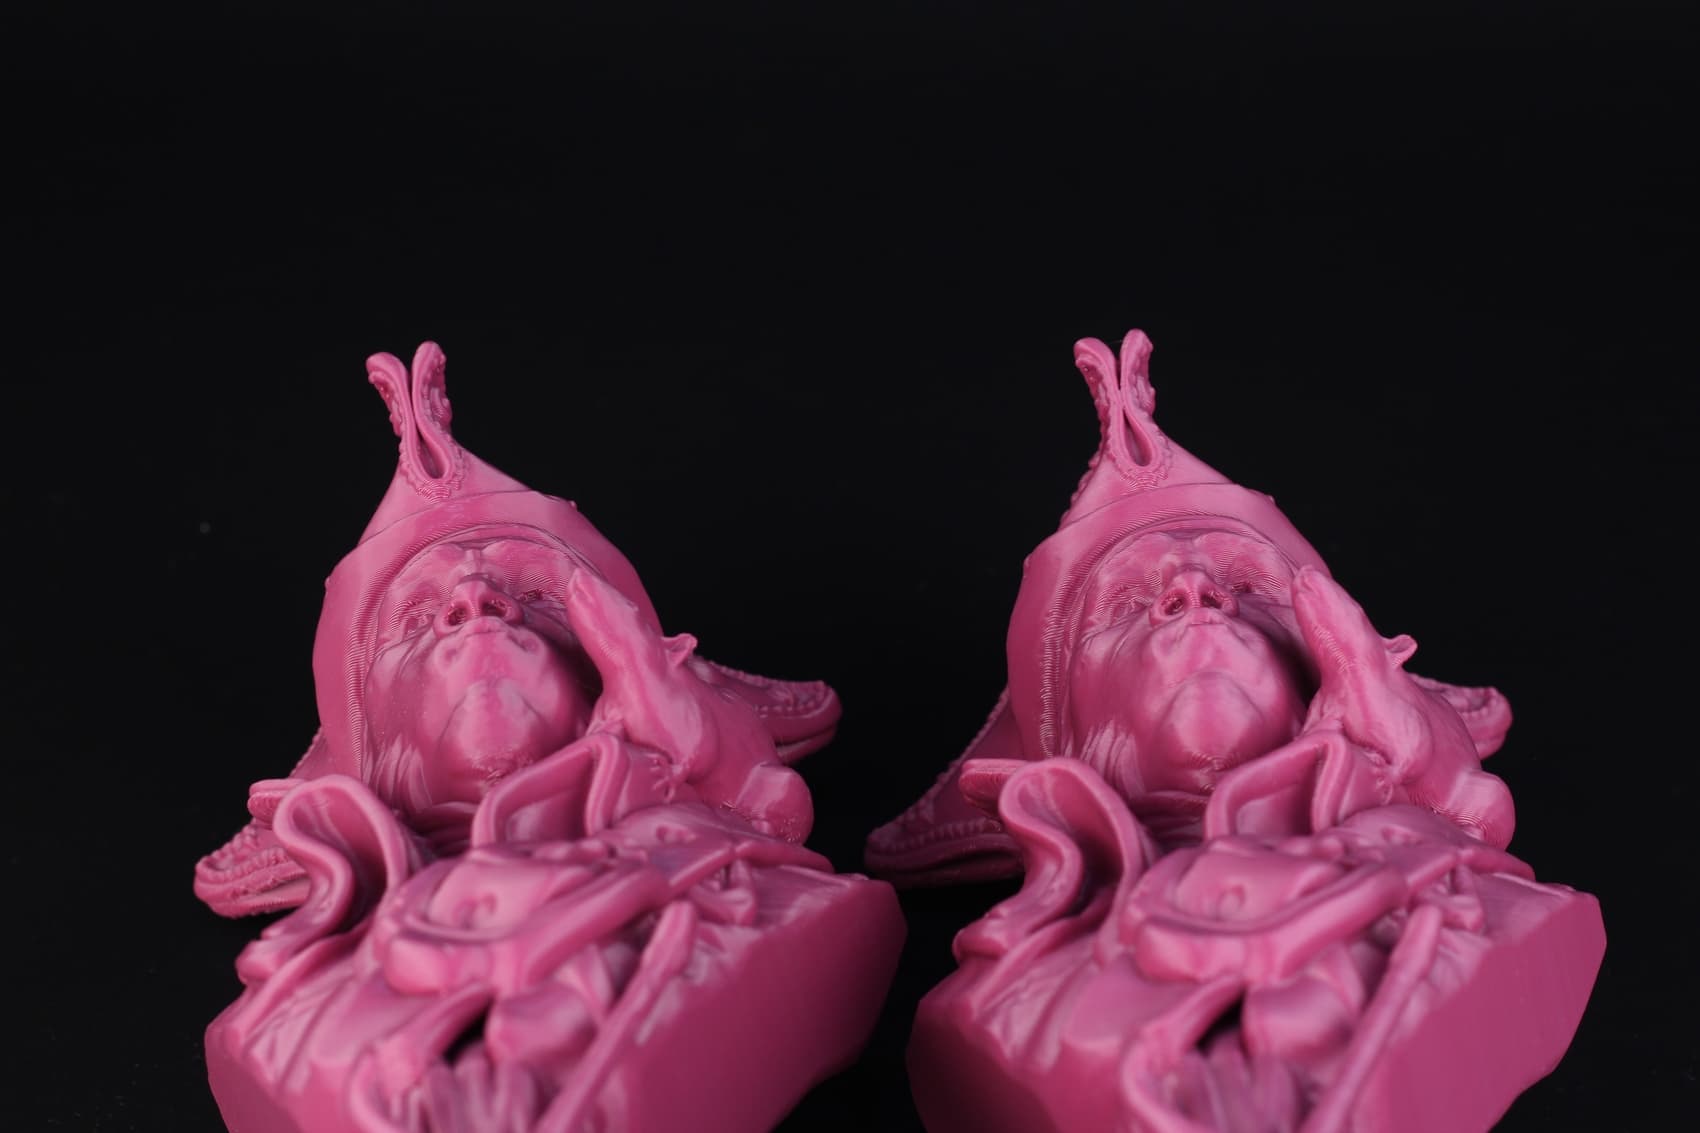
I used eastman’s “Pirate and His Rat” bust as a comparison test print. One of the models is printed in ~6 hours while the other one was printed in ~27 hours.
Same settings - 0.16 mm layer height, 10% infill, 2 walls.
Printed on SnapmakerA350T and BambulabGlobal X1-Carbon.

2 Likes
It seems the left one got a little bit of stringing at some point and also a little bit under extrution
So I guess that one is the x1 carbon
But the quality is still amazing if you see the quality on that speed
If it is the right one … then it’s just perfect
Greetings from PowerChaos
One of the is a bit shinier. That’s printed on the A350T
It’s also the one that has some under extrusion.
The one printed on the X1-Carbon is almost flawless.
2 Likes
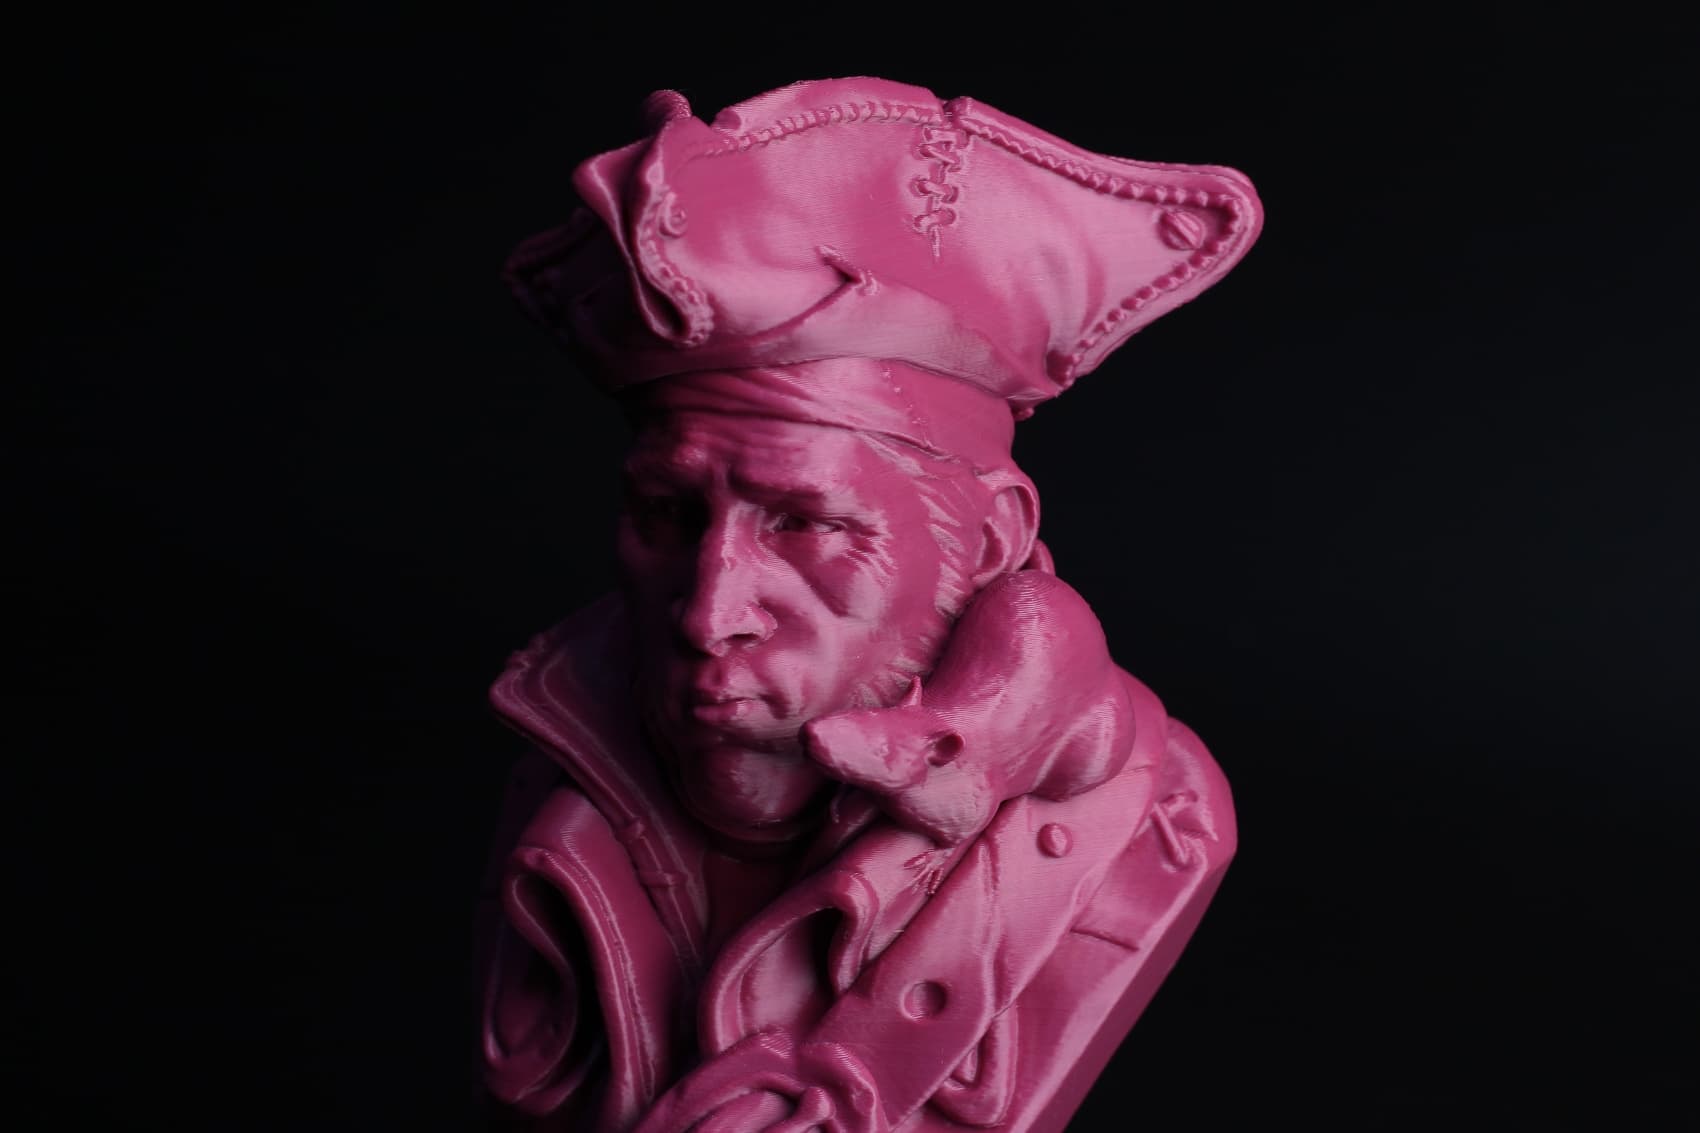
i saw one more minor thing if you really want to point something out
if you look at the mouse his chin , then you see some marks , the snapmaker has it smooth
but because it is 4 times as fast i guess thats just a minor thing
it still amazes me the quality it provide on that speed ![]()
AMS filament change system in action

4 Likes
How much work is it to change filament without the AMS? Would you recommend getting the AMS even if you won’t do much multi-material prints? Just for convenience of quickly swapping between colors.
Without the AMS filament gets loaded onto the back of the printer and input into a Bowden tube. Still very easy but you’d have to be able to access the back of the printer. The AMS allows for front loading, which in most cases will be easier to access.
3 Likes
The AMS can be also used as a partial dry-box, and if I remember correctly they also mentioned a feature of using multiple spools for auto filament change when one of the spools runs out.
1 Like
That is one of the things that I wish they already had working. I worry that depending on where the run out sensor is that there wouldnt be enough filament left in the filament path that it could be backed out to have a new roll automatically loaded in. (if that makes sense) I have a bad habit of weighing near empty rolls and cutting it a little too close trying to use them up. Having it so it automatically would load a new roll would mean little to no more waisted rolls of filament… or in the rare case a failed print because I use octoprint and dont have my filament running through my runout sensor anymore lol.
This printer looks pretty good, especially for the price. I couldn’t build a better one (or even a similar one) for that money. My only concern is the z-axis… is there any banding or wobble? How is the surface finish of smooth vertical walls? Since it’s using lead screws, there’s always a risk of banding or wobble, unless the z carriages are somehow decoupled? Could you please shine your light on this? Thank you. Also, since all three z motors are locked together, there is no z leveling (need mesh bed leveling) how is the flatness of the bed? Do you need to level it with screws? If it’s skewed in any way, mesh bed leveling will compensate, but you lose dimensional accuracy because the bed is no longer perpendicular to the printing plane right?
There’s no issue with the Z axis. It works as it should.
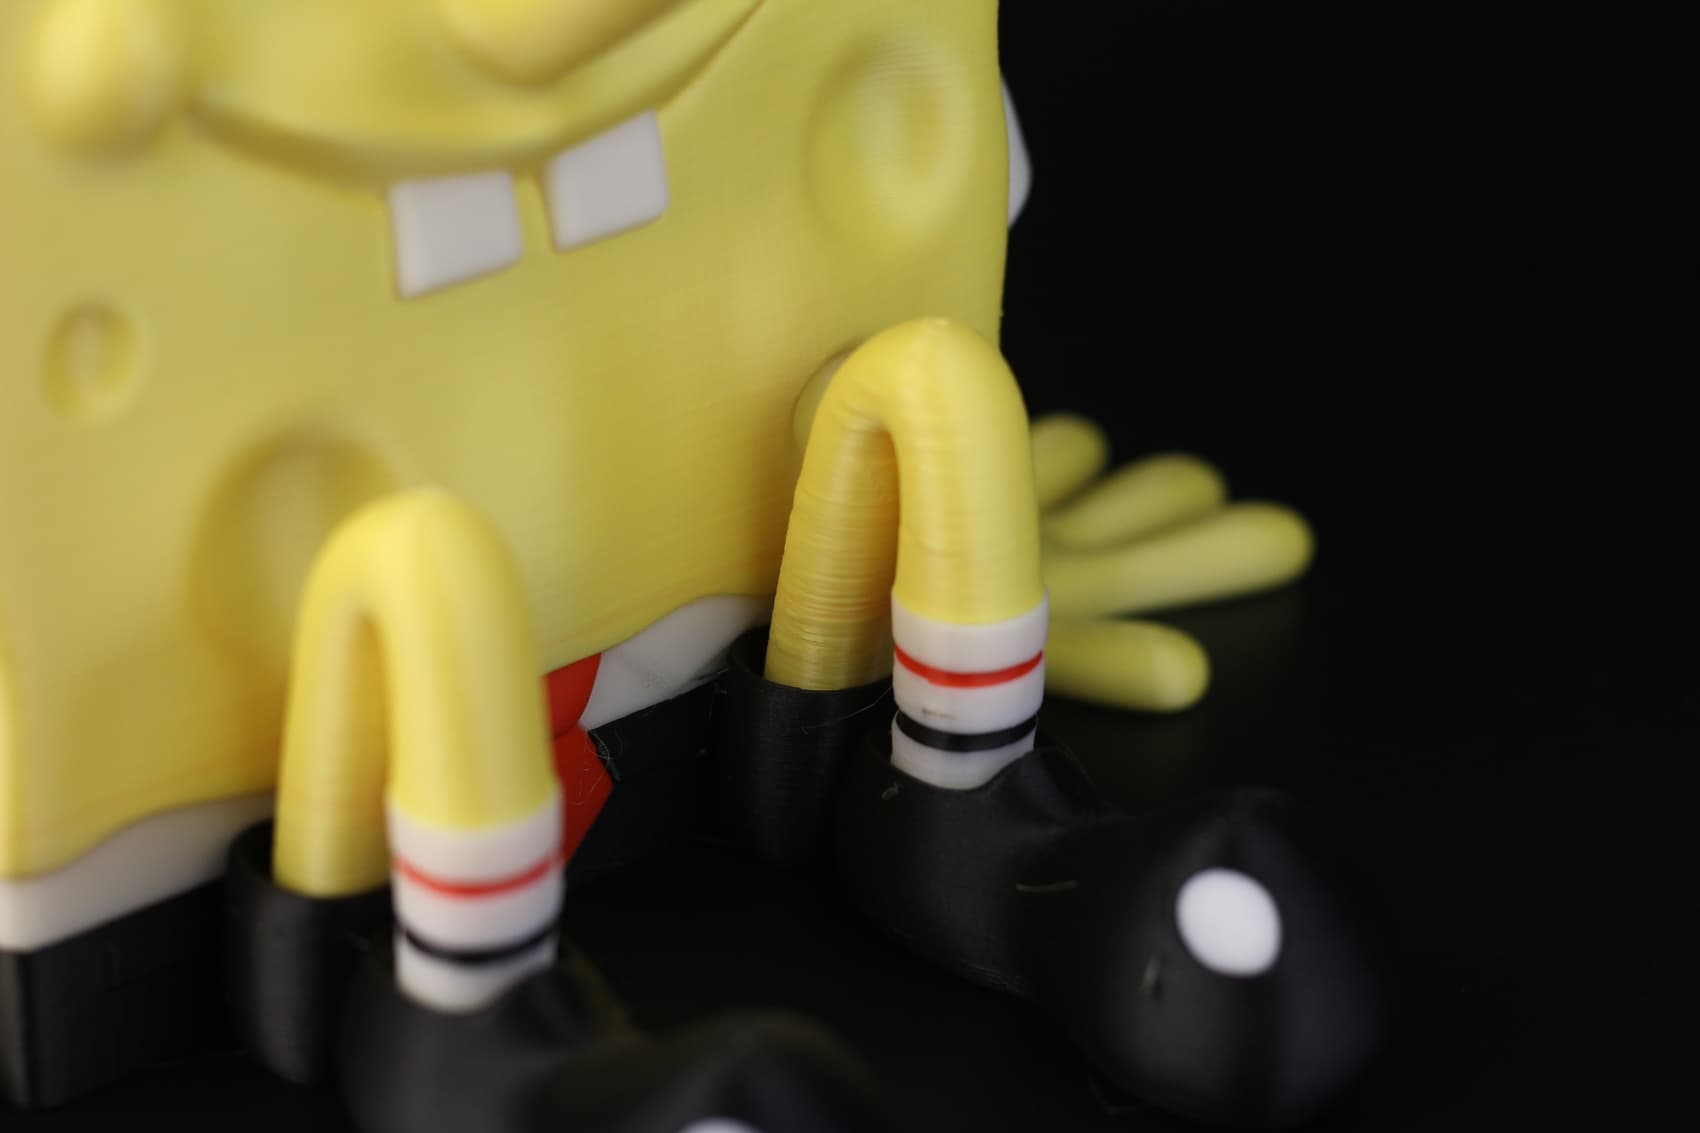
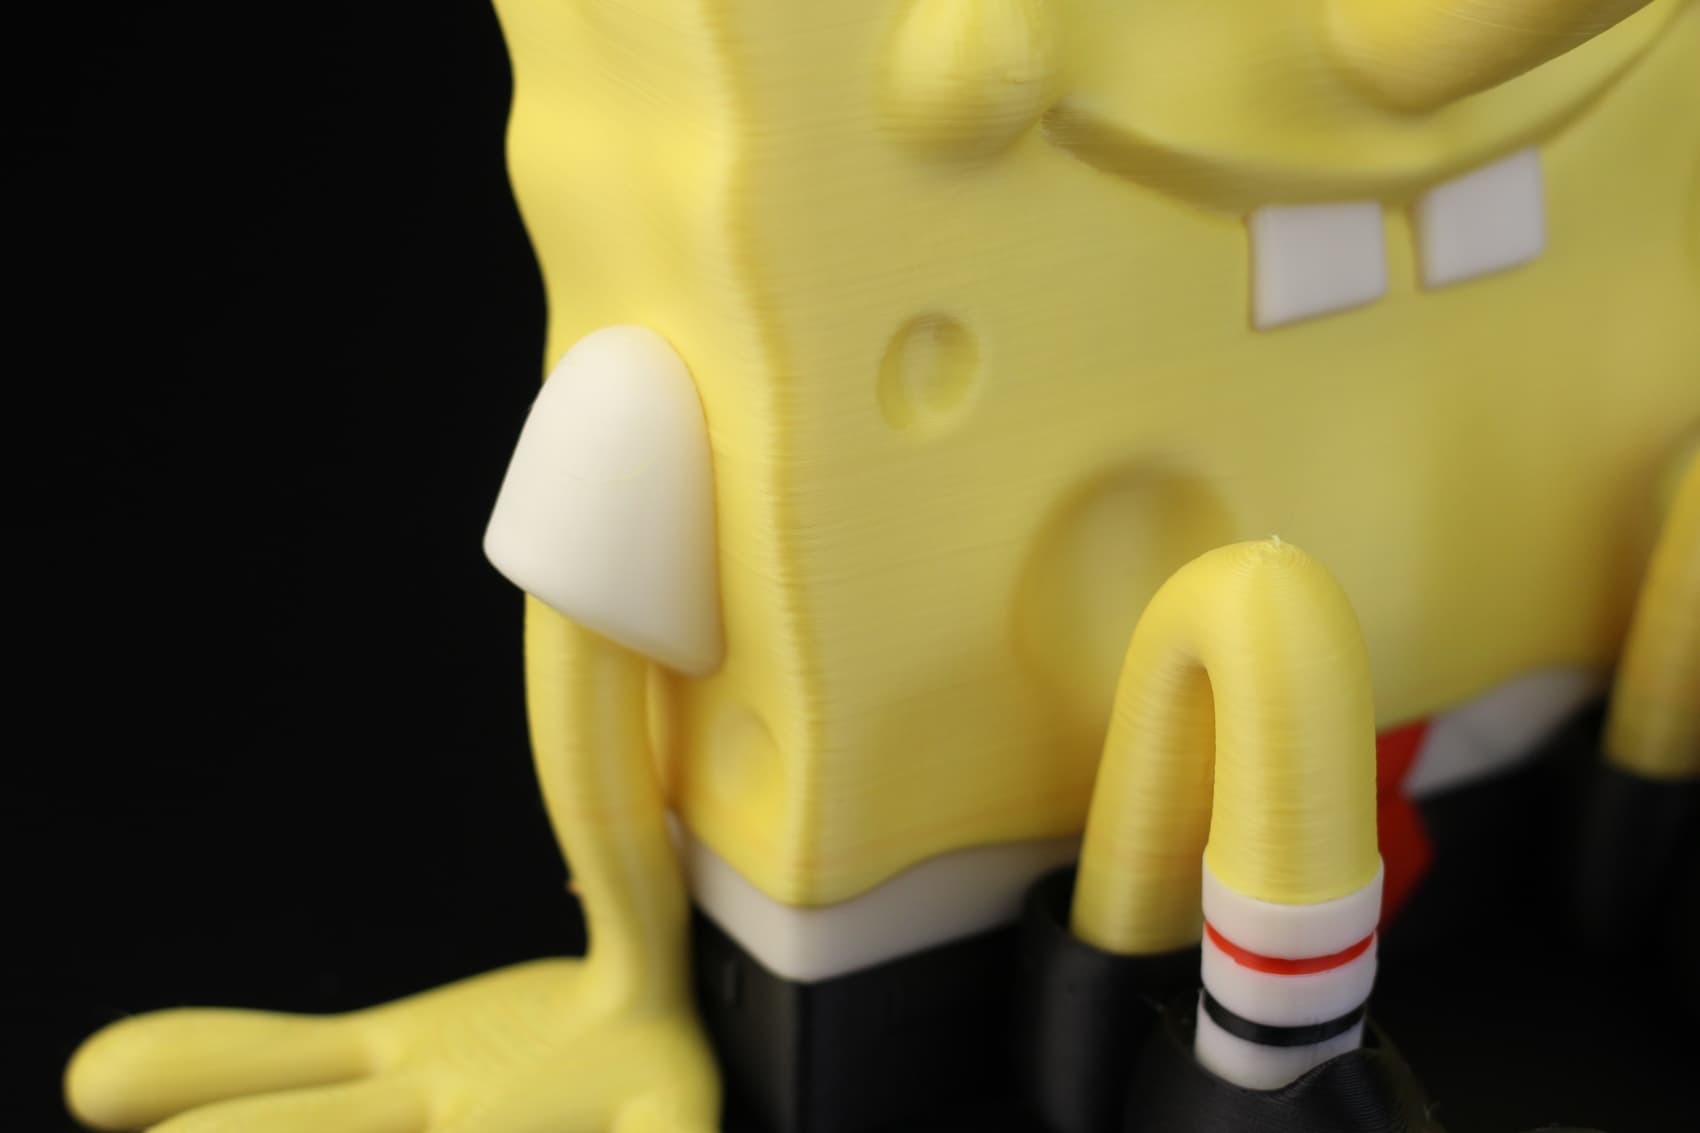
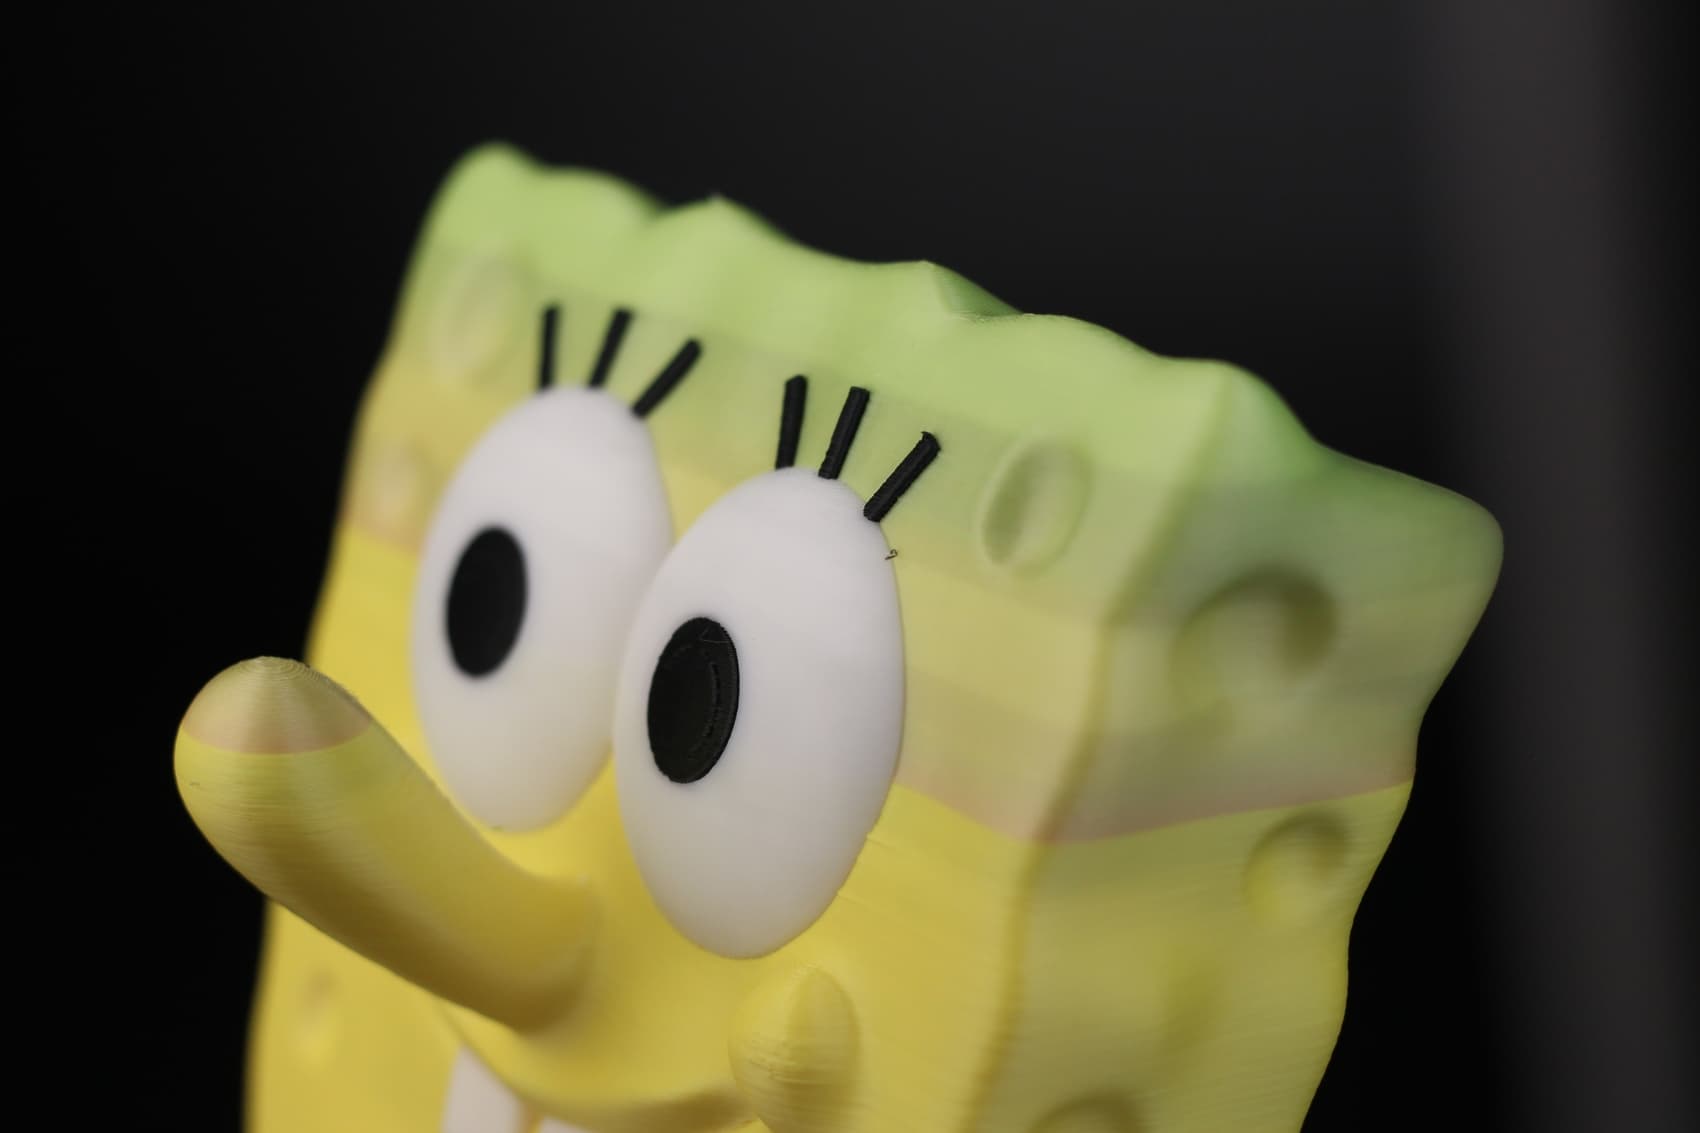
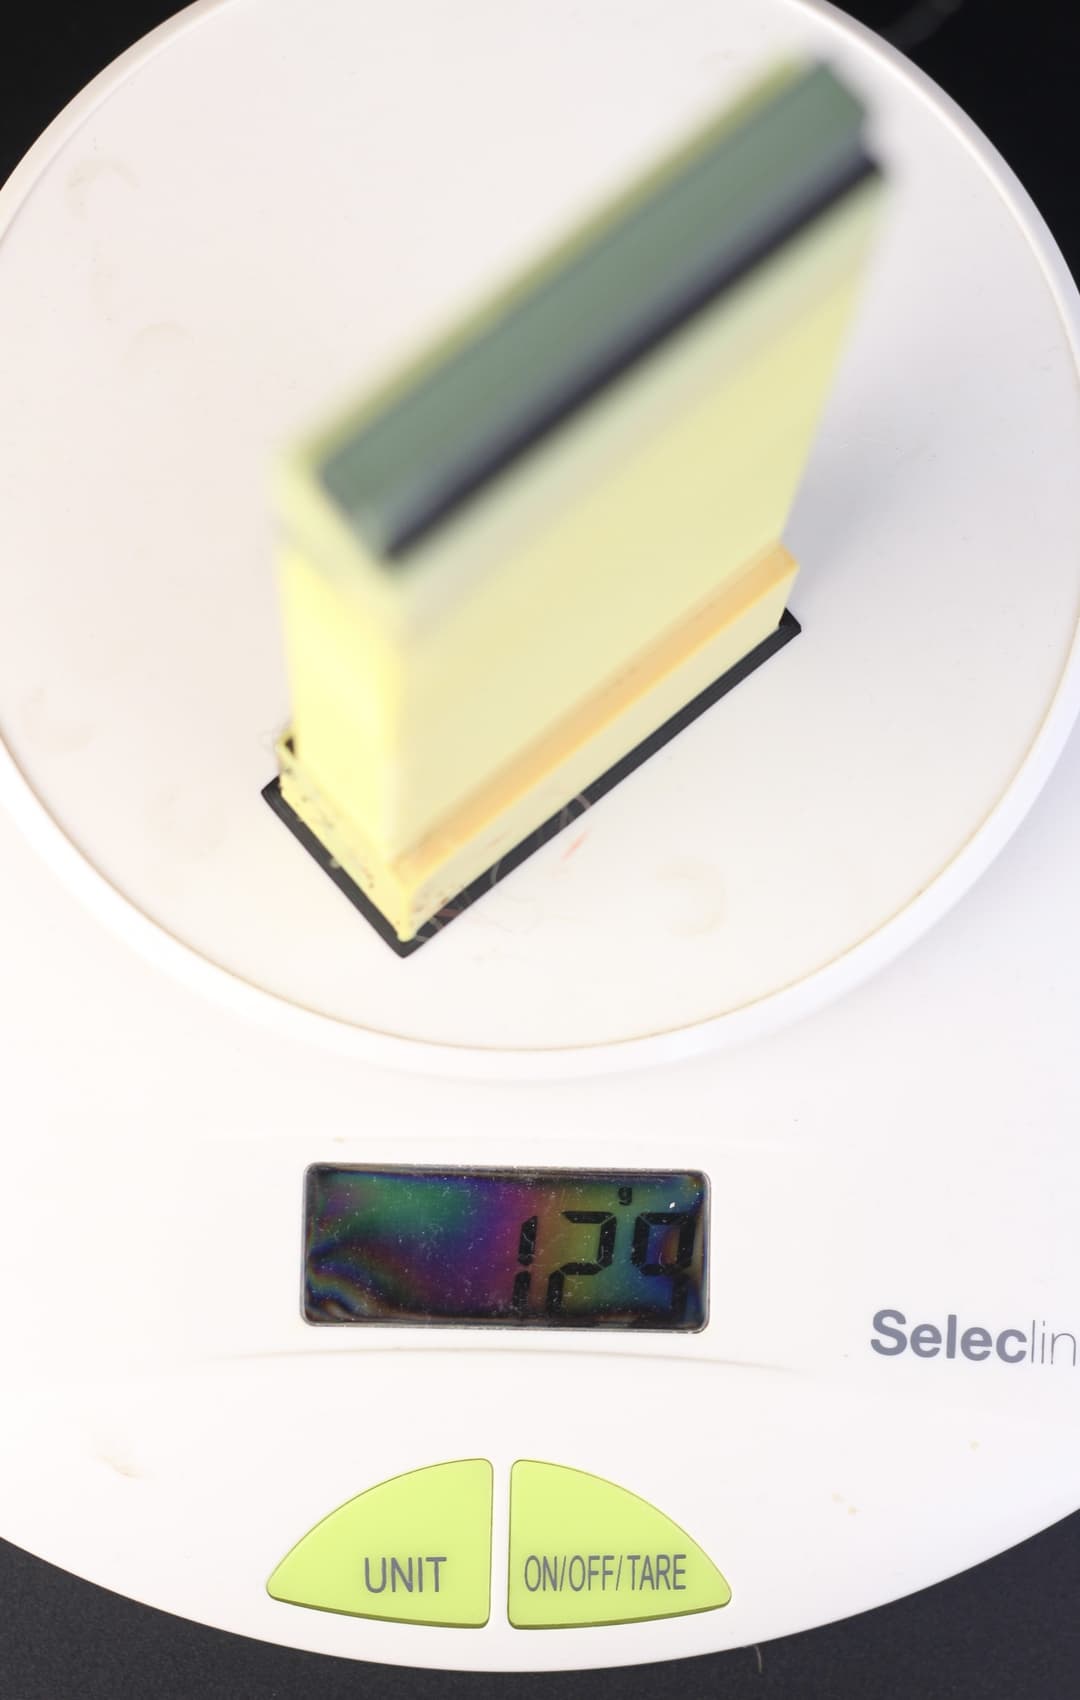
The AMS SpongeBob model from @alsamen3dart with the Bambu Lab X1-Carbon is done! It looks decent considering no calibration has been performed and this is the out of the box result. I ran out of yellow filament so there’s also a slight gradient to light green, close to the end.

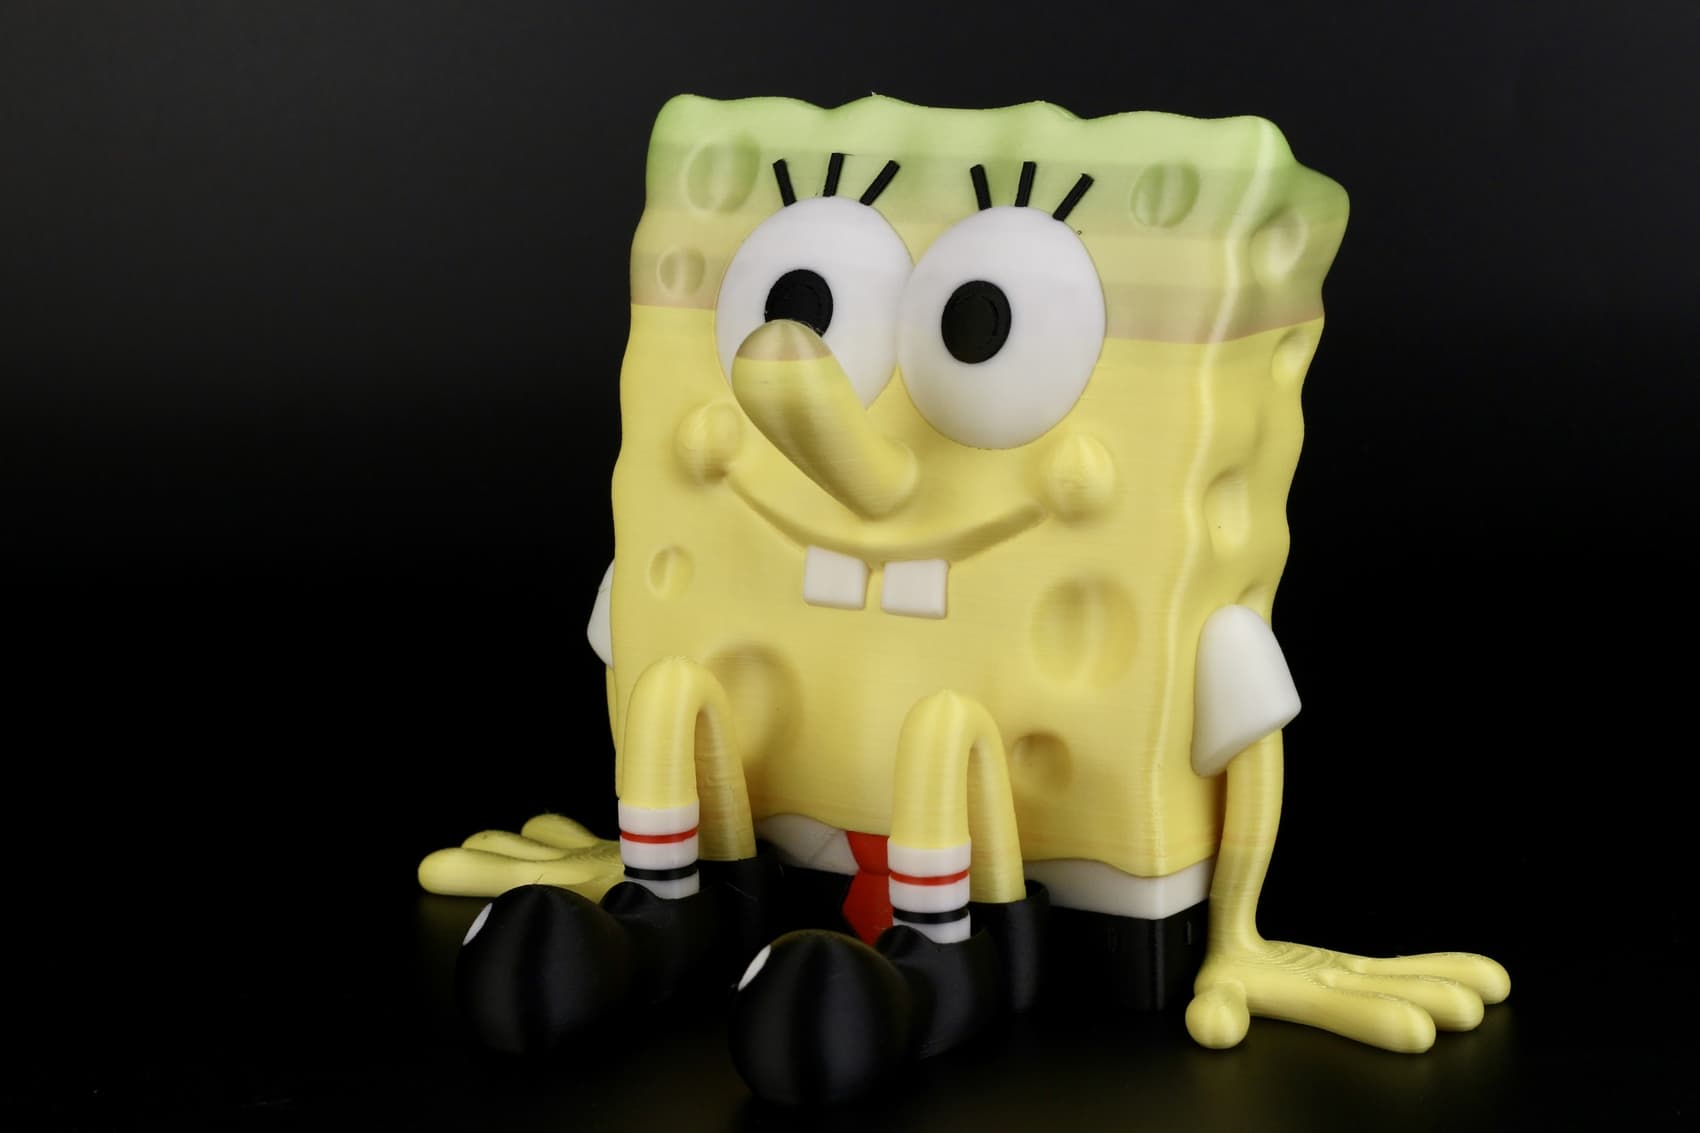

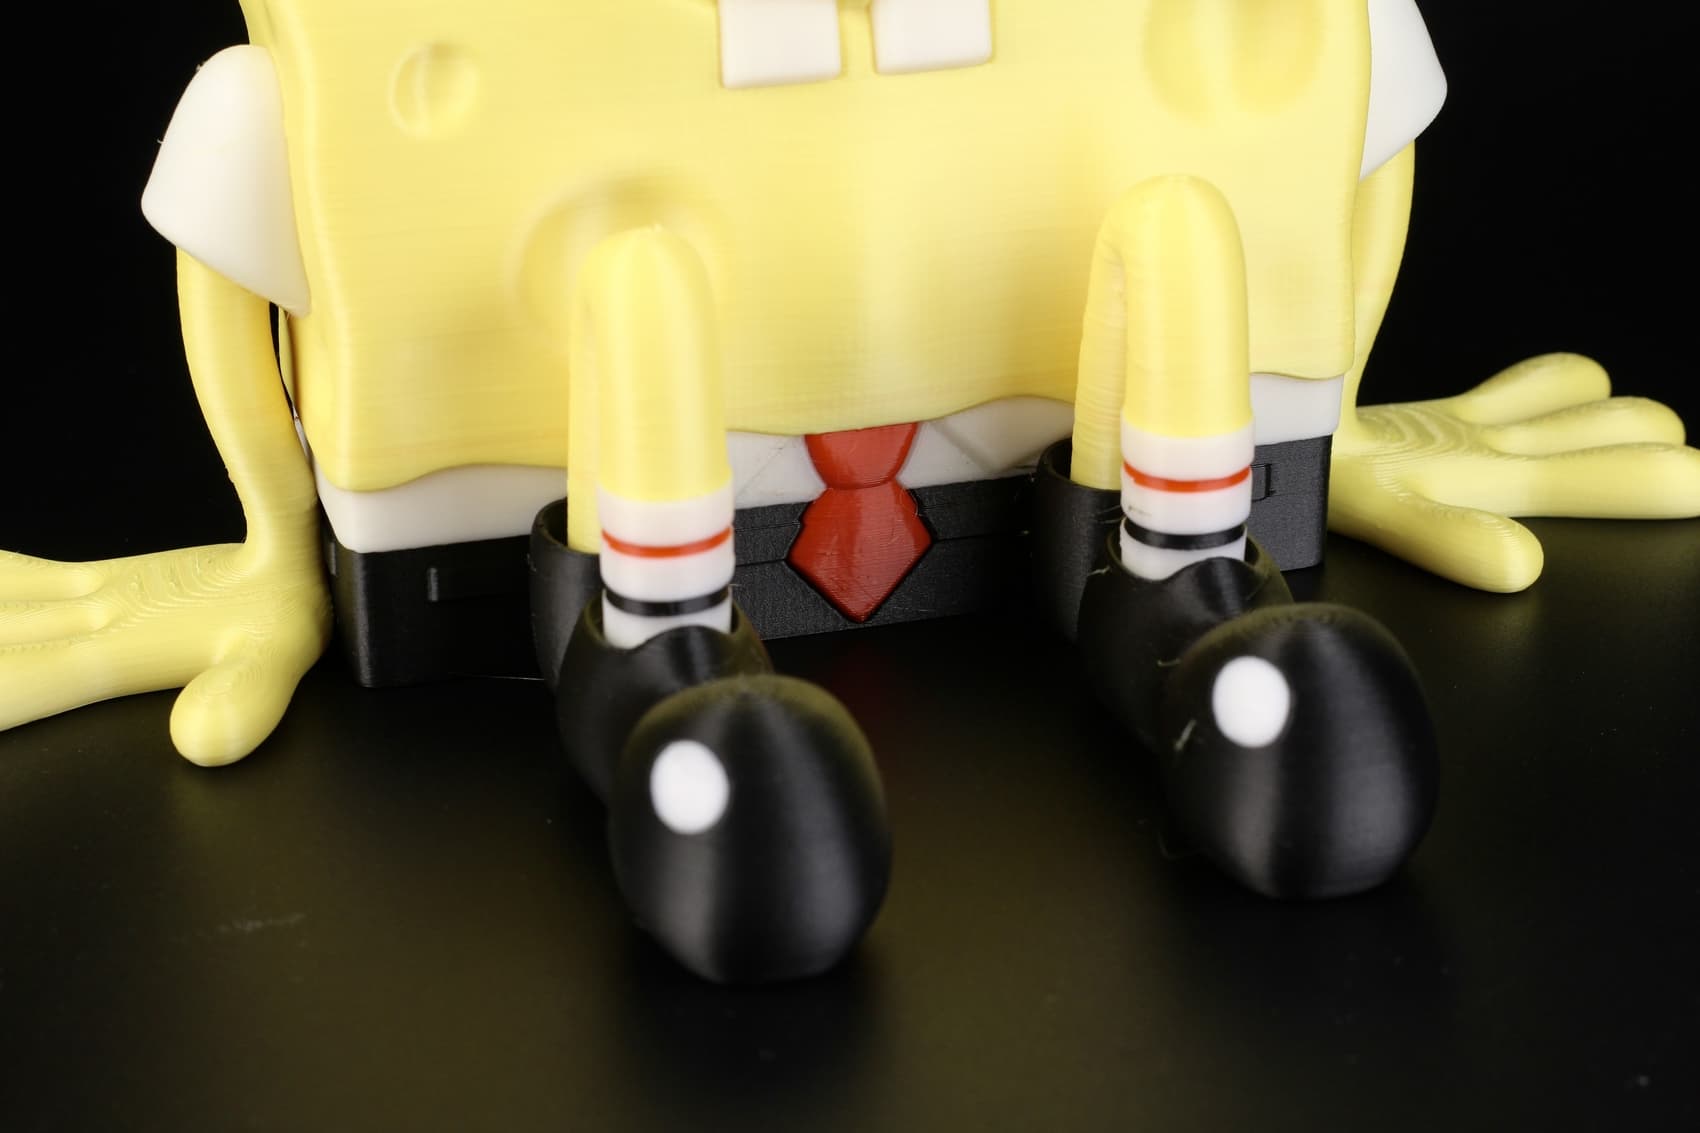
The print quality is just “decent” because the external layers don’t have the expected consistency I would like, but still, not that bad.

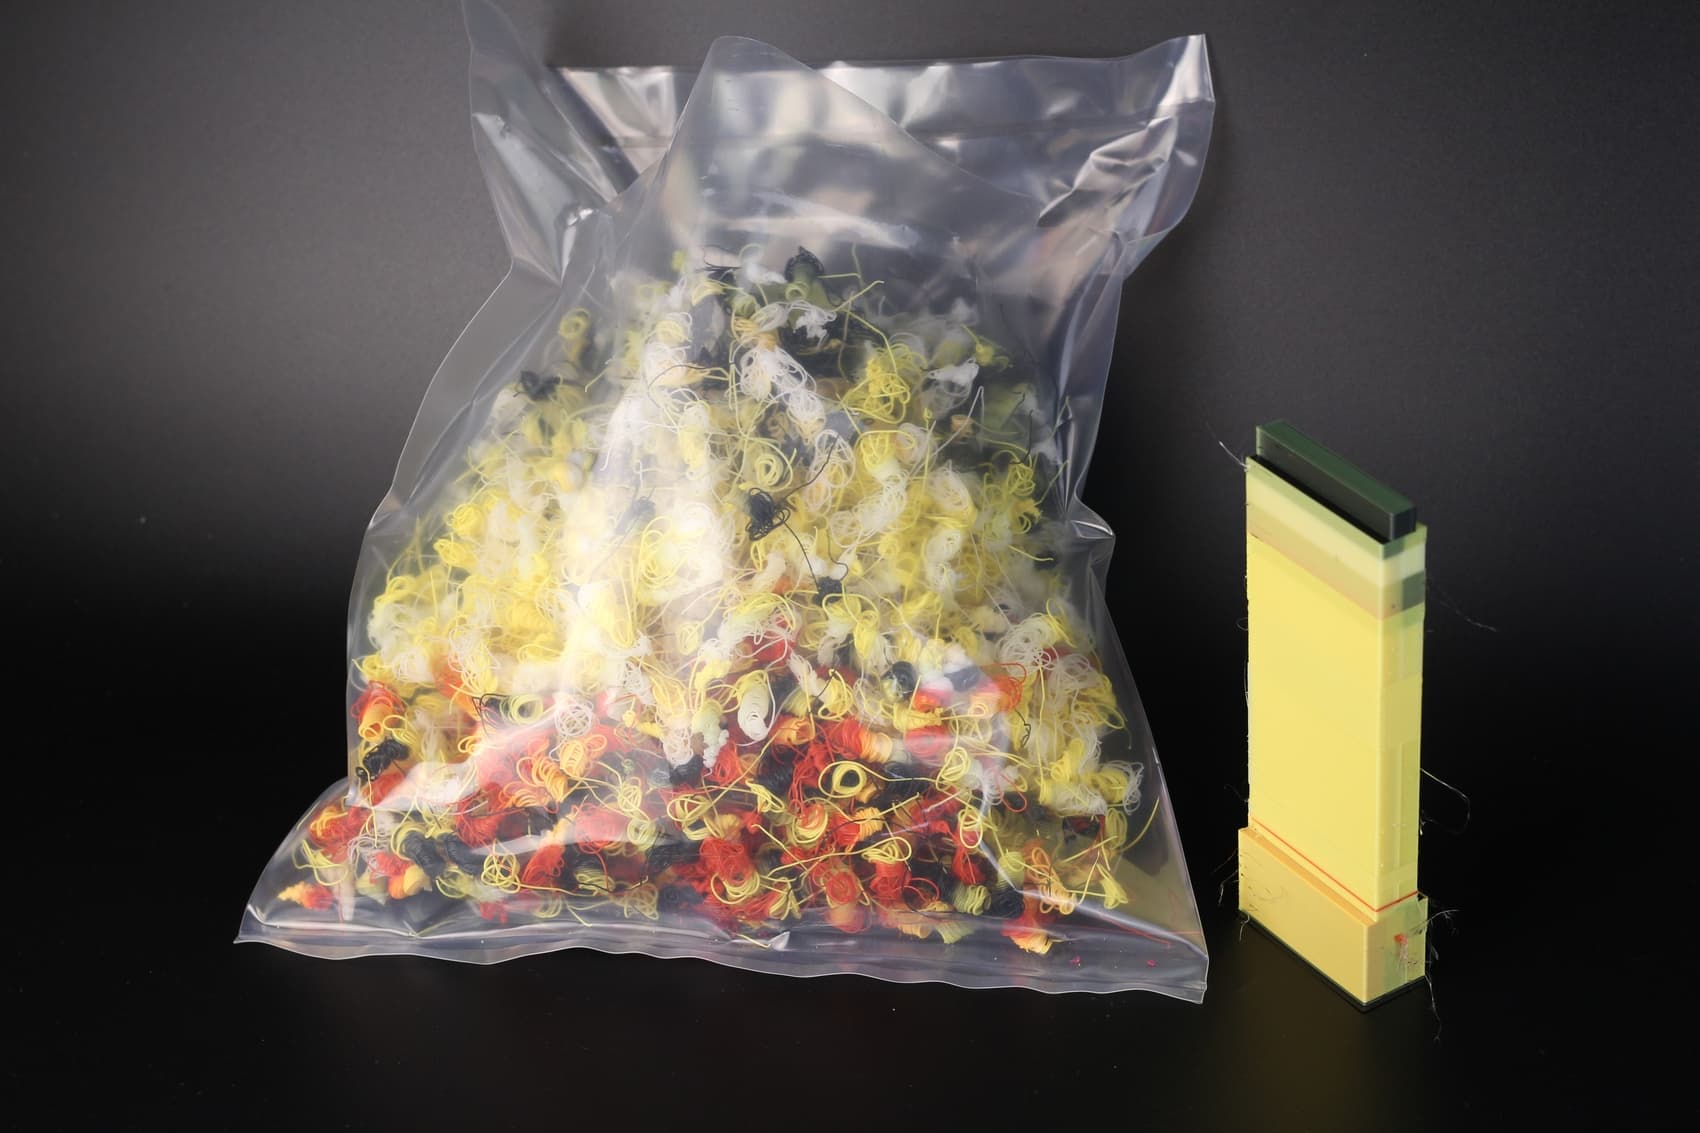
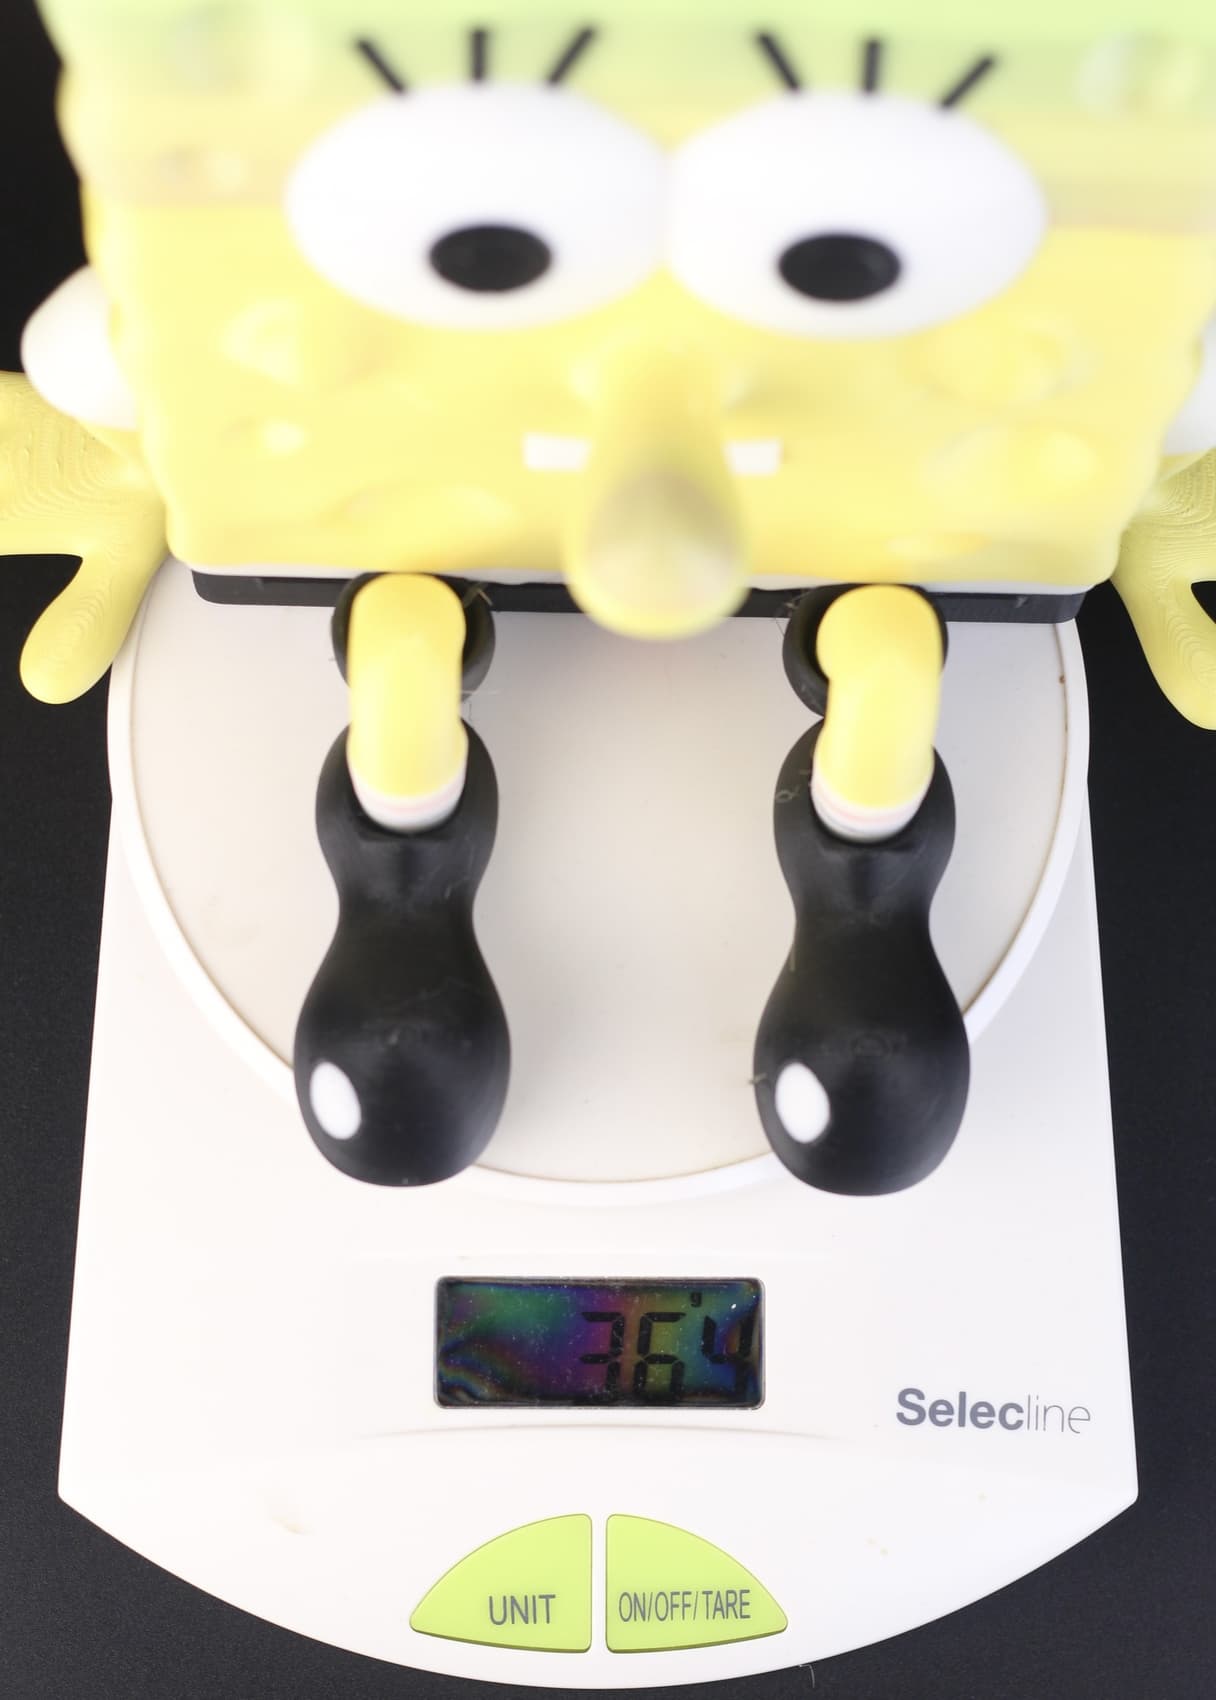
The model weighs 364g, the purge block weighs 129g and the purged flakes weigh 380g. I am sure the amount of waste can be halved if the proper filament tuning is done when purging.
4 Likes
There is one YouTube video by Aurora Tech (5:22 is the time code) that sates that it is a triple z axis that levels itself automatically. Not sure if she is right or wrong but take the information and do with it what you want lol. Thats the only video I have seen mention a triple z that levels itself… Unless she meant that it is triple z and has the leveling sensors but that’s not how it sounds. ![]()
It has triple Z, but it is linked with a belt.
Having triple Z doesn’t automatically mean it has automatic tramming like a Trident or a V-Core 3.
Just check their website and you will see all the leveling features.
Aurora Tech made that sound incorrect. There is the dual ABL listed on the website which also makes my mind go to auto bed tramming, but its just two sensors that do the ABL and verify with each other they get the same result.
Stupid question, it looks like the tolerances for 0.2 move right? If so that’s amazing for how fast the printer moves. Normally when I want to print anything dimensionally accurate I need to slow my printer to a crawl.
1 Like
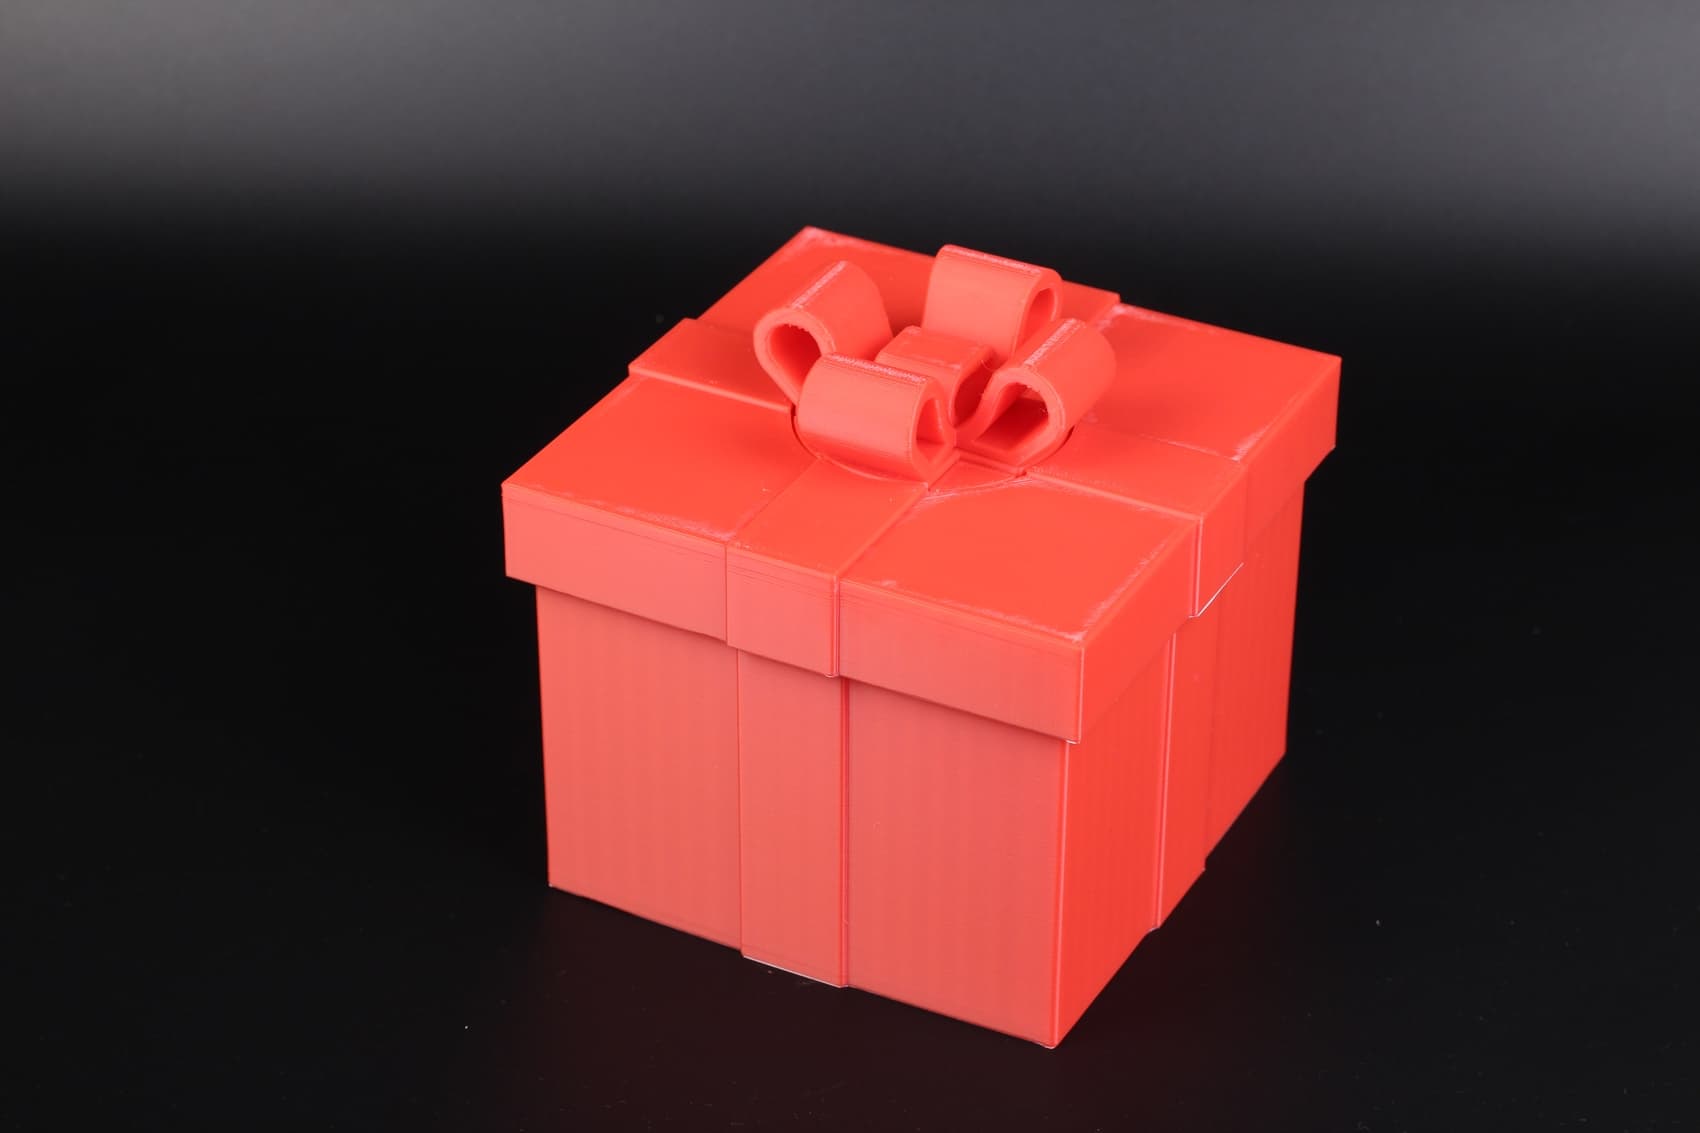
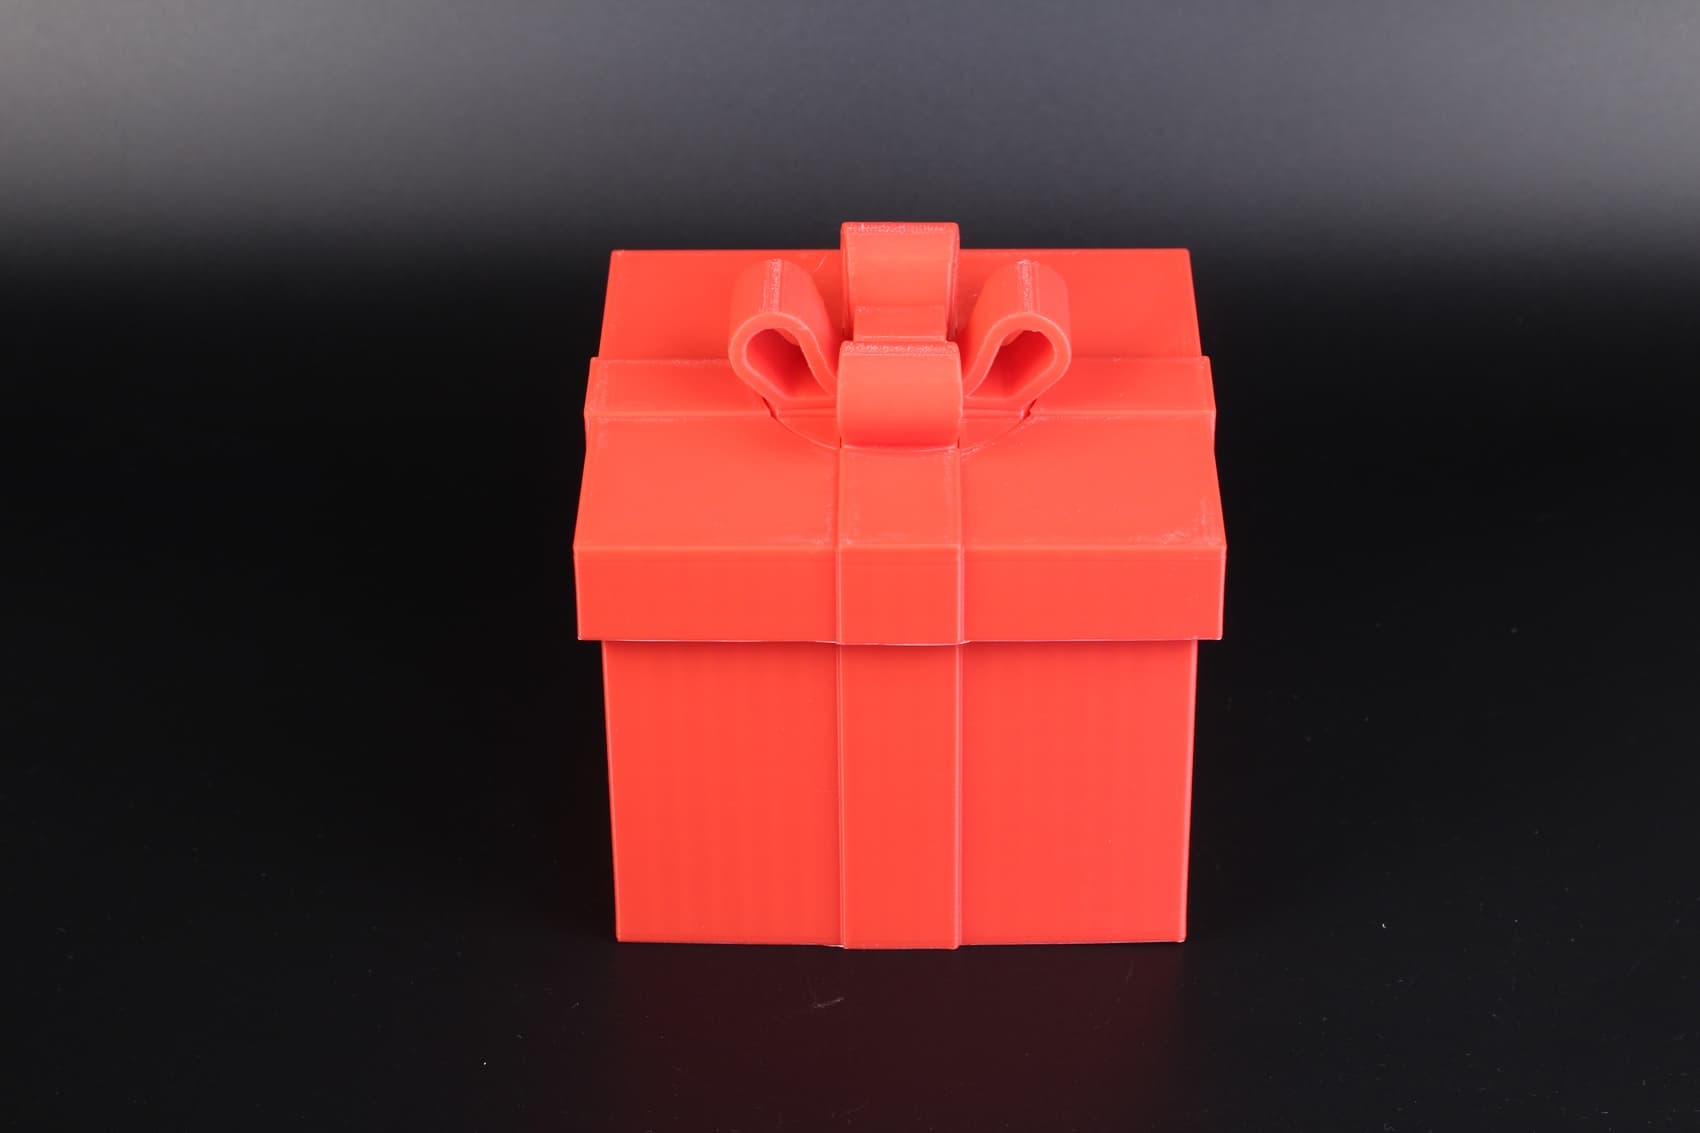
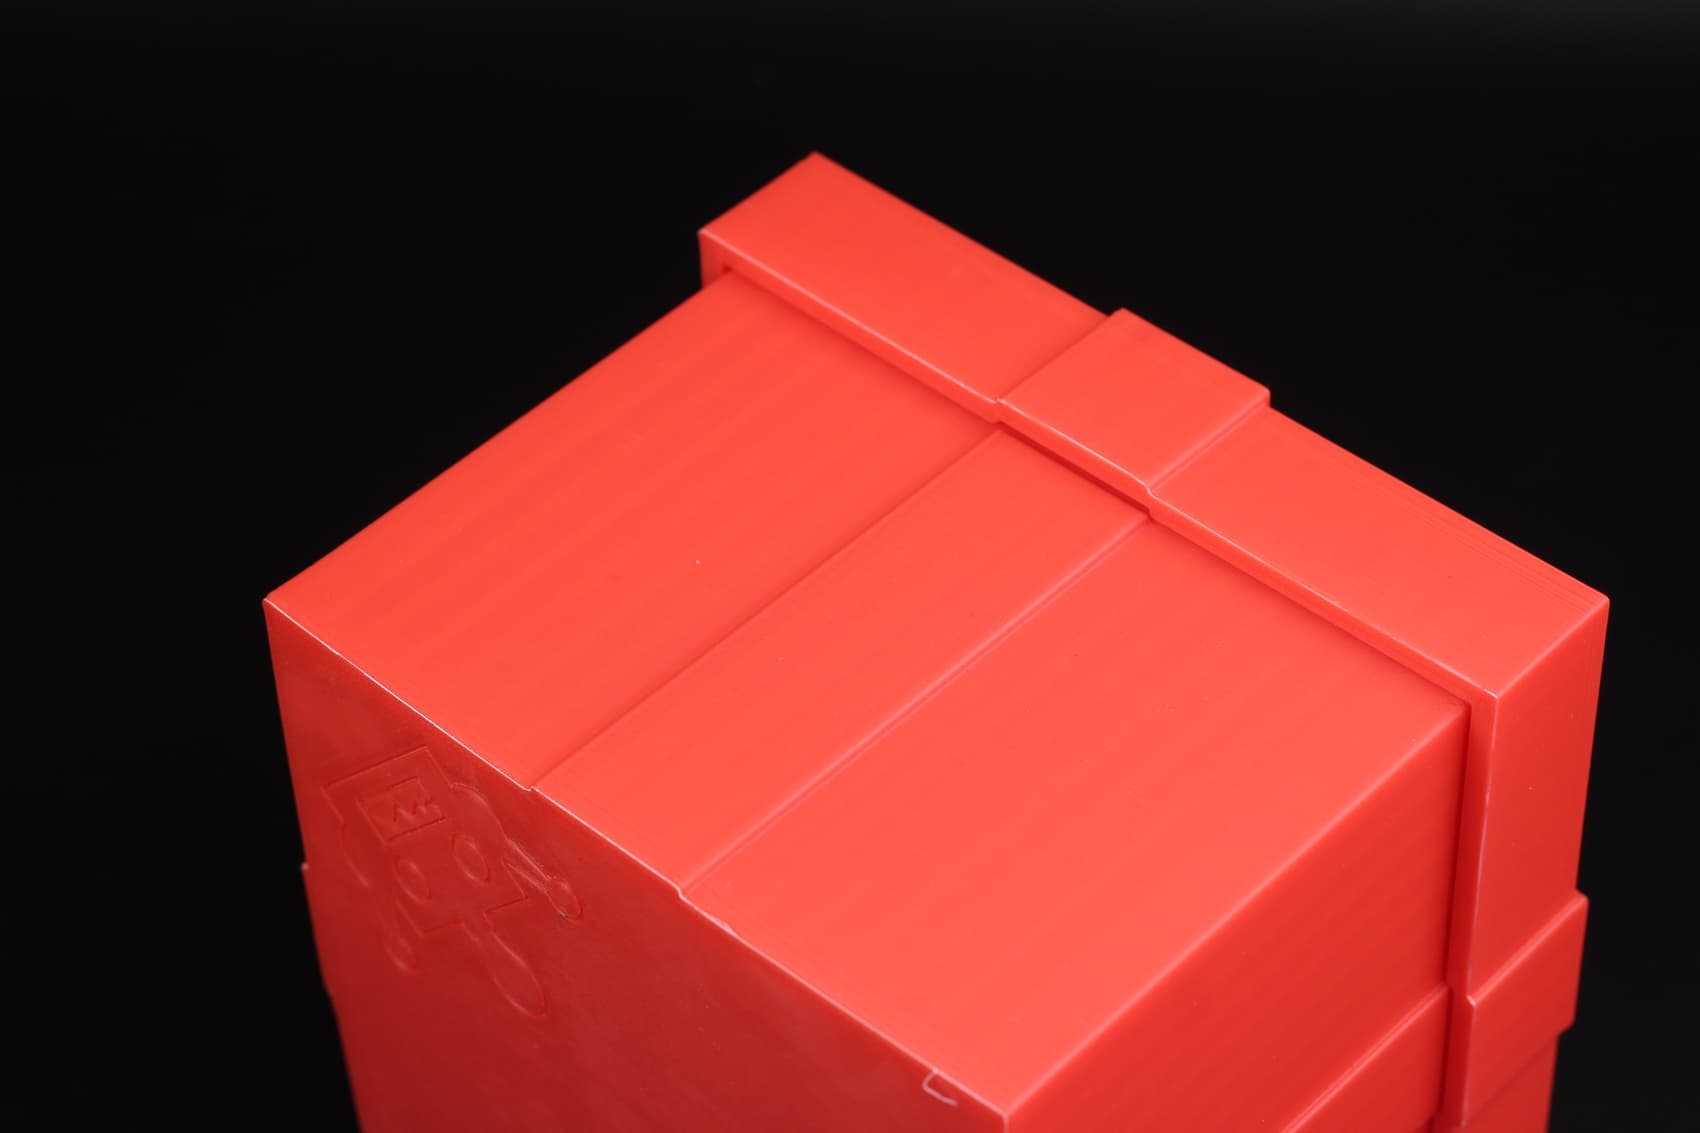
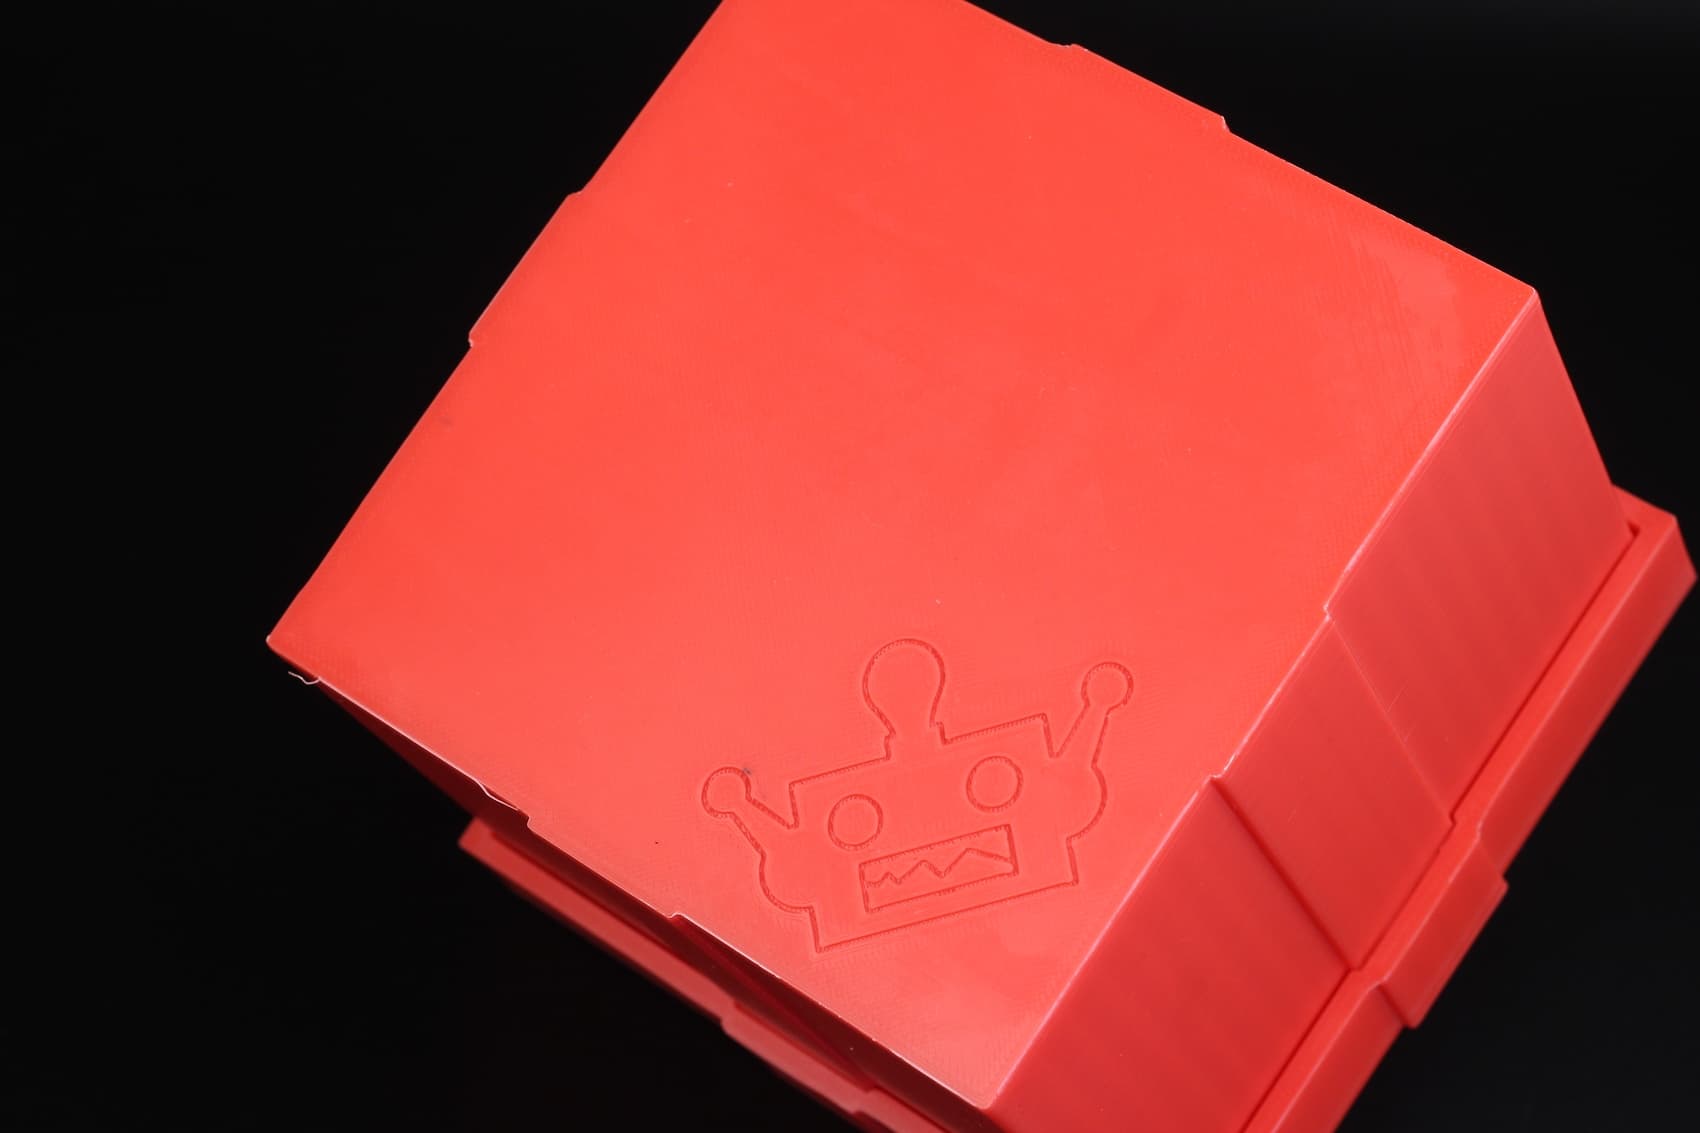
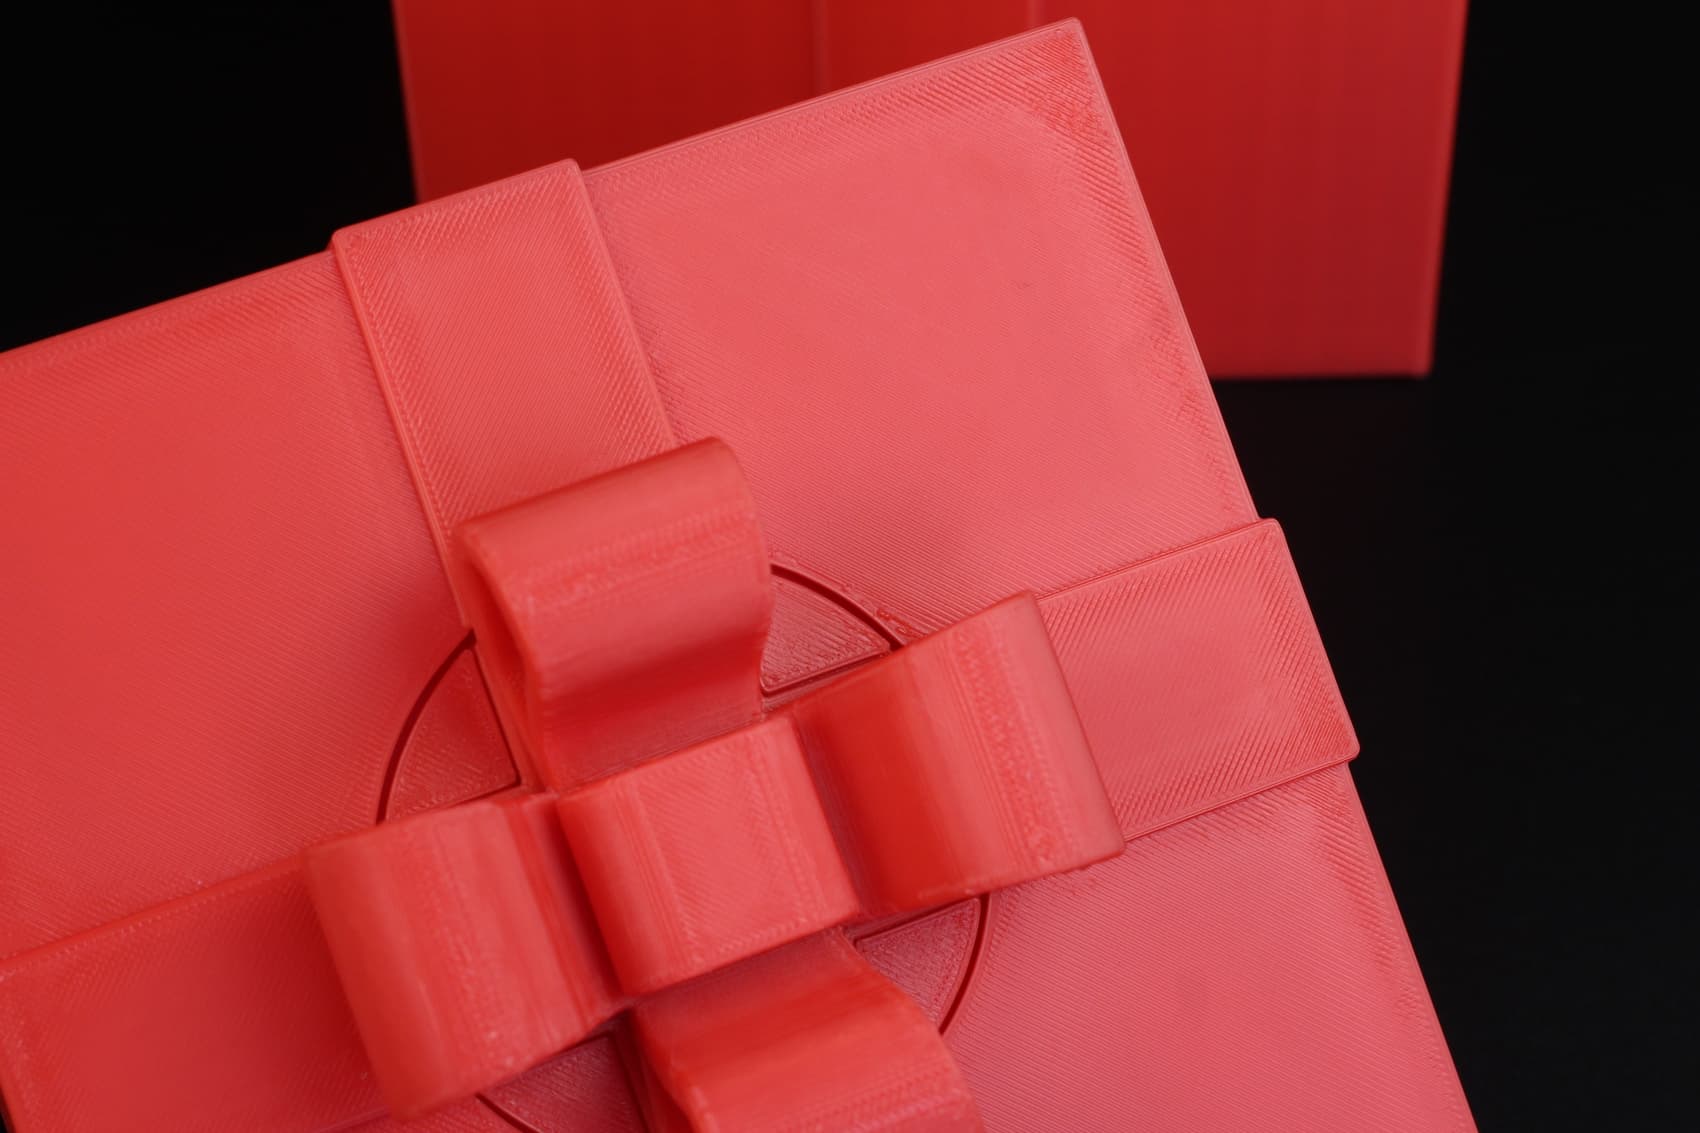
To test a large ABS print on the X1-Carbon, I printed the 3DPrintingWorld Gift Box, scaled up to 150%.
The bottom side was printed in about four hours at 0.26mm layer height. The top was printed at 0.2mm in ~5 hours.
I also printed on the Engineering Side of the print surface, just to give it a try. It works pretty great with glue-stick and 100C for ABS. There’s also no sign of ghosting which is crazy considering it’s printed at ~300mm/s internal walls and ~200mm/s external walls.


3 Likes
The printer seems very impressive and I have baked the kickstarter. My intention will be to produce quite large CF-Nylon functional parts which are prone to warping. I’m looking at using 3DXTech PA6-CF filament which recommends a chamber heated to 80C, clearly this is a passively heated chamber which I see reaches about 60C. Have you done any testing where the temperatures reach this level? Do you see any problems reaching 60C and maintaining it over a long print? I imagine 60C would be fine but I’m afraid with sensitive large prints that extra 20C might be useful…
Also you can get a 300W PTC fan heater and temp controller with Thermistor from Aliexpress for around $10-15 to give the chamber some help. Do you think this would be wise? Are the electronics well isolated from the chamber (I understand a lot of good quality steppers work well even as the temp exceeds 100C but I worry about other components/plastics in the chamber. Do you hav any info if the printer has been at elevated temps? After all, 100C is PEKK and maybe even PEEK territory! It’d be great to have an easy to use consumer printer capable of producing engineering parts, it could really open up a lot of opportunities for creative basement engineers…
In fact given how little extra an actively heated enclosure would be and given the mature firmware support it’s a shame such a promising printer as this doesn’t allow you to set chamber temp like you do nozzle and bed temp. I suppose there might be some safety aspects that keep this feature out of consumer products (which means we also miss out on a convenient filament oven/dryer).
Sharing Any info on the chamber or your experiences using more exotic materials would be of great interest to myself at least.
Keep up the good work,
James
1 Like