This also greatly interest me. Even 70C would be a big improvement. If all it needs is a AliExpress active heating element and some changes in the firmware the potential could be massive.
I will ask the guys about this. But don’t expect having the ability to mod the printer, especially the firmware.
A heater might work if it’s externally powered and controlled. Although I don’t think it’s needed because you also need to consider the internal plastic heat resistance.
I think by adding some thin adhesive insulation on the aluminum sides, the chamber temperature can be improved.
Good points, well made! The firmware already controls the chamber temperature by turning the fan on and off. I.e. if you are above target temp the fan is turned on. I believe certain boards have another socket which works in a similar way but opposite, if a heater is attached the firmware turns it on when temp is too low and off when too high. As you point out heaters are quite power hungry so this could a problem depending on power supply headroom. My idea would be to use these systems separately: first adjust max target temp for chamber in firmware to highest the printer works safely in (this might be in the region 60-90C depending on design). Then you set same temp on your heater system.
You can install a really simple heater system with a PTC fan heater that you hook to a thermostat and is mains powered. It’s also a good idea to include a timer set to the print time. You need to mount the system inside the enclosure but they are small so should be doable.
Here is a thingiverse project for a resin printer heater (resin works much better at ~30C). Everything is well documented and not difficult or expensive.
thingiverse /thing:3412516
(I can’t post links so just copy /thing:3412516 after the thing over se home page URL)
This small 12V system would be plenty to add 10-20C to a passive chamber. I’m using slightly different components for my system as I was originally intending to use it in an ikea lack chamber but may just make the one from thingiverse.
I’ll post links to what I bought on aliexpress for my version in case anyone is interested in a more powerful system (in the next hour or two -bare with me! In the meantime I recommend that thiniverse project I think it is well executed)
The question remains about how the printer would deal with slightly higher temps, also do we know what firmware is being used and how easy it is to tinker with?
2 Likes
I guess the most important question is:
What is a safe maximum enclosure temperature for the X1 Carbon?
Then a follow up question would be:
What is the weakest link, what part will fail the first (under high heat), and could we change anything to make that part more resistant (fan, heatsink)?
But also:
Are there easy tricks to seal the enclosure better, to retain more heat, maybe some insulation too?
Did you measure the dimension of cube? what’s the result?
~39.90mm-39.95mm on all sides. Super close to the 40mm dimensions in the slicer.
Yes. But I can’t really review it in its current condition, as the software is far from being done.
It will also take a few more weeks of testing
Yeah, you are right about it just coming down to max safe chamber temp. For those interested these are the components I have bought to run a separate heated chamber:
Heater: £10.54
https://a.aliexpress.com/_mr8BEEA
(I got the 24v 250w but I have a spare 24v power supply. You could go 12v and use a regular power brick or even 120/240V and run it off the mains. It depends on what wattage and power sources you have)
Temp controller: £3.26 12V 24V 110V 220V Professional Digital LED Temperature Controller
https://a.aliexpress.com/_mP9cJx4
This is pretty simple electronics, it has a temp sensor and is wired into the heater power delivery. You then set a target temp and the device turns the heater on and off to hit that temp
1 Like
I was also interested in the flatness of the X1-Carbon’s bed. I know it has sophisticated software compensation but the best upgrade I made to my Ender 3 was buying a super flat 6mm cast aluminium tooling plate (not expensive $30 for plate but then another $20 for 24V silicone heater and $5 for magnetic sticker so I could use my flex steel sheet).
Once it’s levelled/trammed I’ve never had to worry about any auto levelling. I even bought a probe and never installed it.
Do you get the impression the X1s bed is good quality and flat or are they leaning on the advanced levelling? Does it matter if they are?
Honestly, I haven’t disassembled the printer. But from what I can tell, the print surface lays directly on the heater. Underneath the print surface, there’s no aluminum bed as you would normally find on other printers. This also allows the bed to heat up really fast.
I will need to take a look in more detail, but I had limited time to spend on it, and it was also mostly printing in the last week.
Interesting! Thanks for the feedback, I really appreciate the info. I have backed the kickstarter and am looking forward to your full review, I find them easily the most informative and reliable around.
By the way, no pressure and understand you haven’t fully treated the printer but are you impressed so far with the printer in general and with the AMS system? Did Bambu provide any of their filaments? If so do they seem good?
(Sorry for the barrage of questions I’m pretty keen on this printer! It could take Affordable consumer FDM printing from a focus on trinkets and figurines in PLA, which I also love by the way, to something easier to use but can also be a serious tool for basement engineers and inventors who want to produce functional parts.
Even though the software is not finalized, the printer is easily my favorite.
It works as described, prints fast and is super easy to setup. It doesn’t take a lot of space, and the price is fair for what you get. This is the reason I also backed the Kickstarter ![]()
The AMS also works fine, but yesterday the printer stopped, and one of the AMS lights was blinking. I had no option to do anything and tell the printer to continue. But I have high hopes they will solve a lot of software issues until people get it.
I am putting some printing time on it before completing the review just to make sure nothing unexpected shows up.
That is a smart thought as everybody assumes the electronic and the printhead and extruder would be the same. But it could be completely different, made cheaper with different materials and software restrictions.
I am still thinking to buy the Carbon via KS or maybe I just wait and relax. I am in the process of building an enclosed CoreXY just for the experience and the insight it offers.
Love your work.
New multi-color print on the Bambu Lab X1-Carbon. This time, it’s a model from @CptKaoss which is printed with 6 different colors using the AMS system.
No purge block. Purging still takes time, especially when transitioning from black to white.

I’m glad you’re able to do away with the purge block. Seems redundant if you have the purge bucket and can adjust that amount already. Looks like the white-to-black purging seems to be clean as well.
Any idea why the filament cutter is all the way at the front when the purging takes place at the back? Curious.
I created a different thread for the AMS discussions and experiences:
Here are some pictures with the electronics section. The X1-Carbon isn’t beautiful only on the outside. Internal electronics are just as cool and super tightly integrated for maximum space efficiency. Gorgeous!
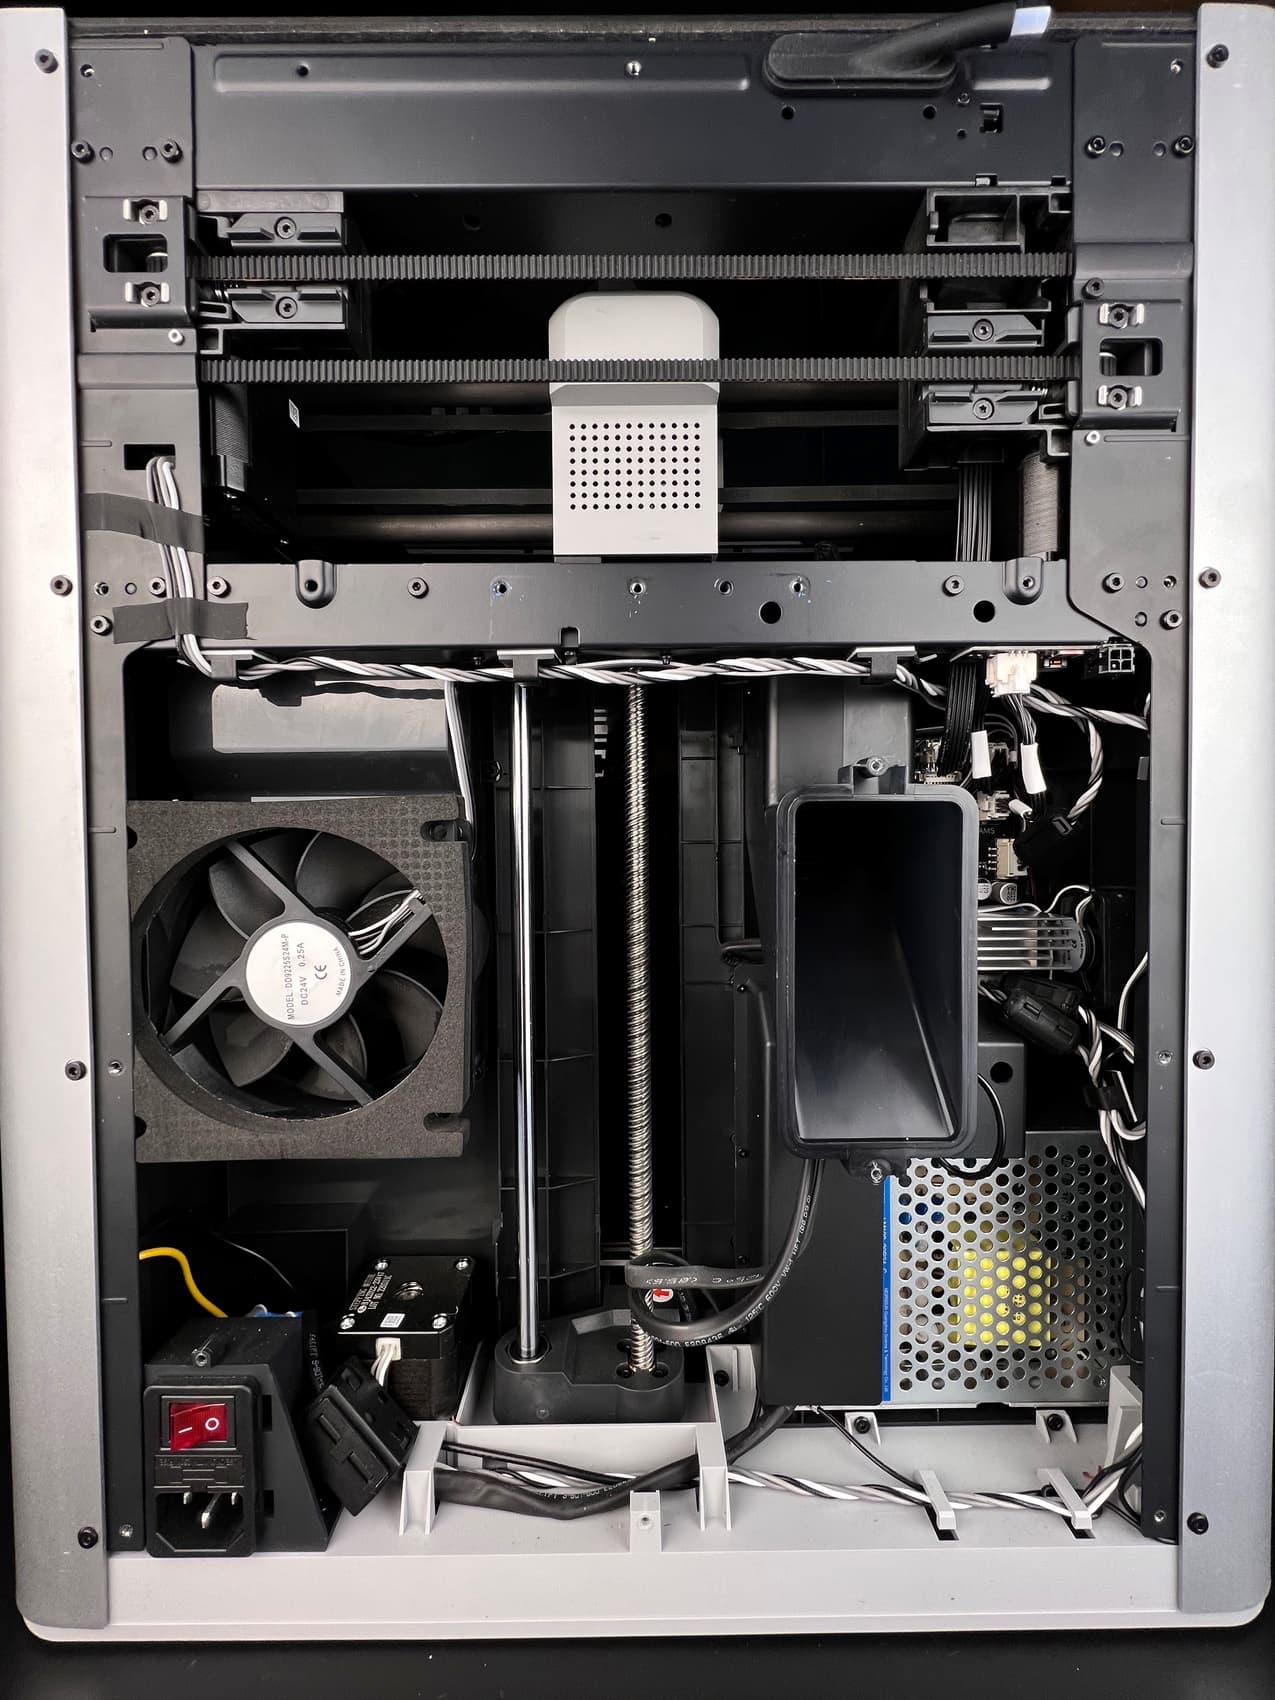

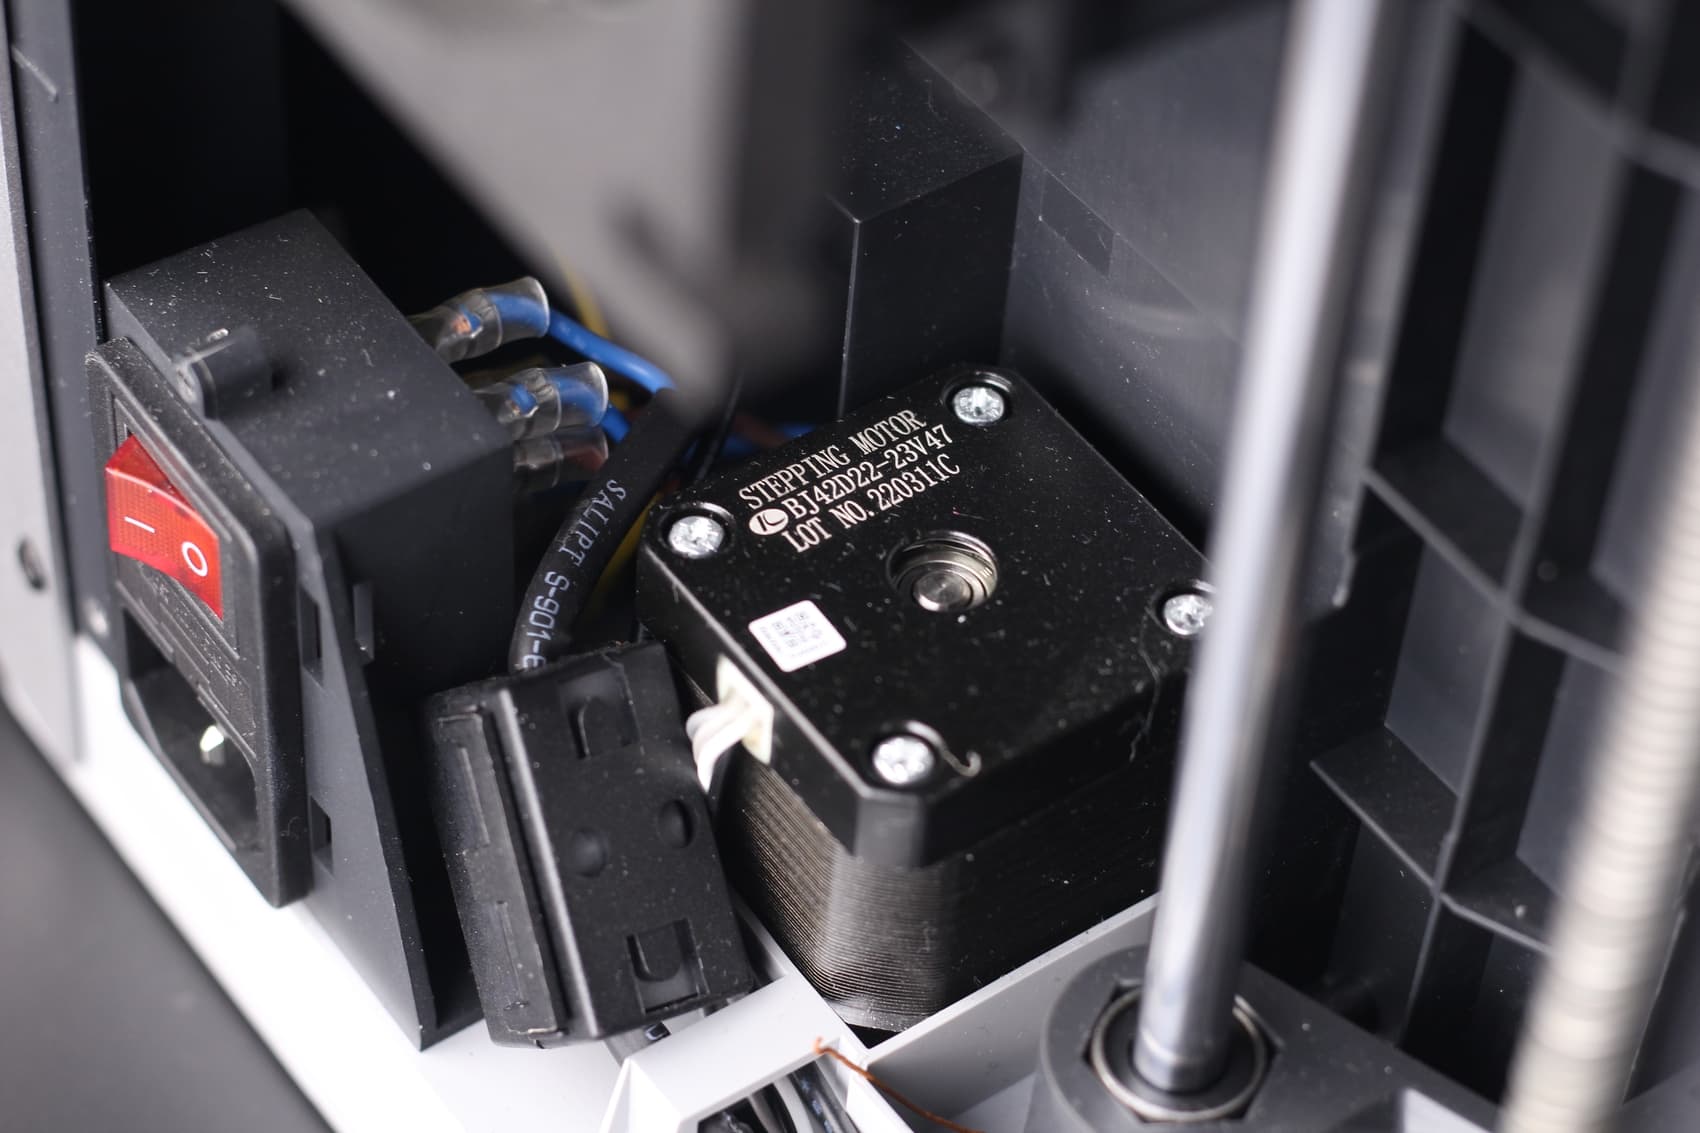
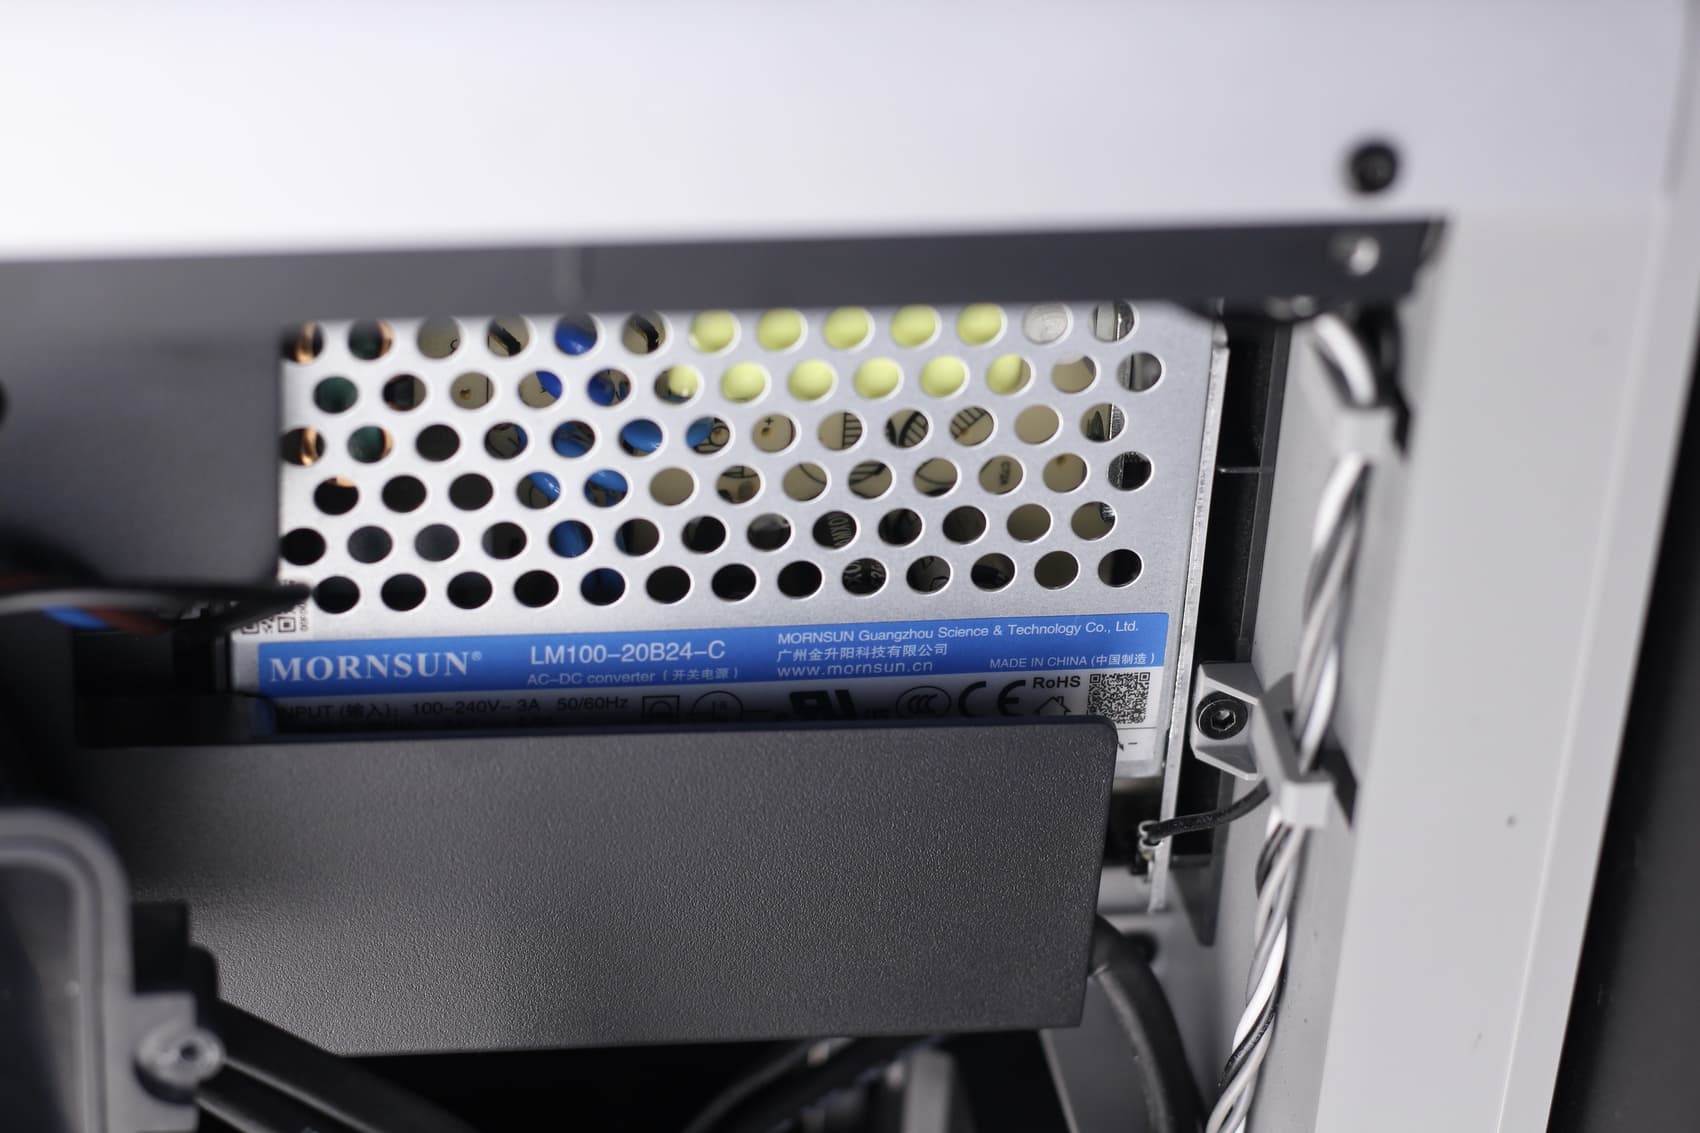
More details when the review is published ![]()
1 Like
Does anyone have new information on the maximum safe chamber temperature on the X1 Carbon for continuous operation? @3DPrintBeginner would you be able to use your influencer powers to ask them for the design limit?