Hey guys,
as mentioned in other thread I’ll share my experience building and using this printer in this thread, I’m still waiting for parts to arrive so my build experience has to wait little longer but due to fact big discounts happening as of tomorrow I wanted to share with you what to expect from the kit and what the options are to make your potential decision easier.
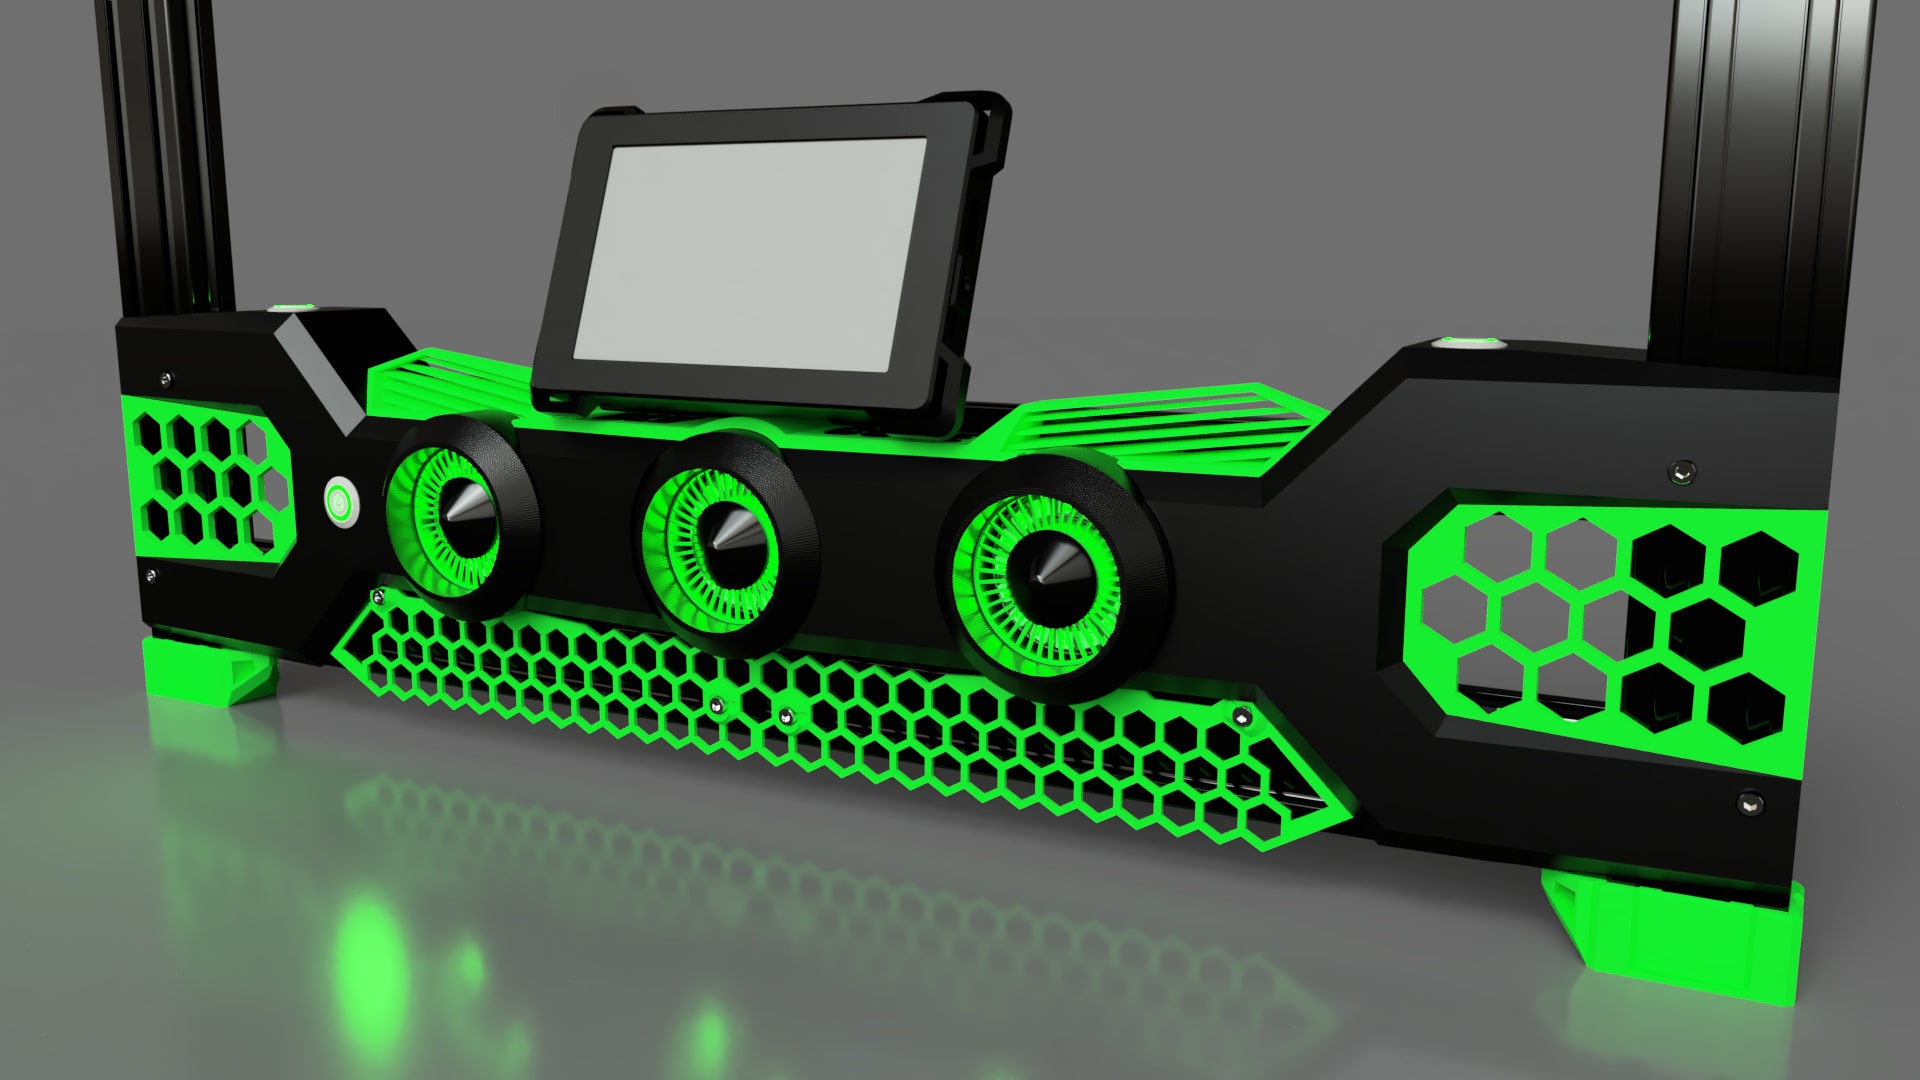
Project and all related info regarding this printer can be found: link
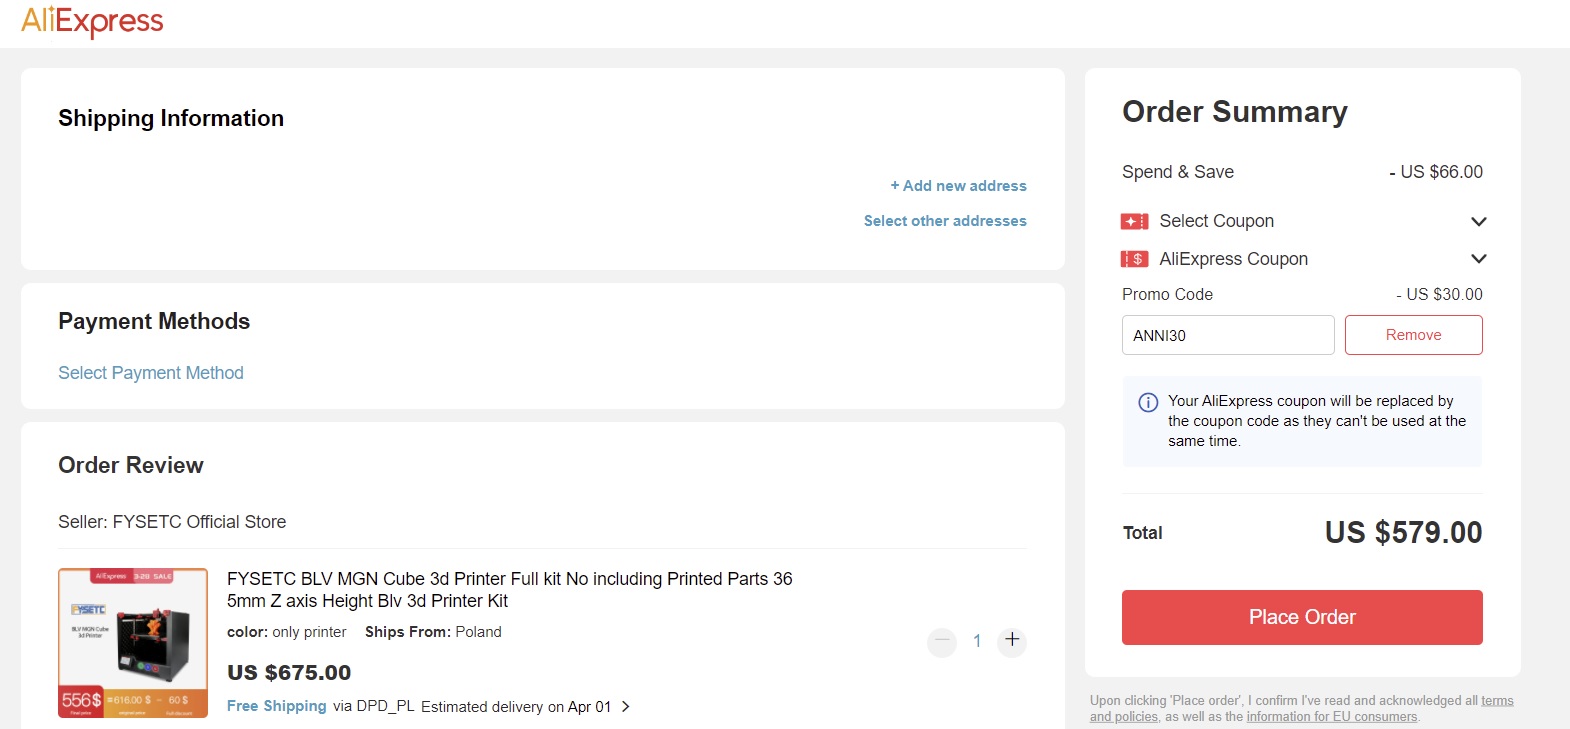
Where to buy cheapest atm: link
Optional upgrade parts not mandatory but that’s what I bought next to the printer kit:
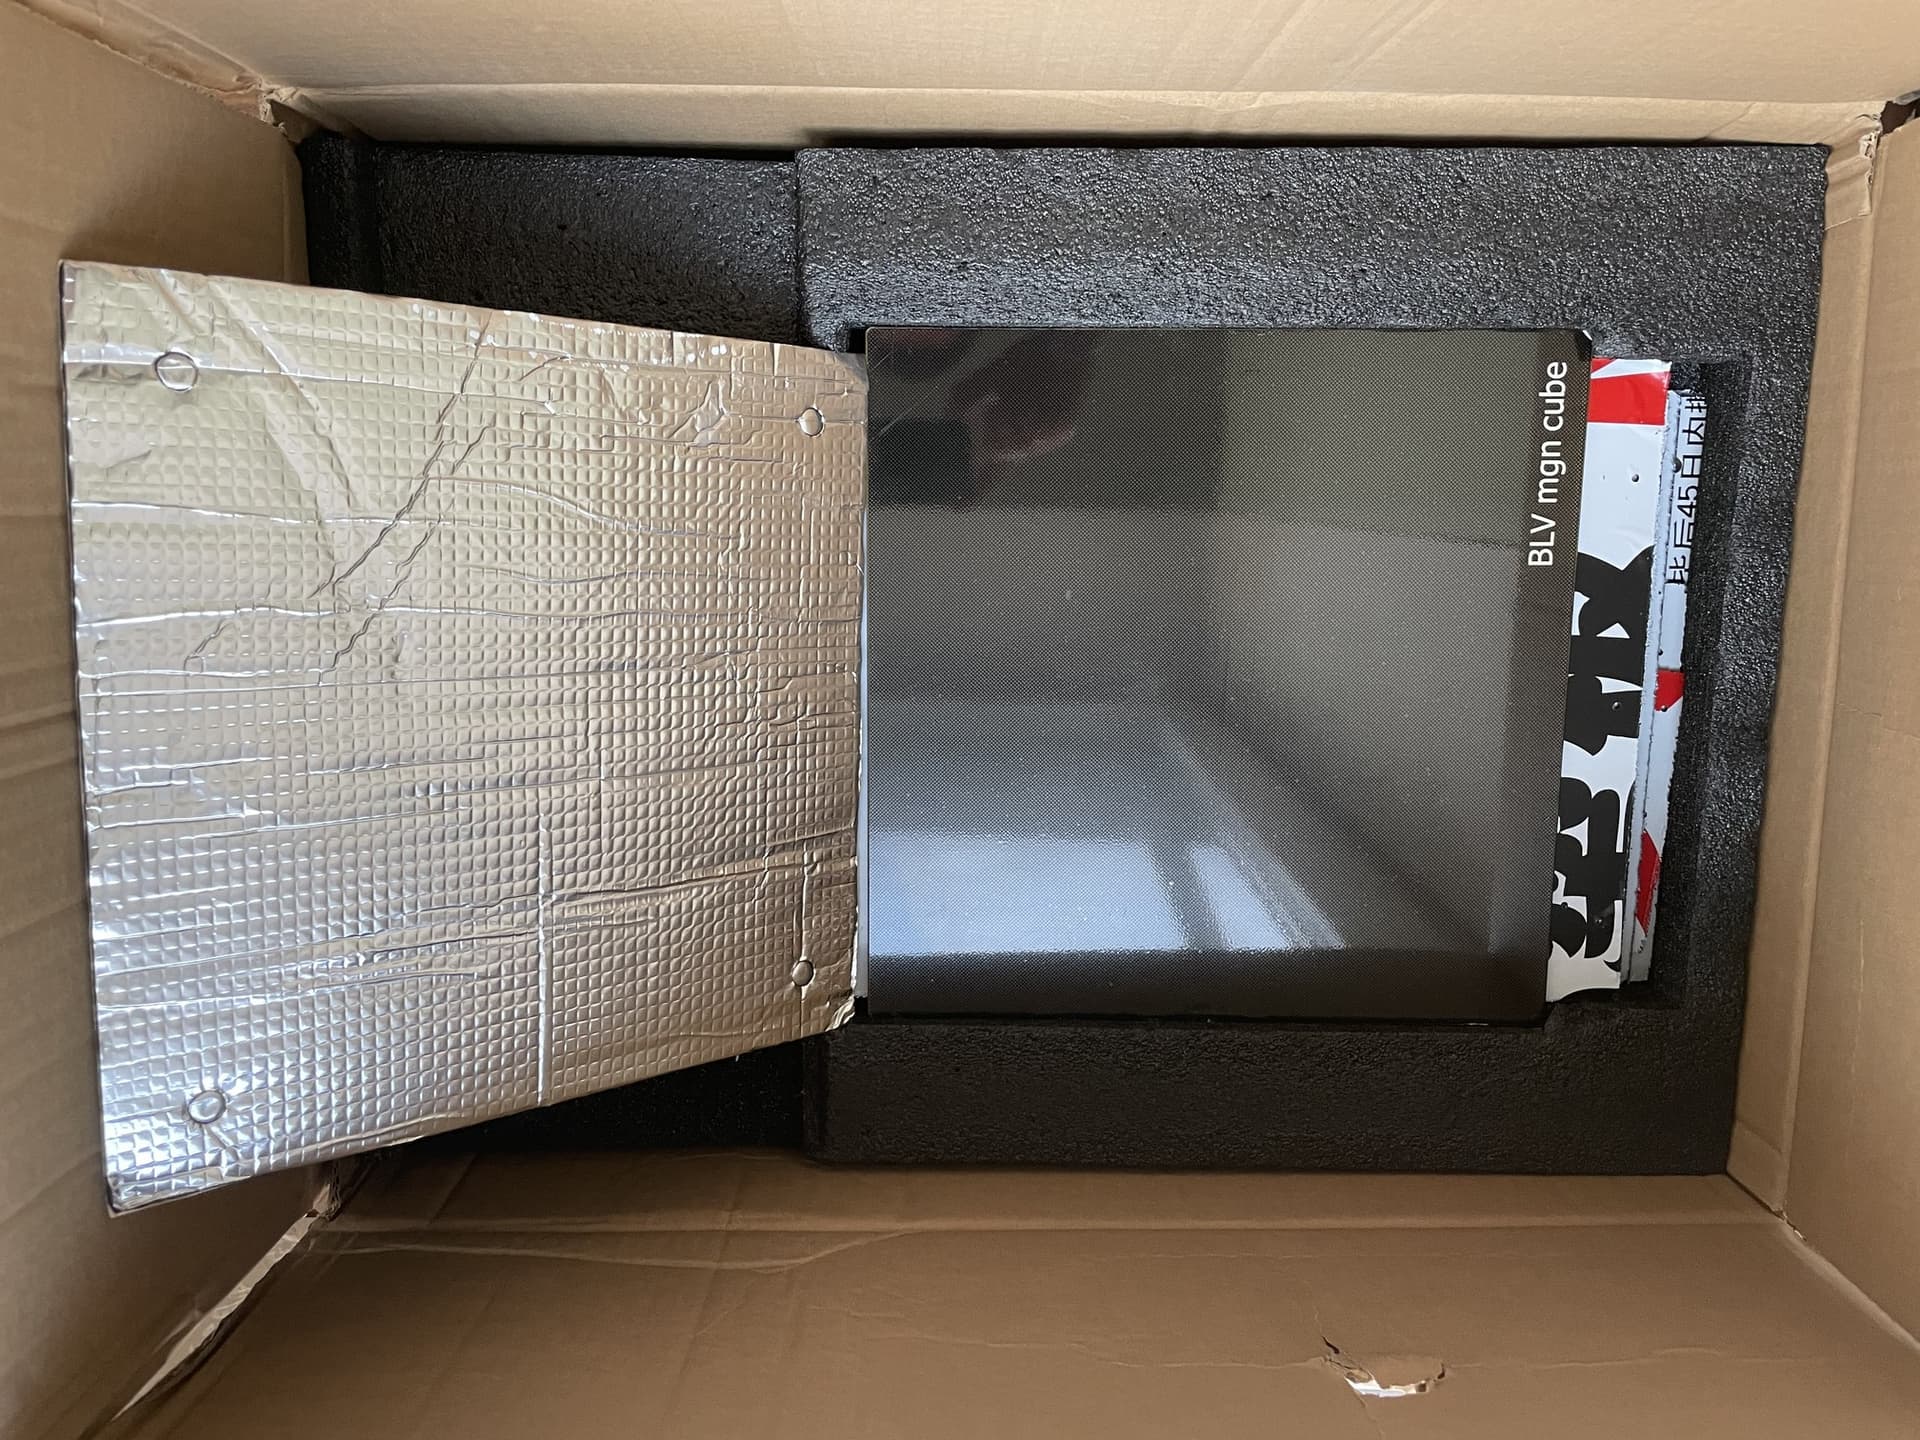
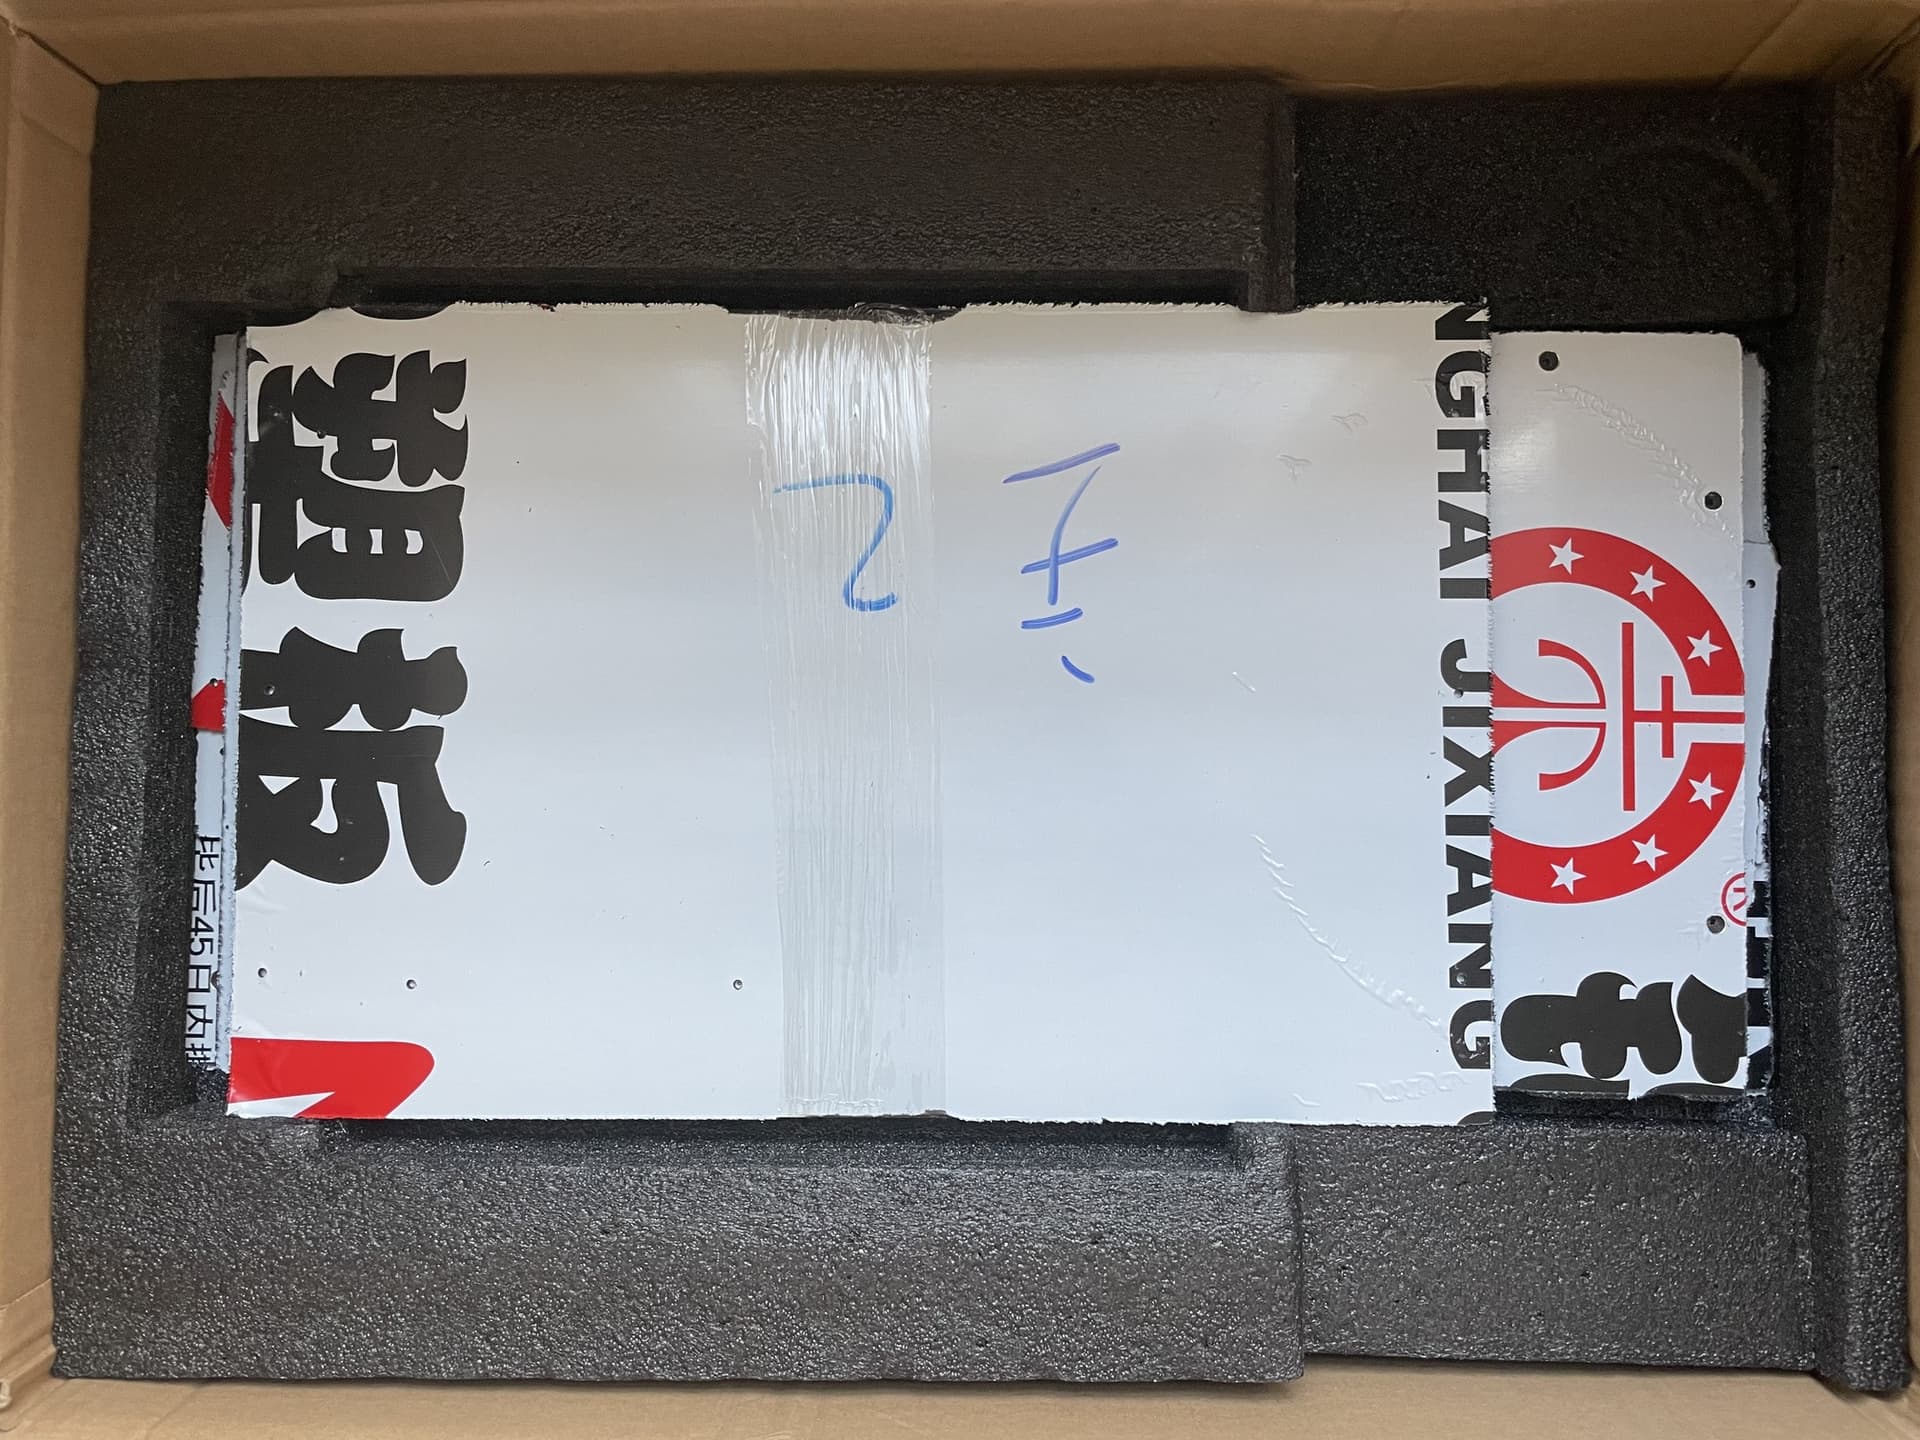
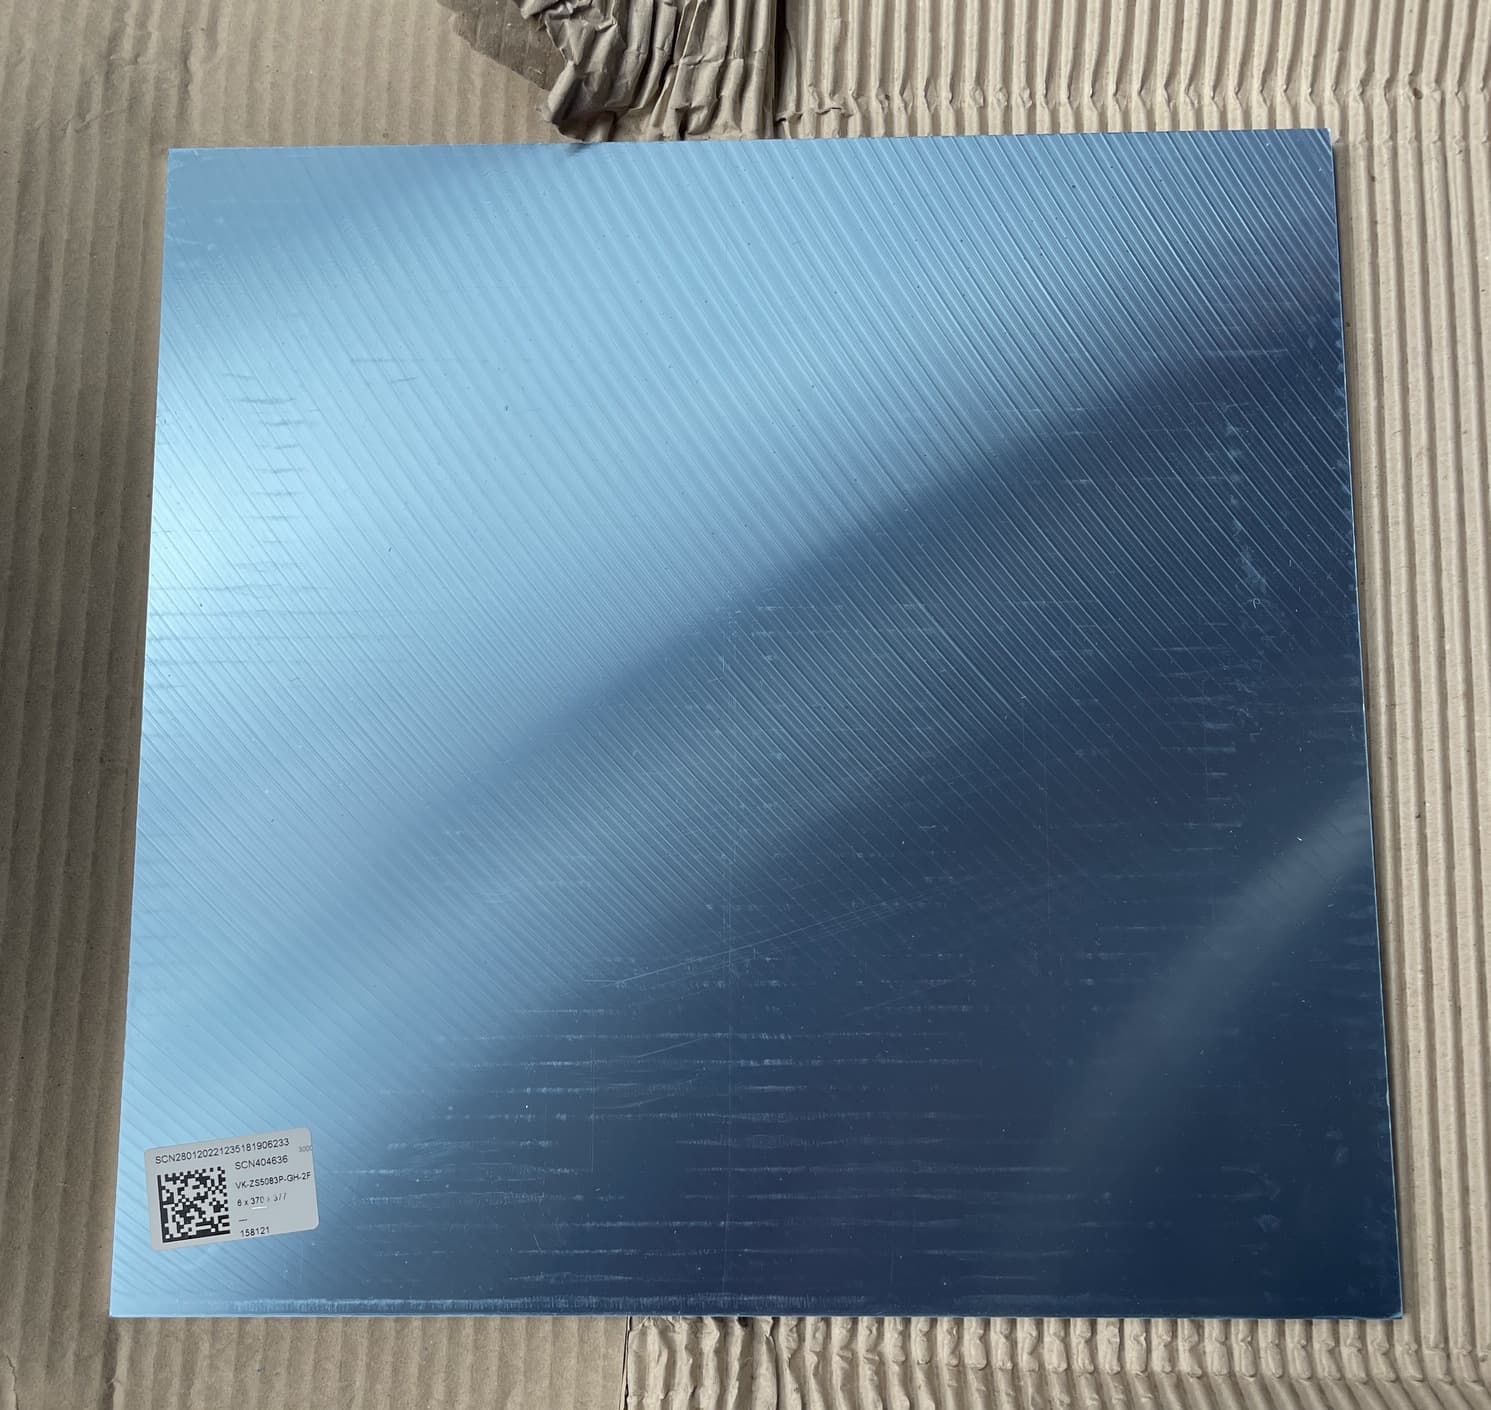
Alu bed for EU buyers 377x370: link or any other store selling quality alu bed for Ender-5 Plus
Plenty of other options related to bed size, type and relevant solutions including the one from Voron which is hard to source atm, original bed which comes with the kit is 310x310 but you can accommodate up to 400x400 size
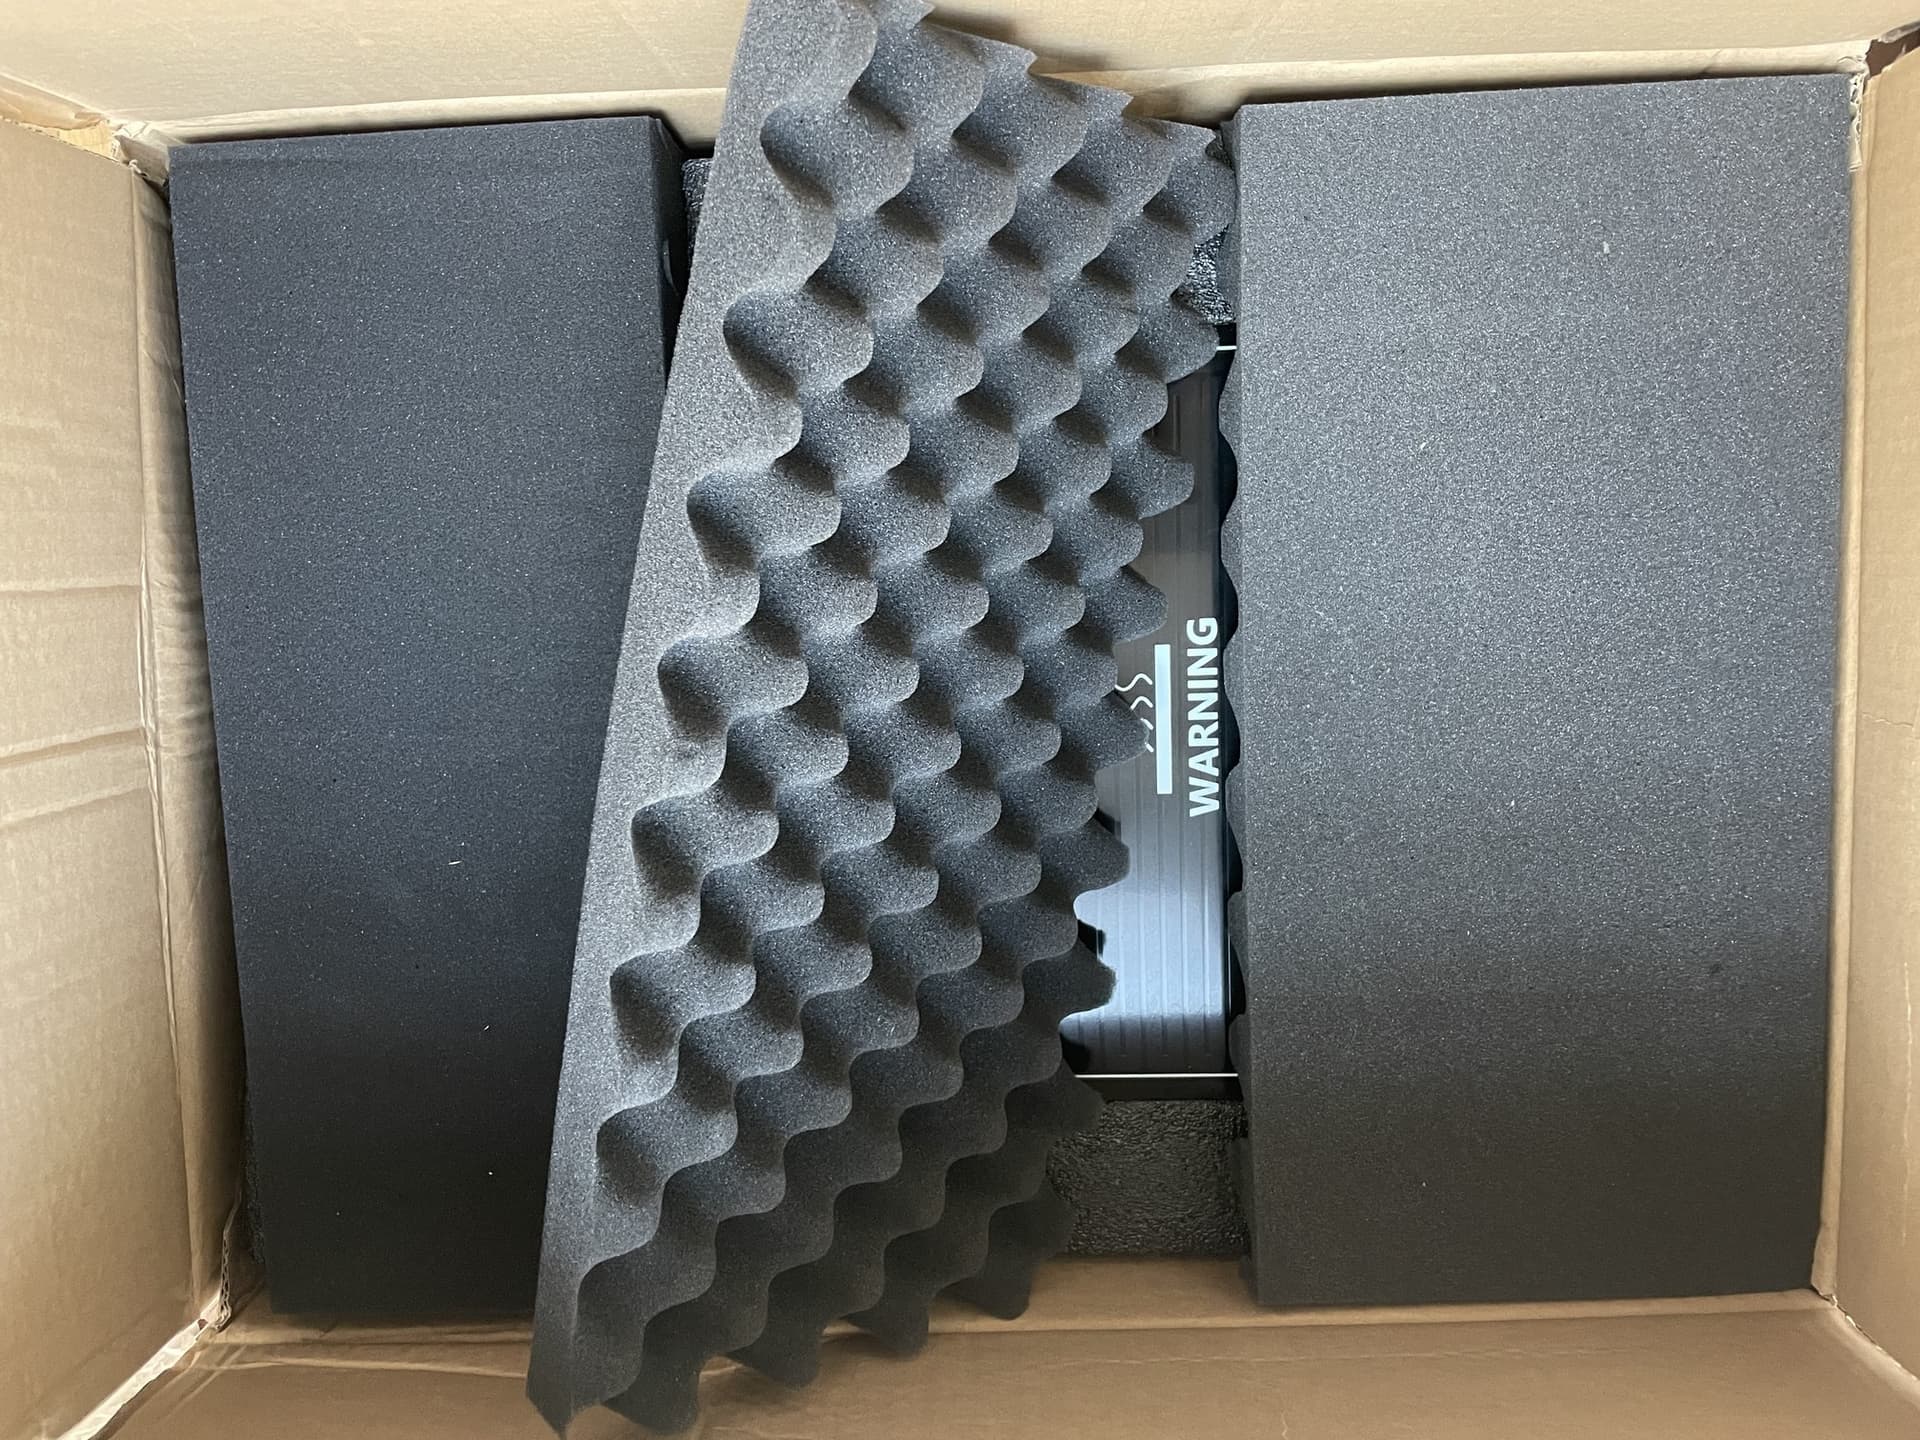
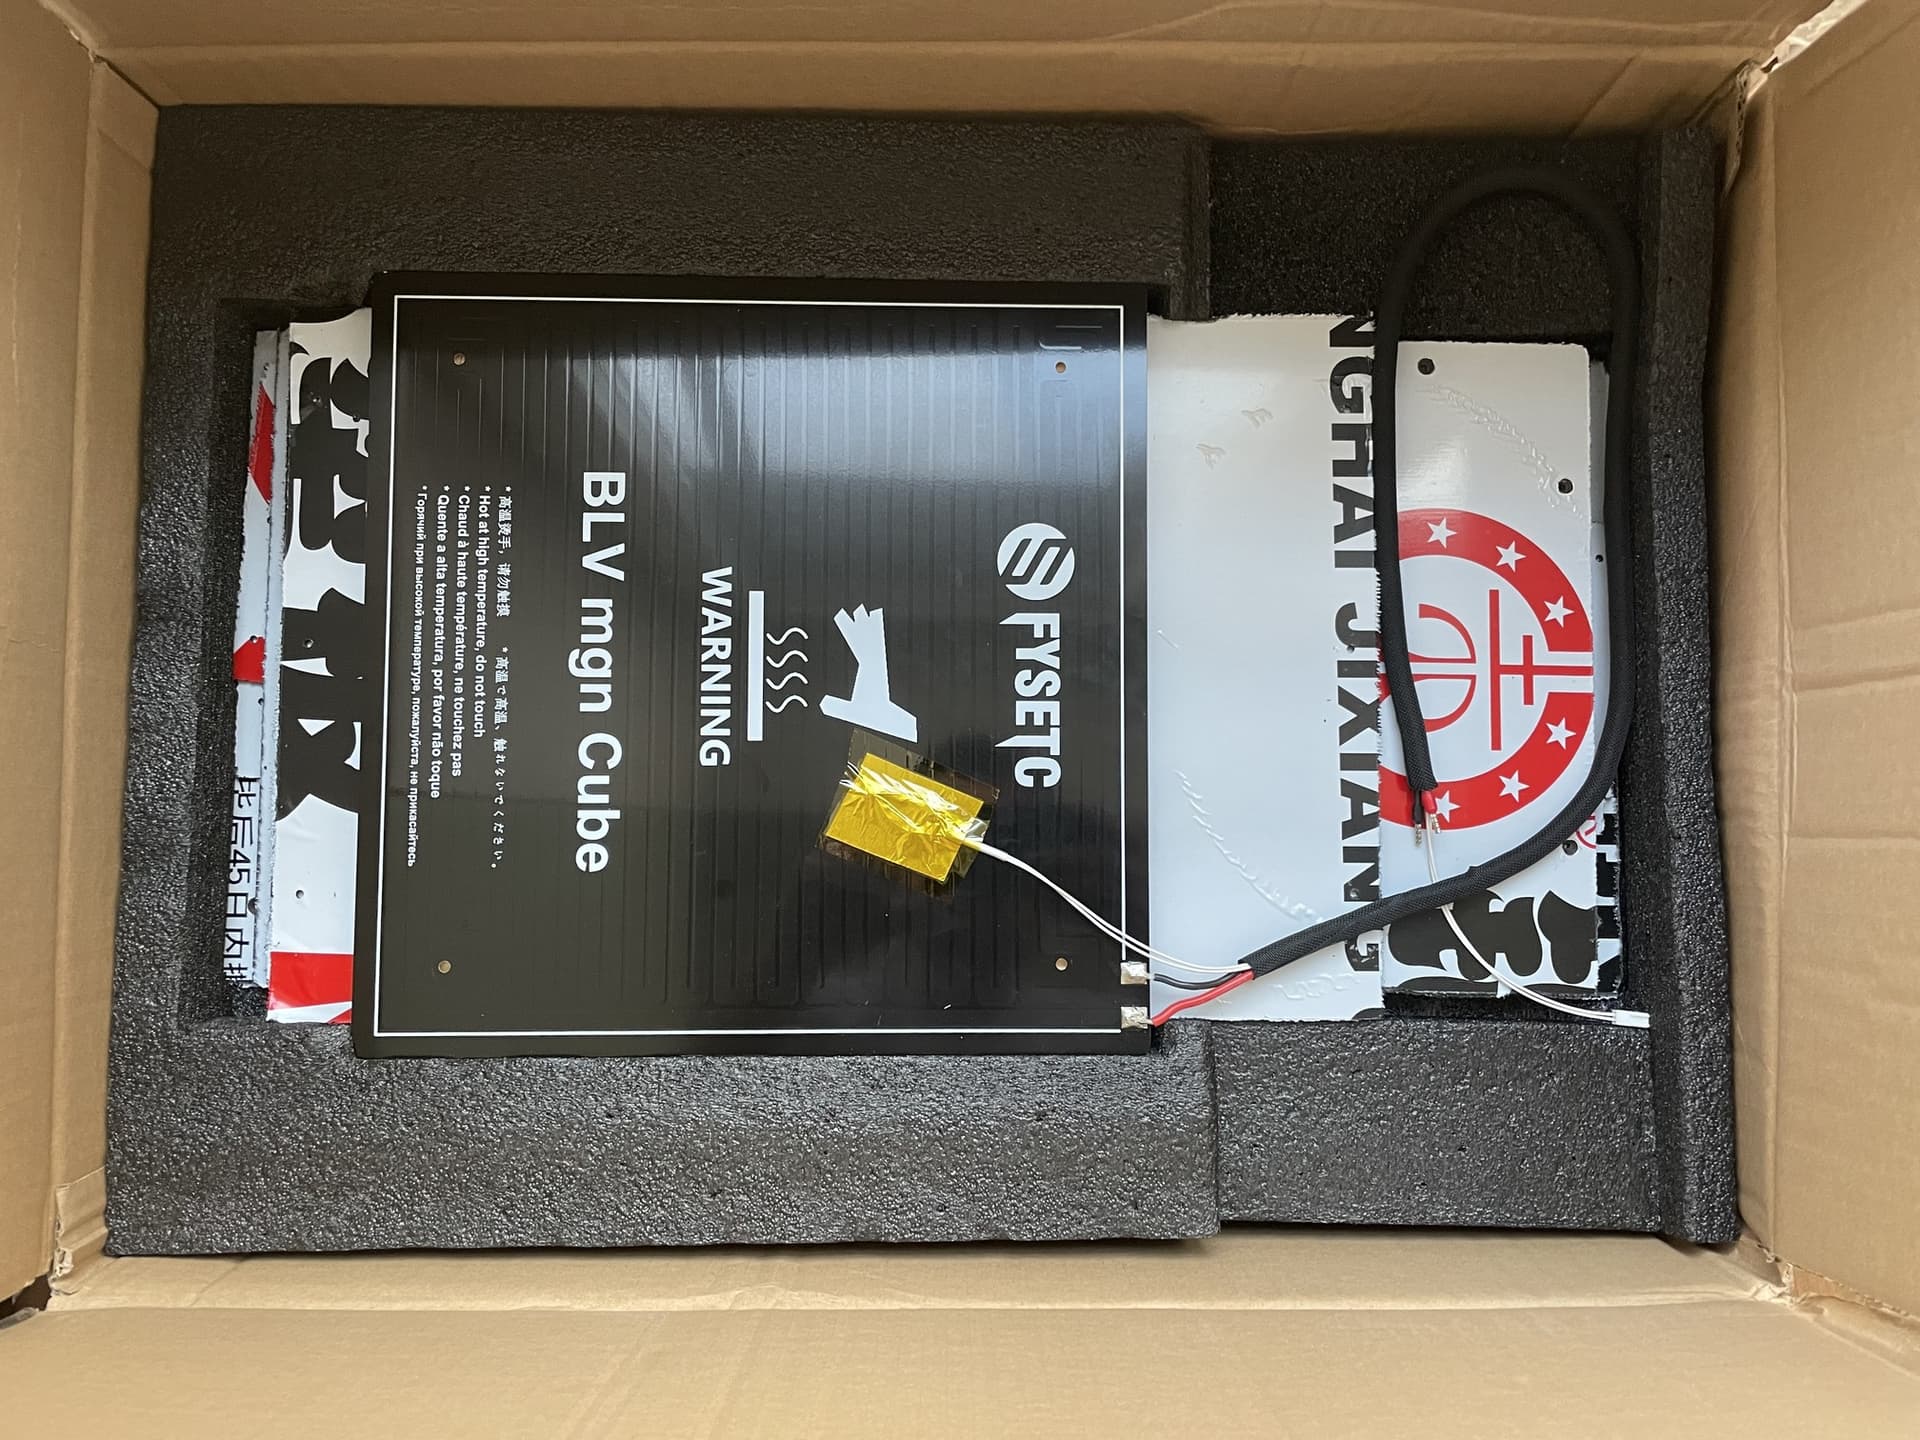
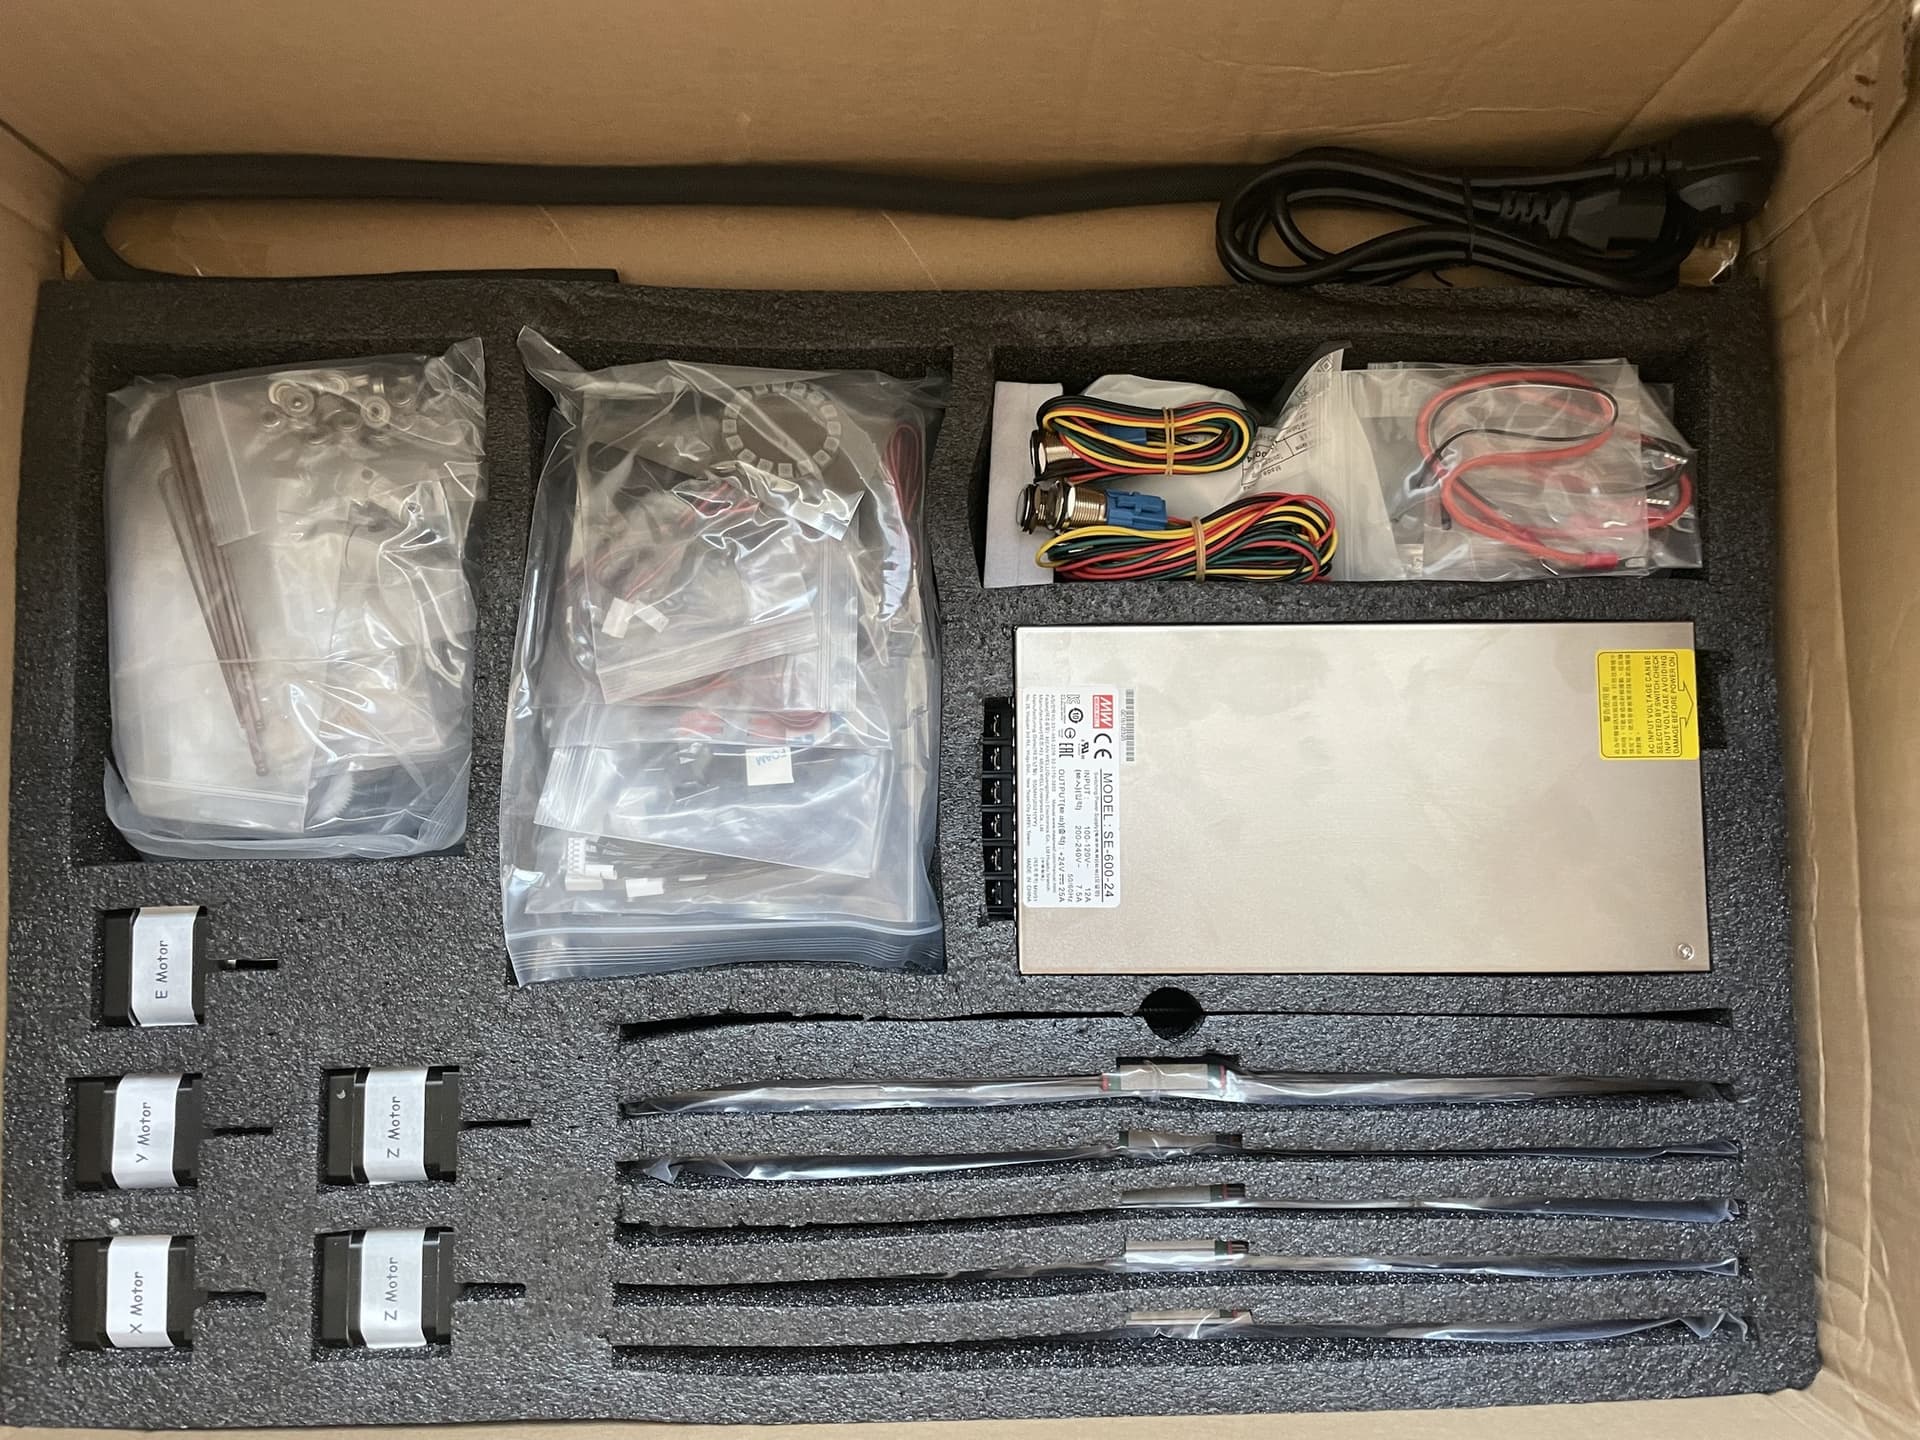
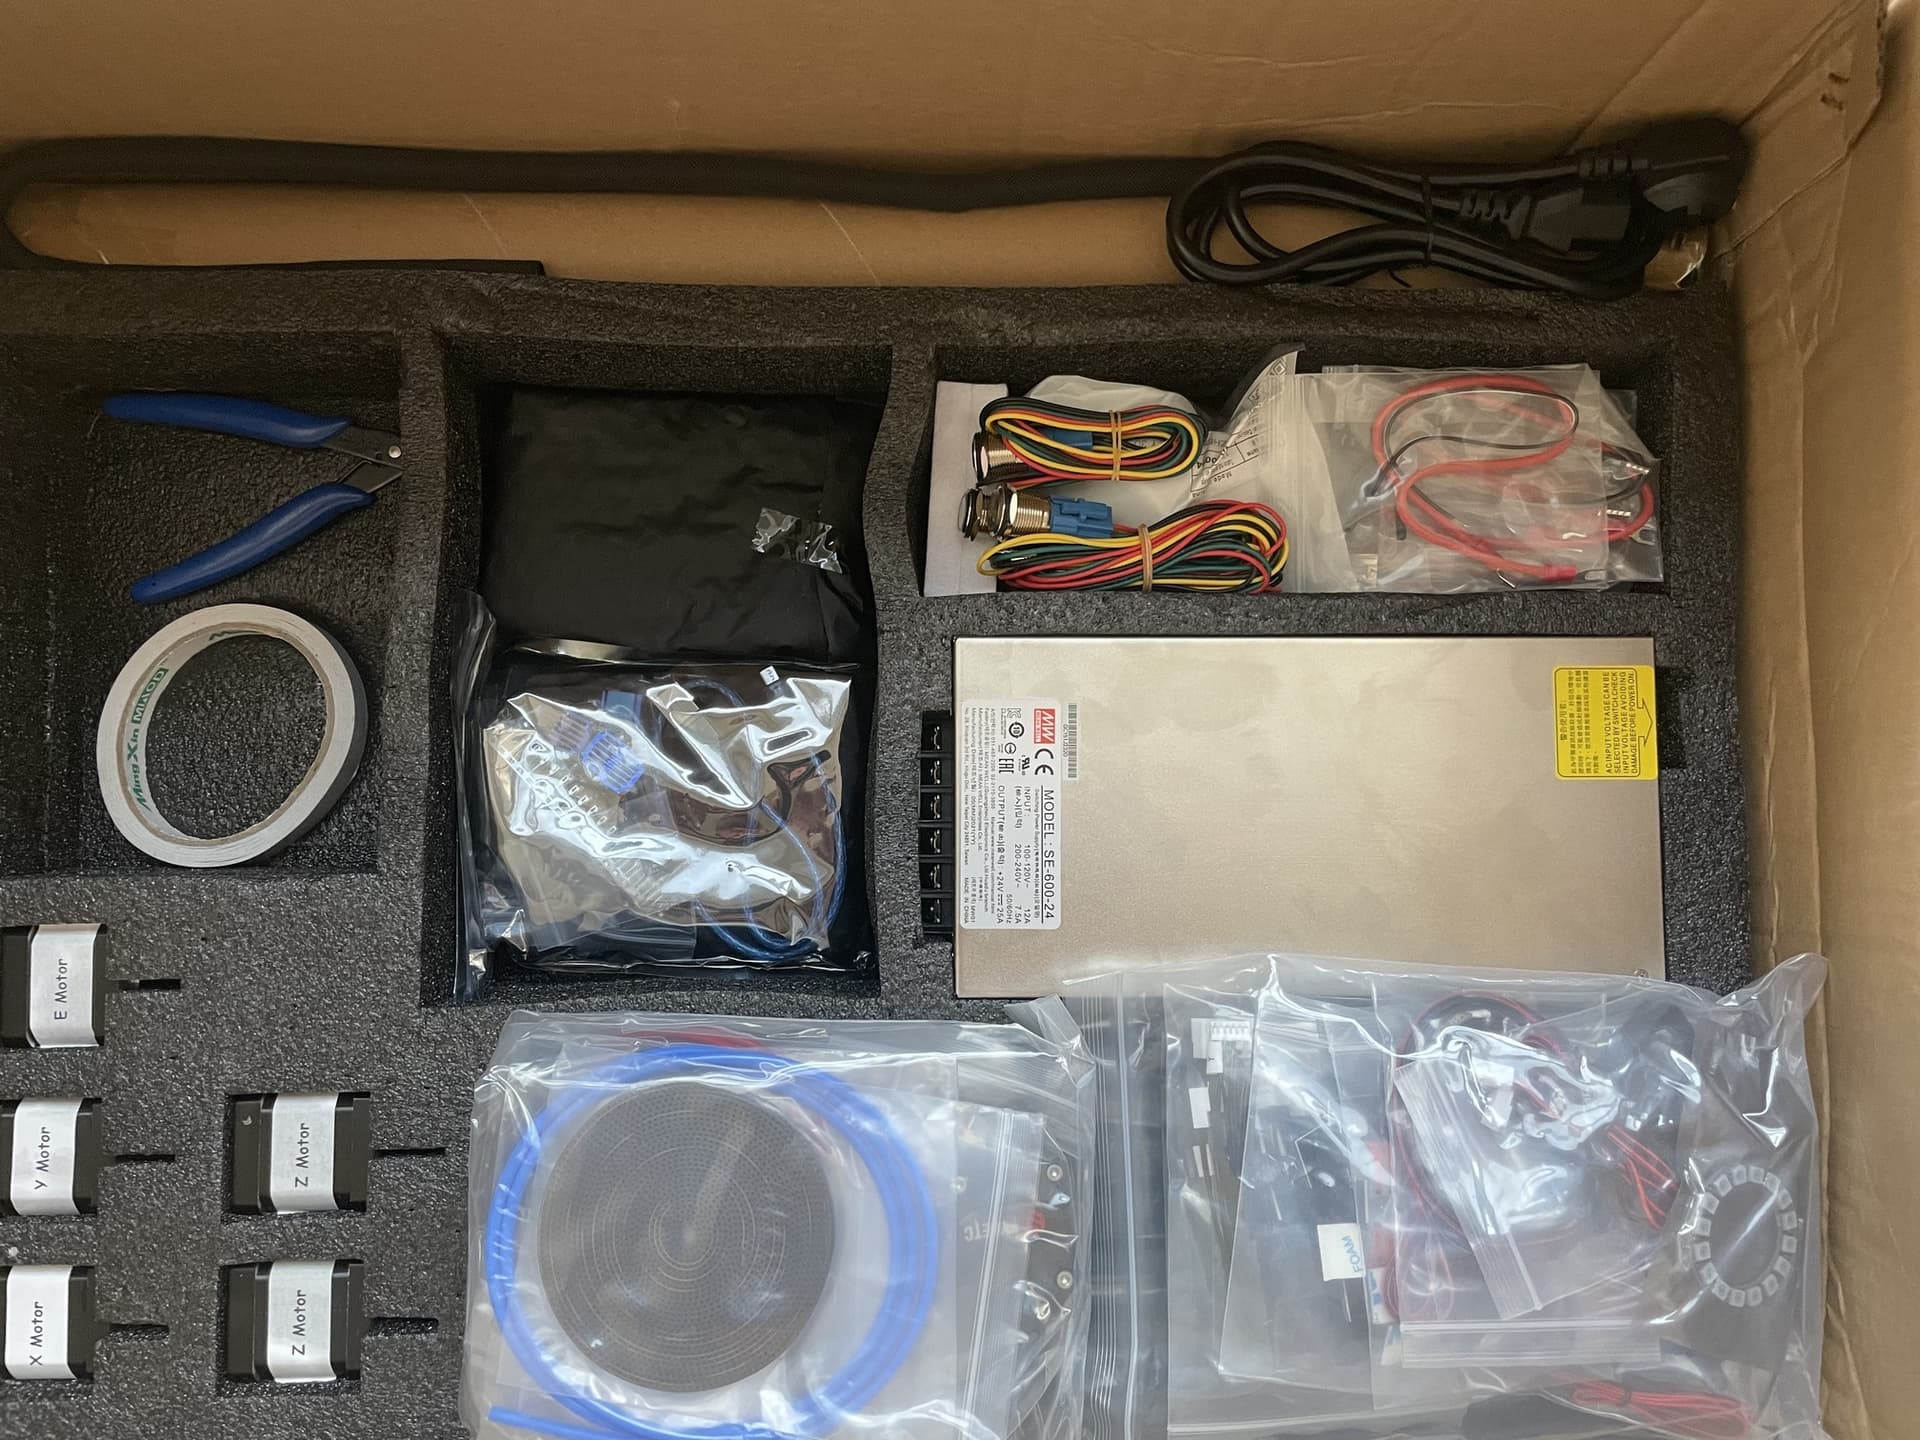
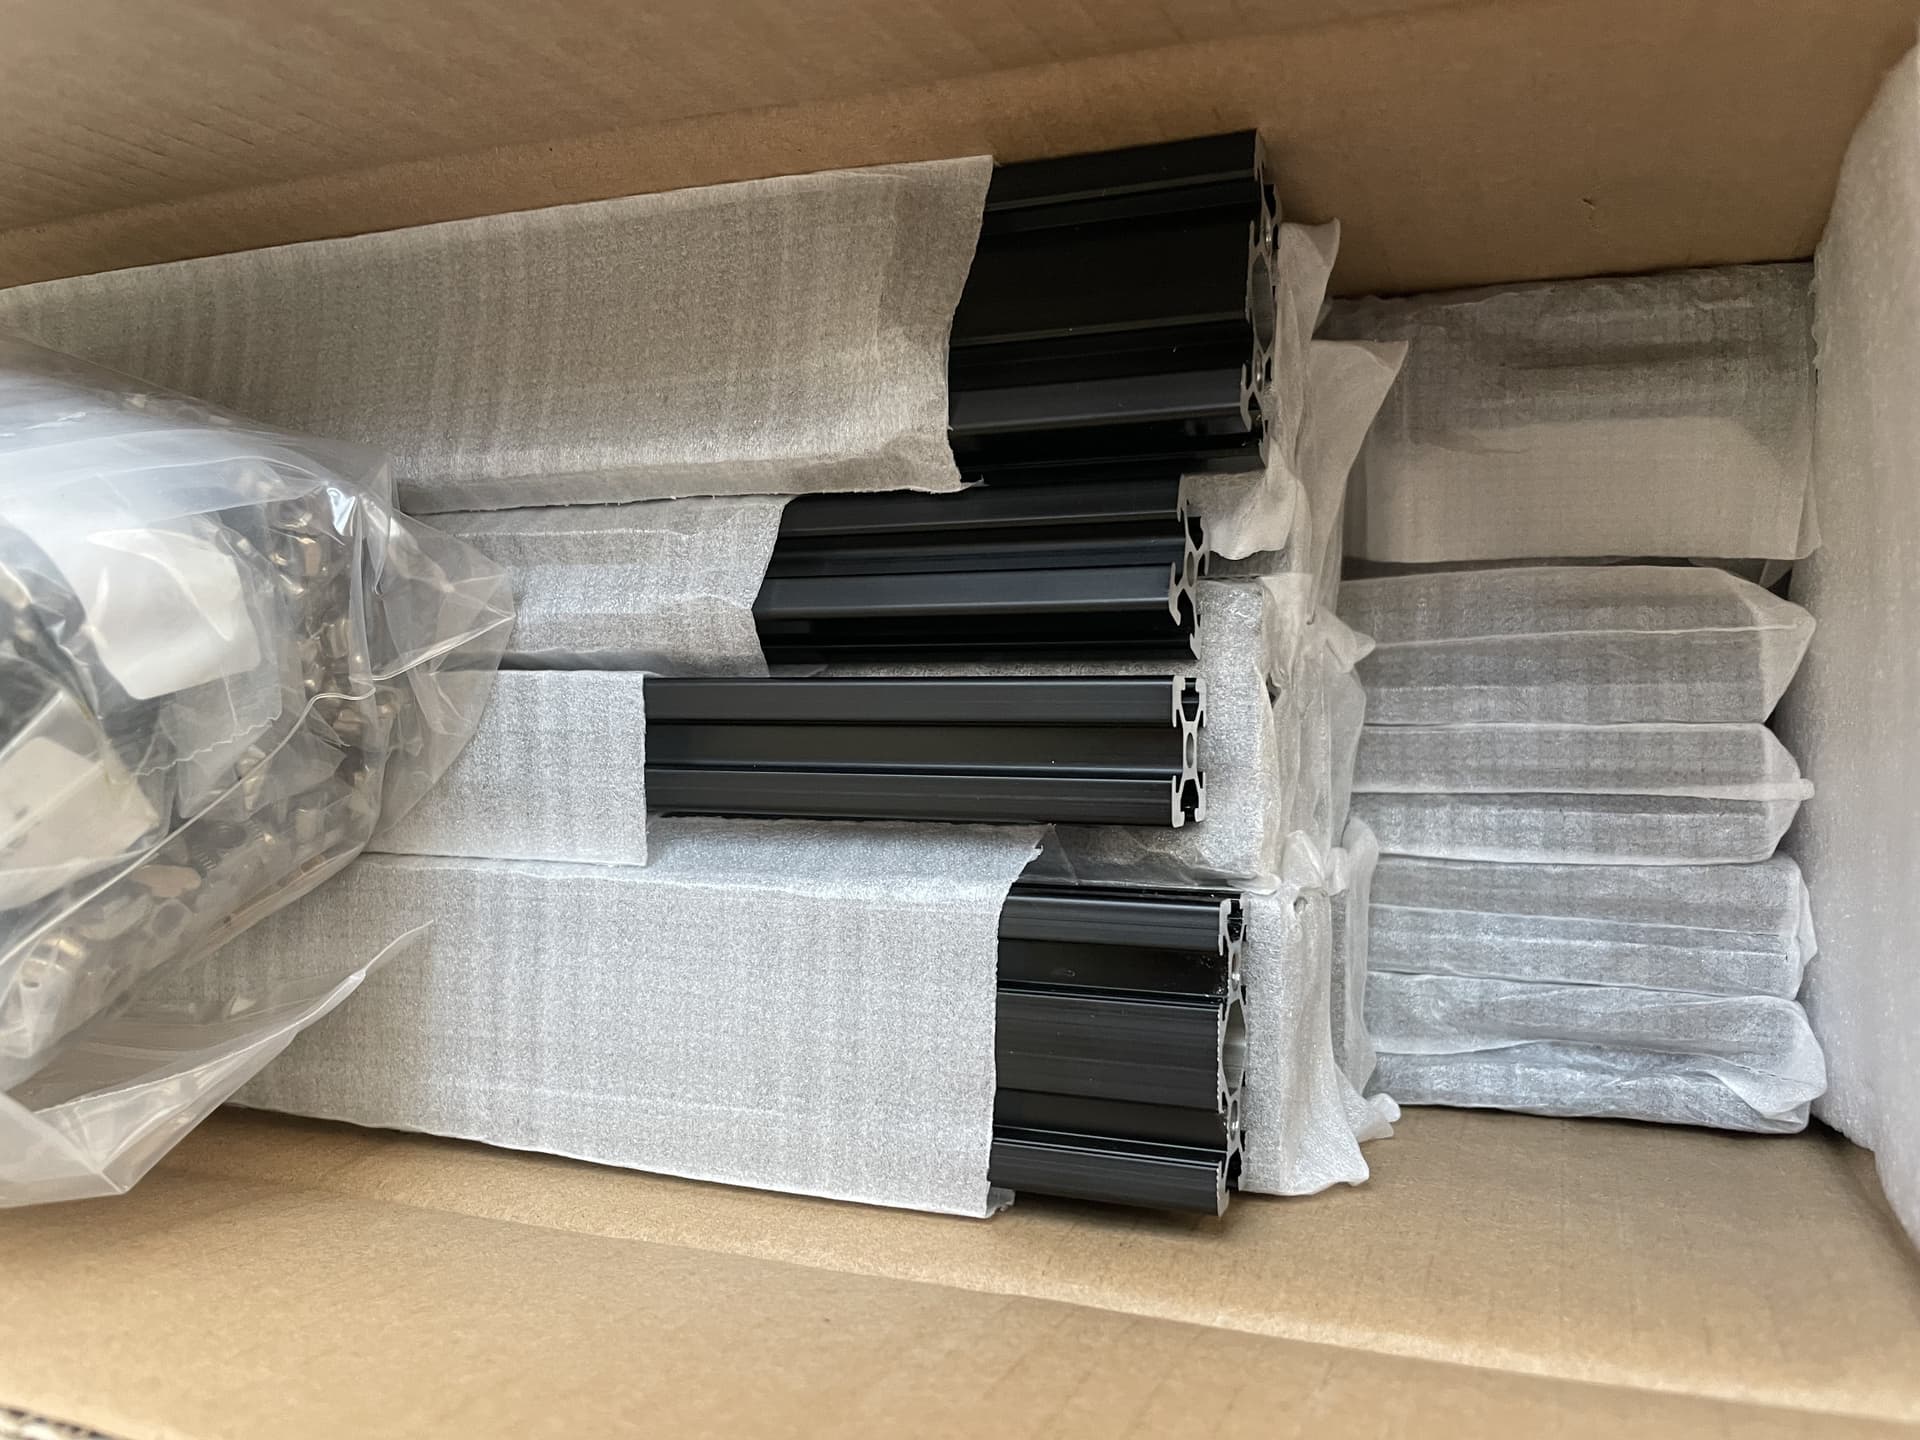
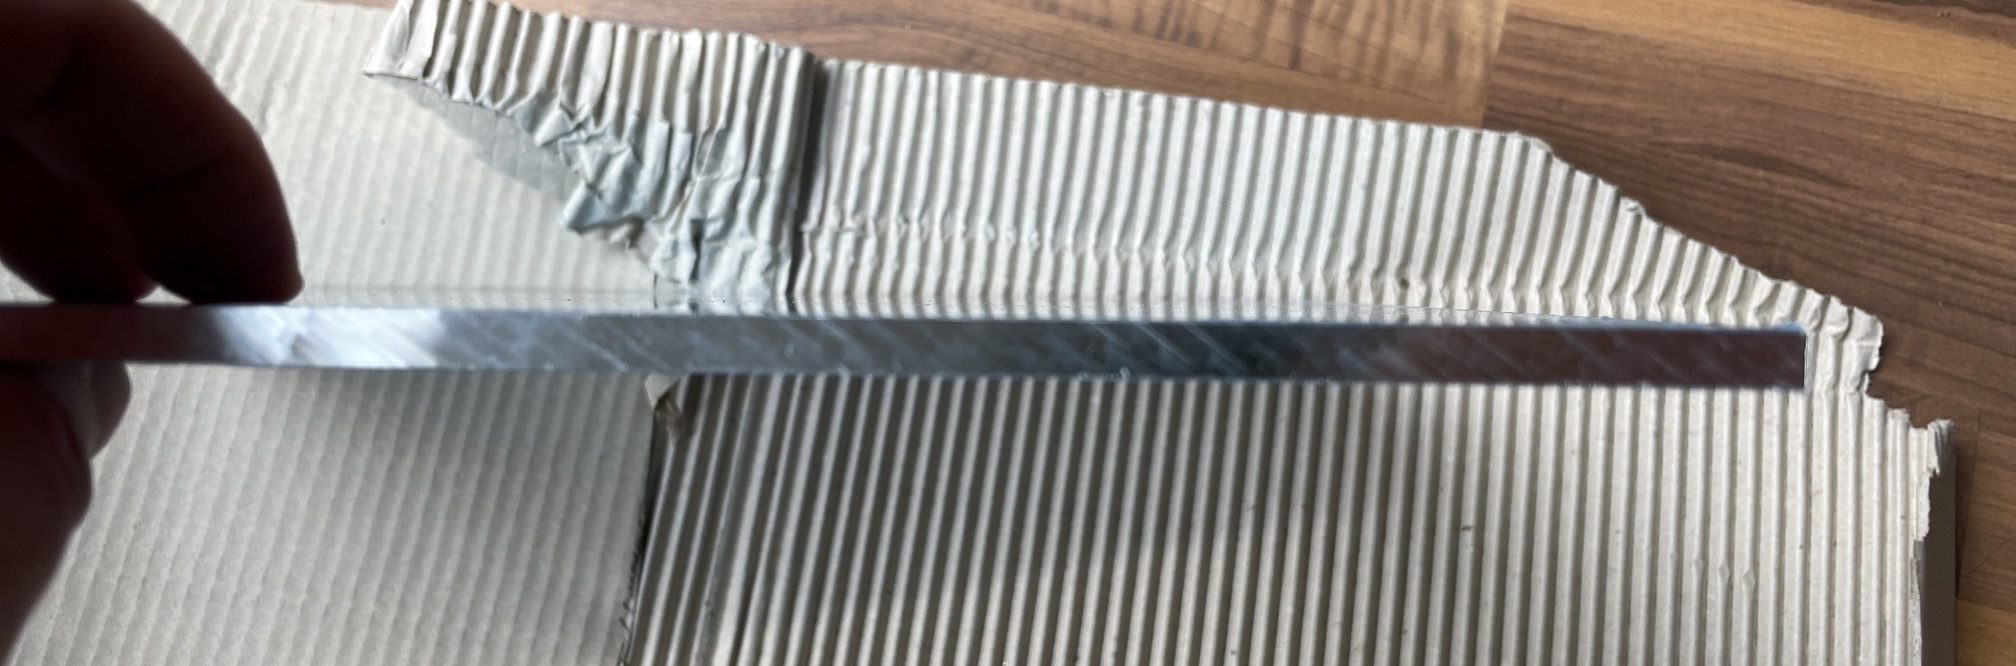
some parts like silicone bed heater are still on the way so won’t be able to start assembly but in the meantime I checked quality of the parts and extrusion and found out that the profiles are tapped and drilled ready for blind joints which is unexpected surprise, assembly video from Fysetc confirms this so I’m super happy as I don’t have to waste hours doing it myself, excellent
Hopefully I can start assembly sometime next week
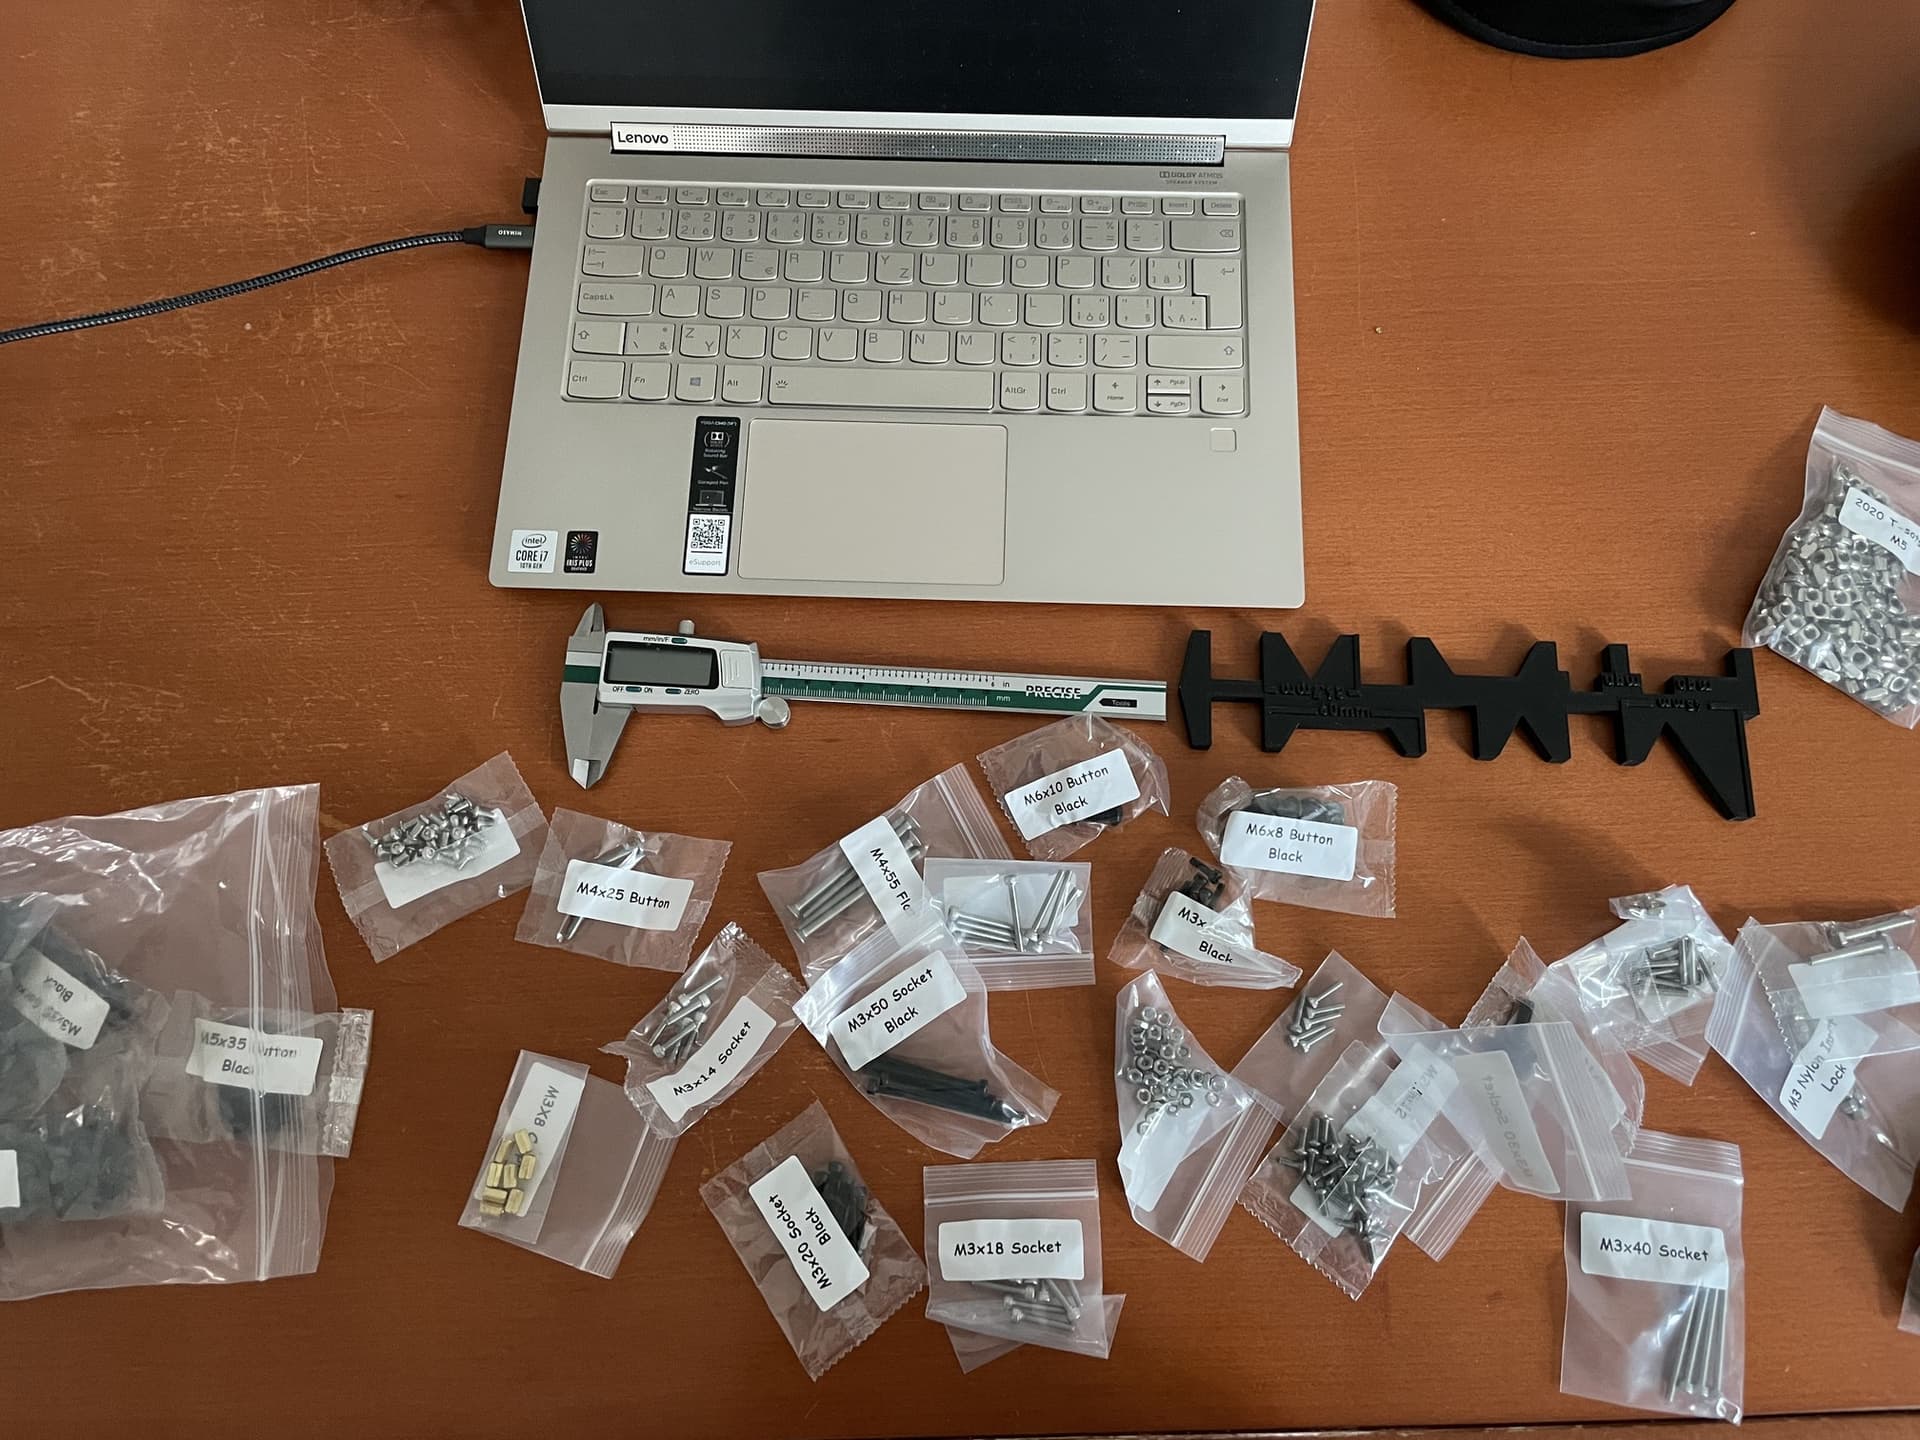
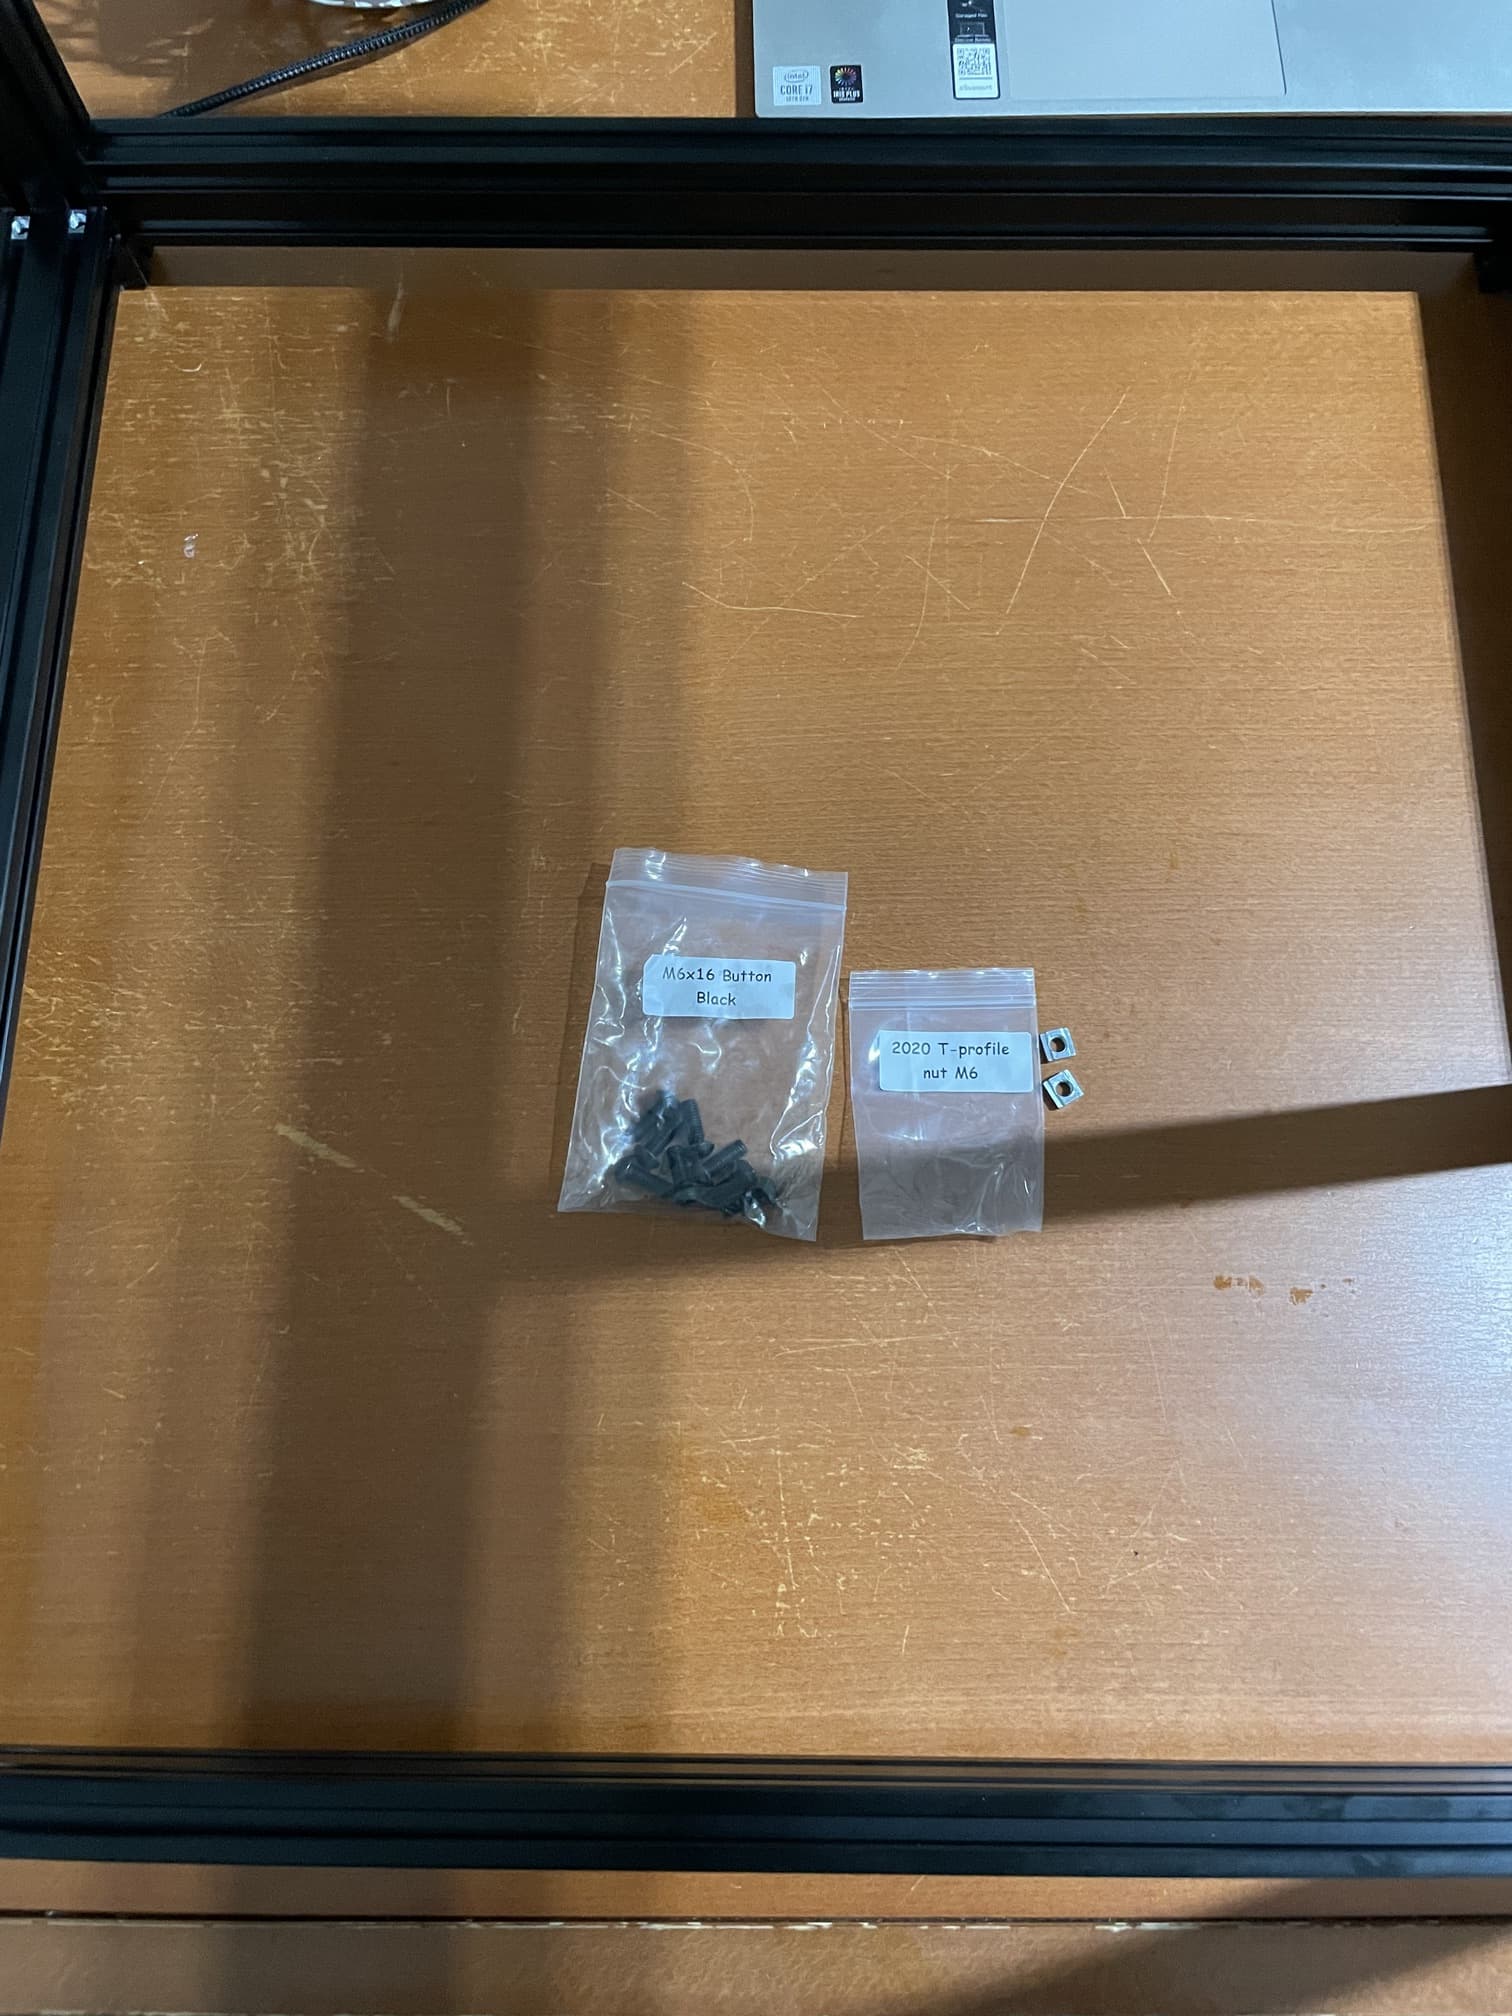
except none of the online manuals including videos showing which bolts and nuts use where
after closer look I just figured out for main frame it should be these two packs, also online instruction videos won’t tell you which extrusion (length) where so I had to have open the frame pdf with all the dimensions, not sure why they couldn’t add this info into their instructions during assembly
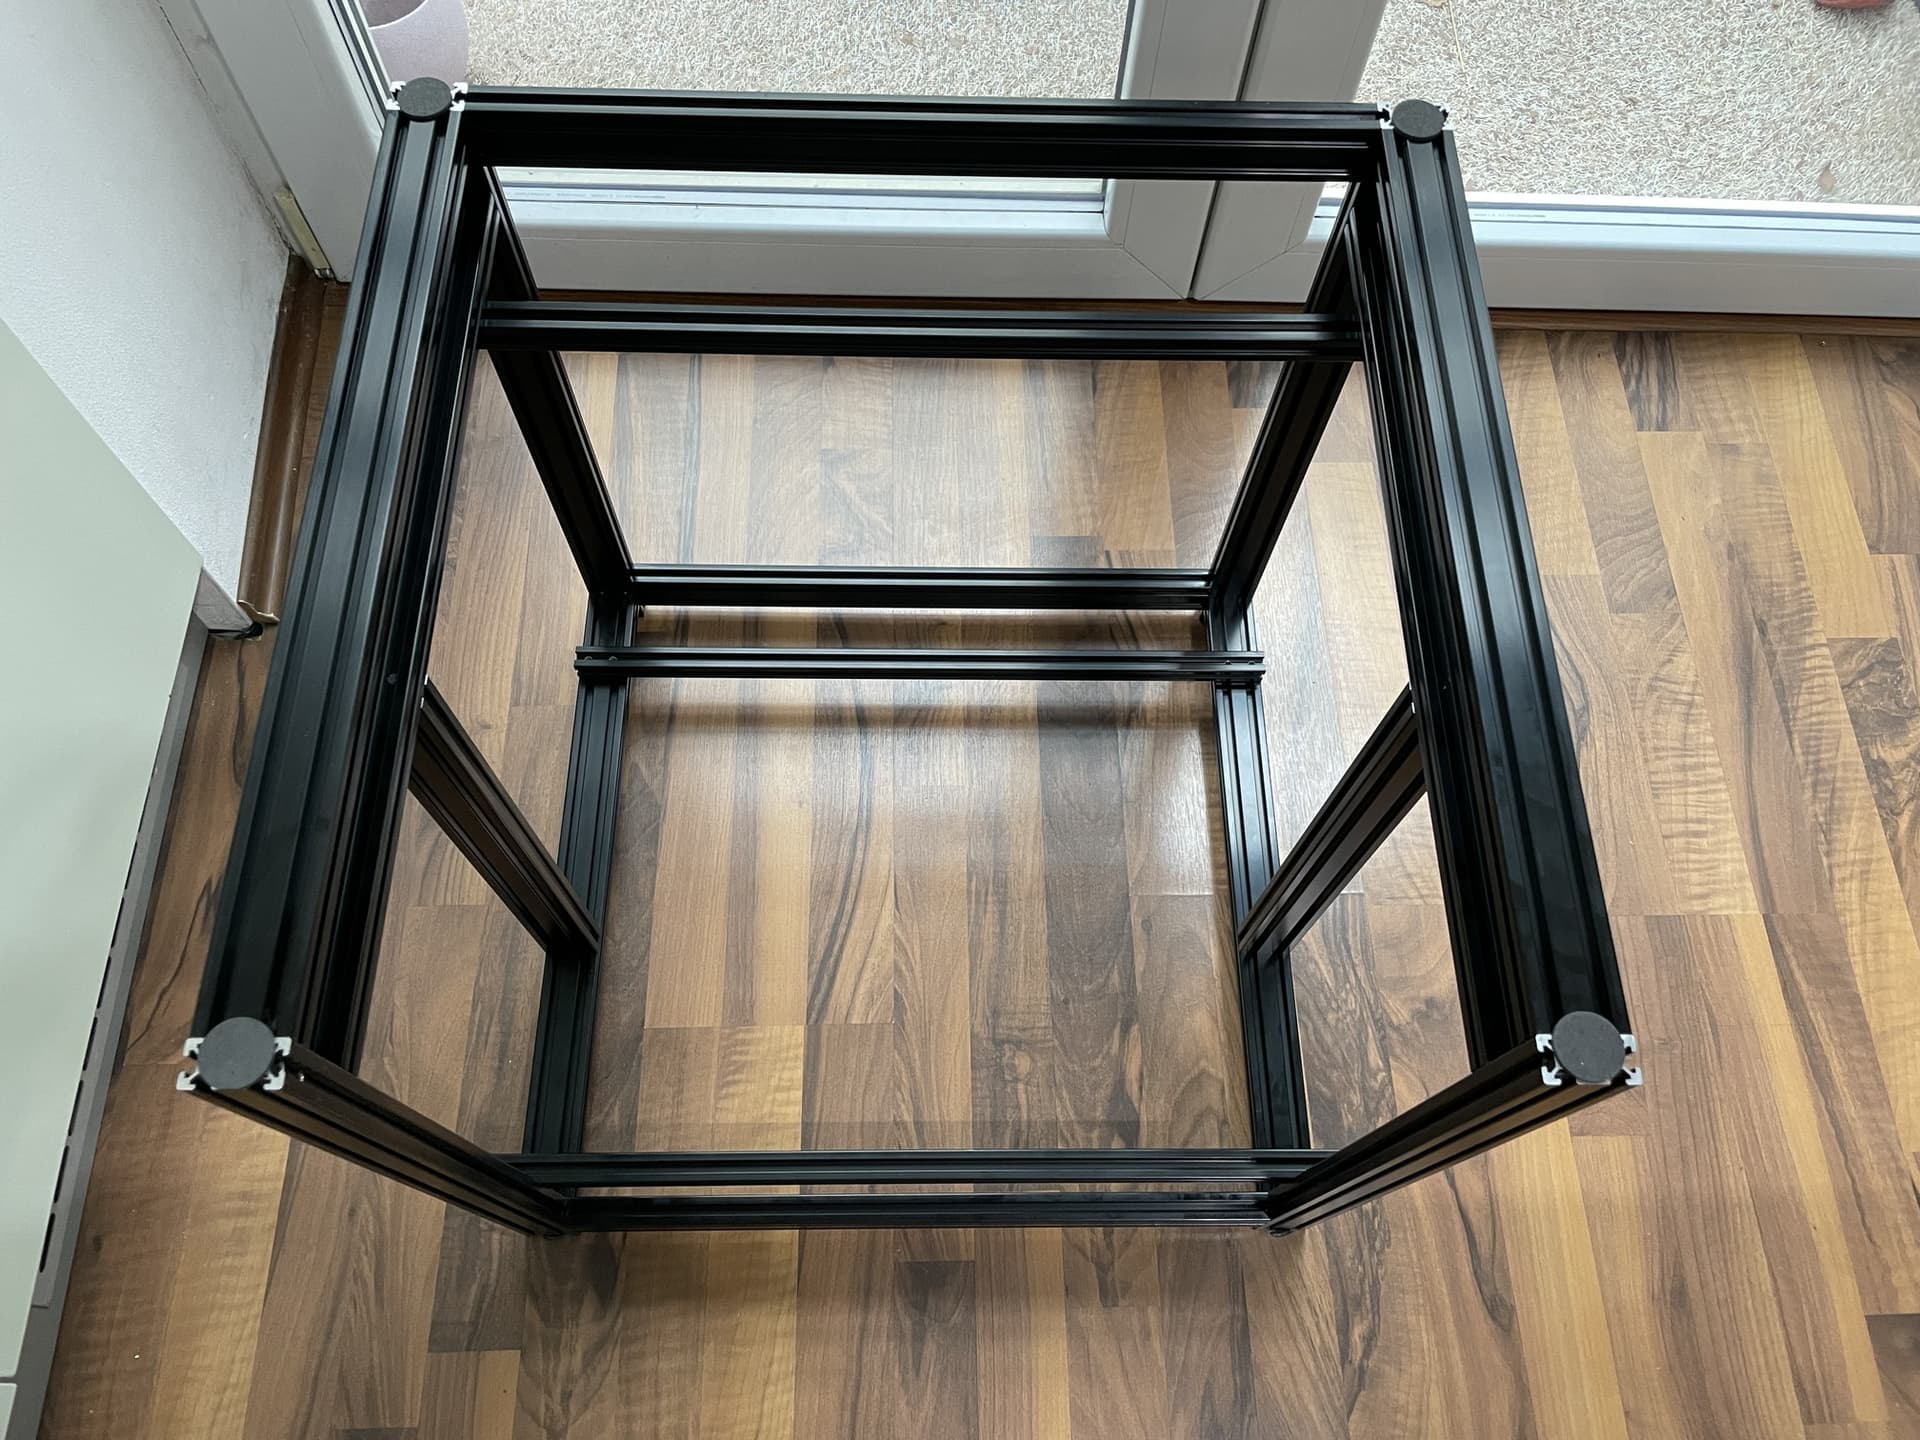
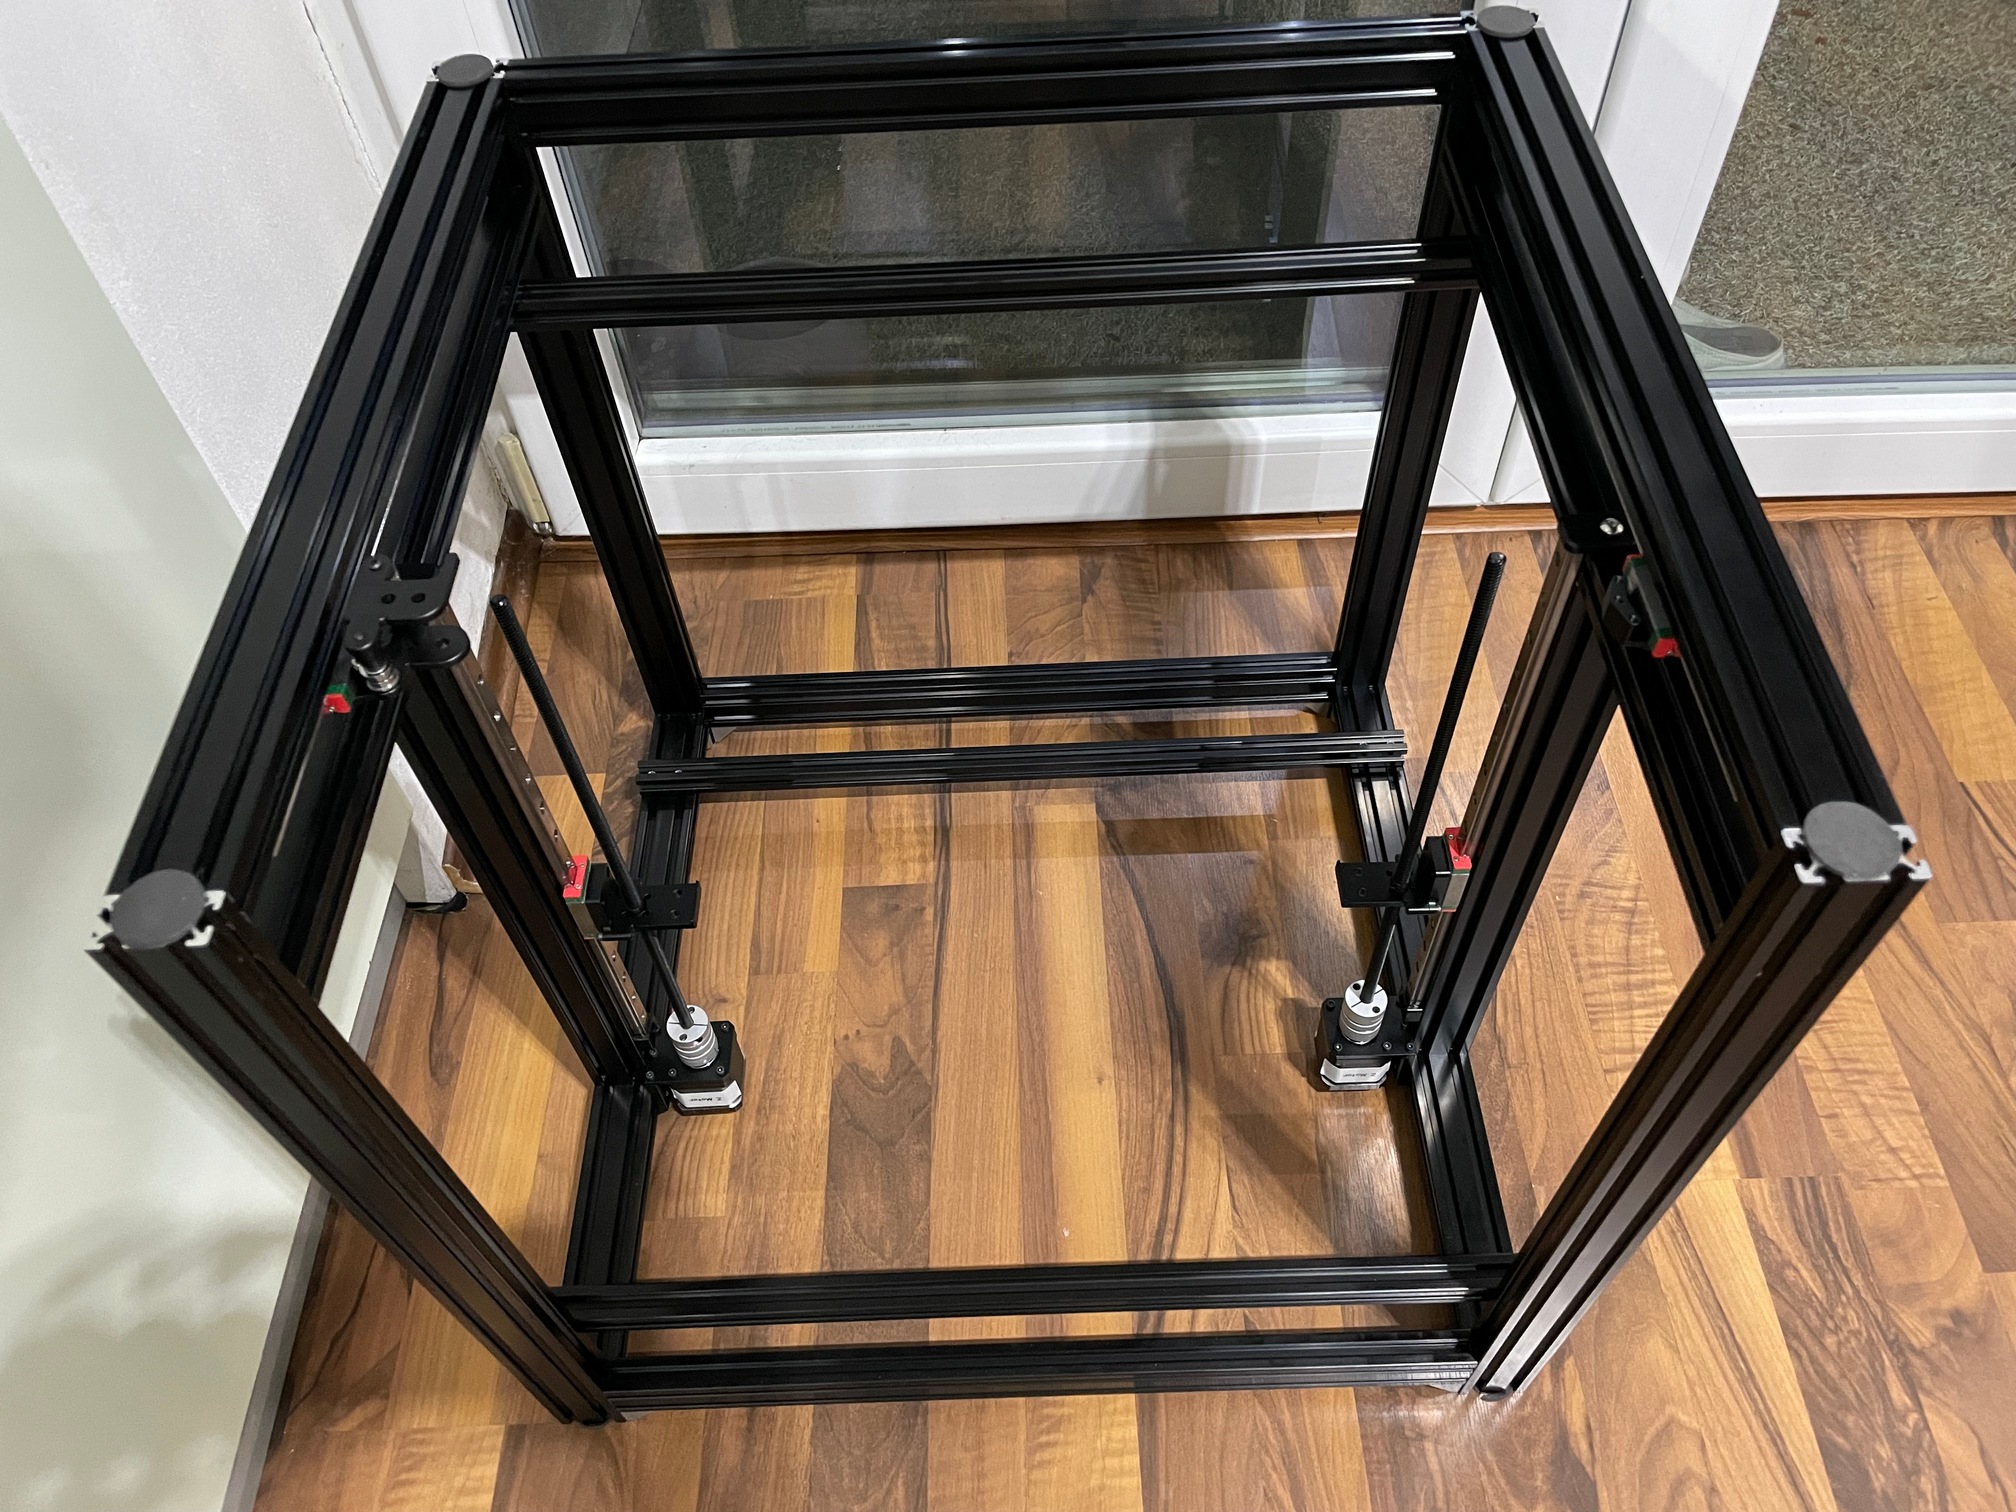
and after over 1.5 hours or so I had the main frame assembled, it could have been much faster/shorter if all the extrusion were either labelled or dimensions in instructions provided, oh well, maybe next time
yeah, those blind joins are night and day compared to corner brackets…originally I thought I’ll use those corner plates to first secure the outer part of the frame and would be forced to buy corner clamps to align it but fortunately found out about blind joins so happy at the end, still gotta pull out the 300mm caliper and remeasure the Y and Z extrusion alignment…
Are you still using yours or does it catching dust somewhere in the corner?
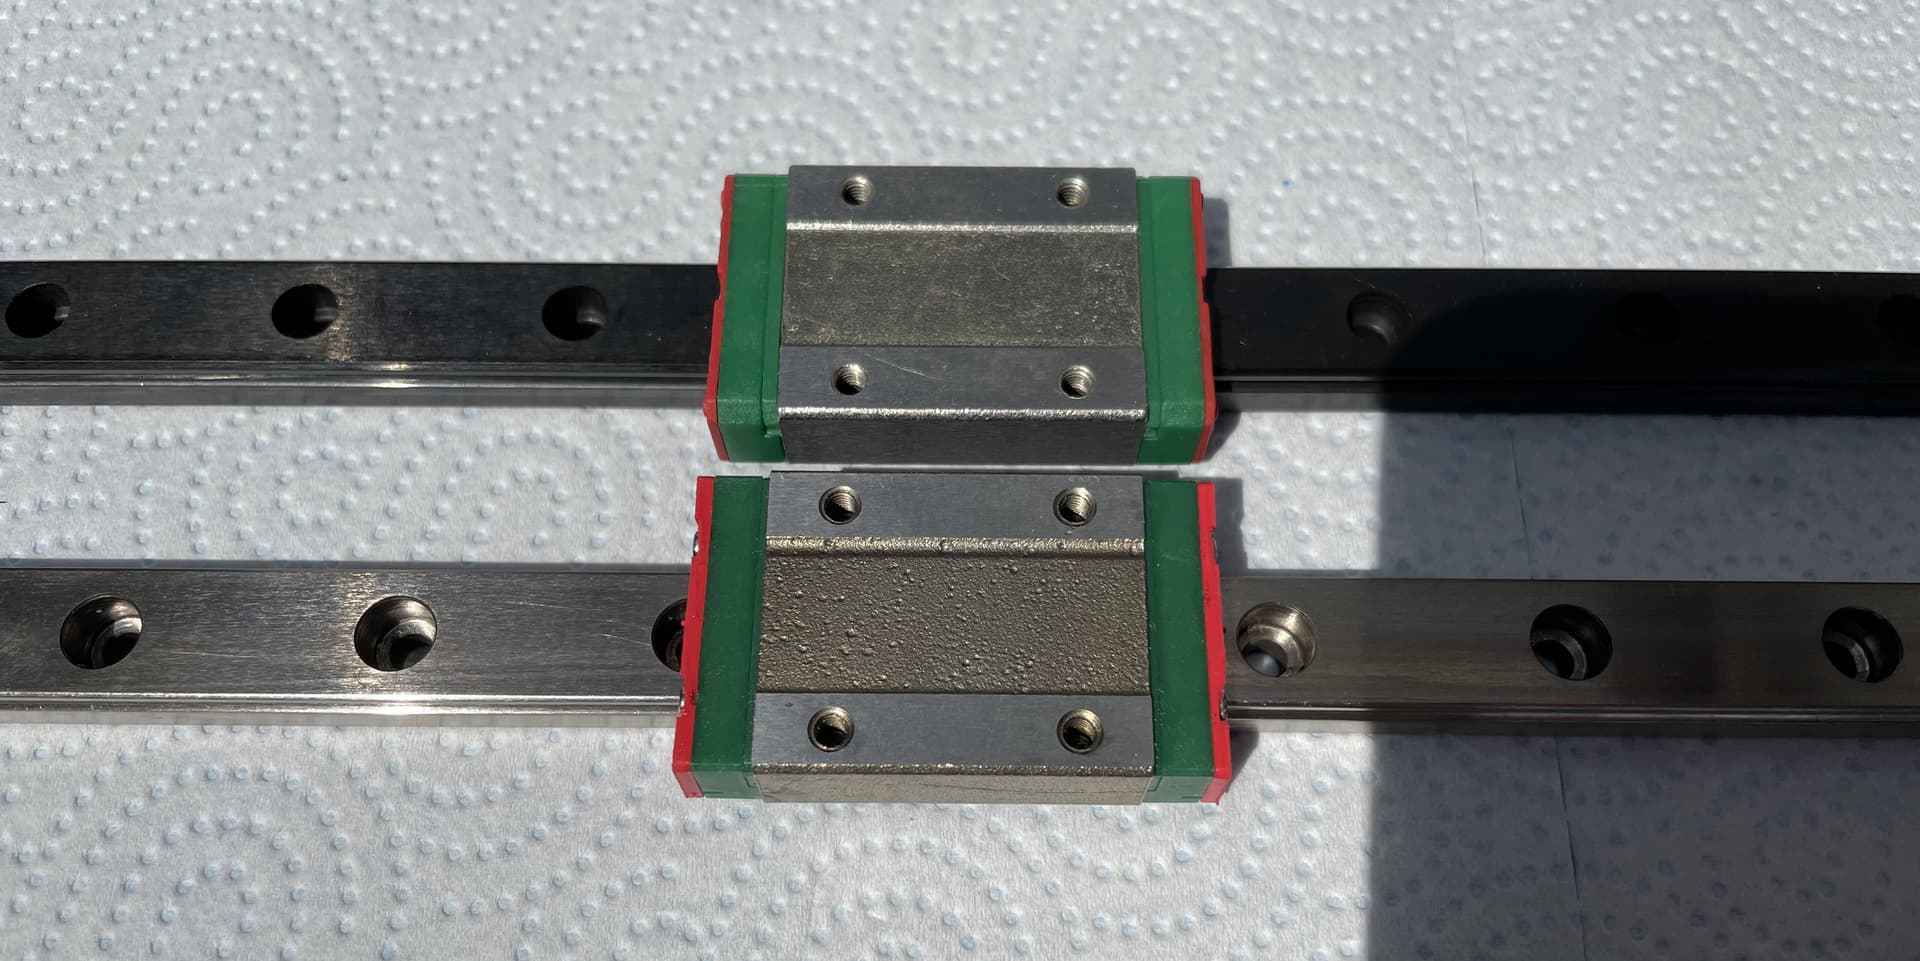
started to work on linear rails, after first inspection can’t say I’m impressed like with the frame, cheap quality sliders and one of the rails is bent
on 2 of them soft rubber dust cover (of uknown quality) rubbing on the rail holes so the motion feels like sliding on the stairs, second one seems to have uneven surface so it doesn’t move freely, oh well, I didn’t expect everything will be perfect, so will use my high quality rails from other cancelled project and will order 1 extra for X gantry from local WH, remaining 2 of them I’ll use on Z
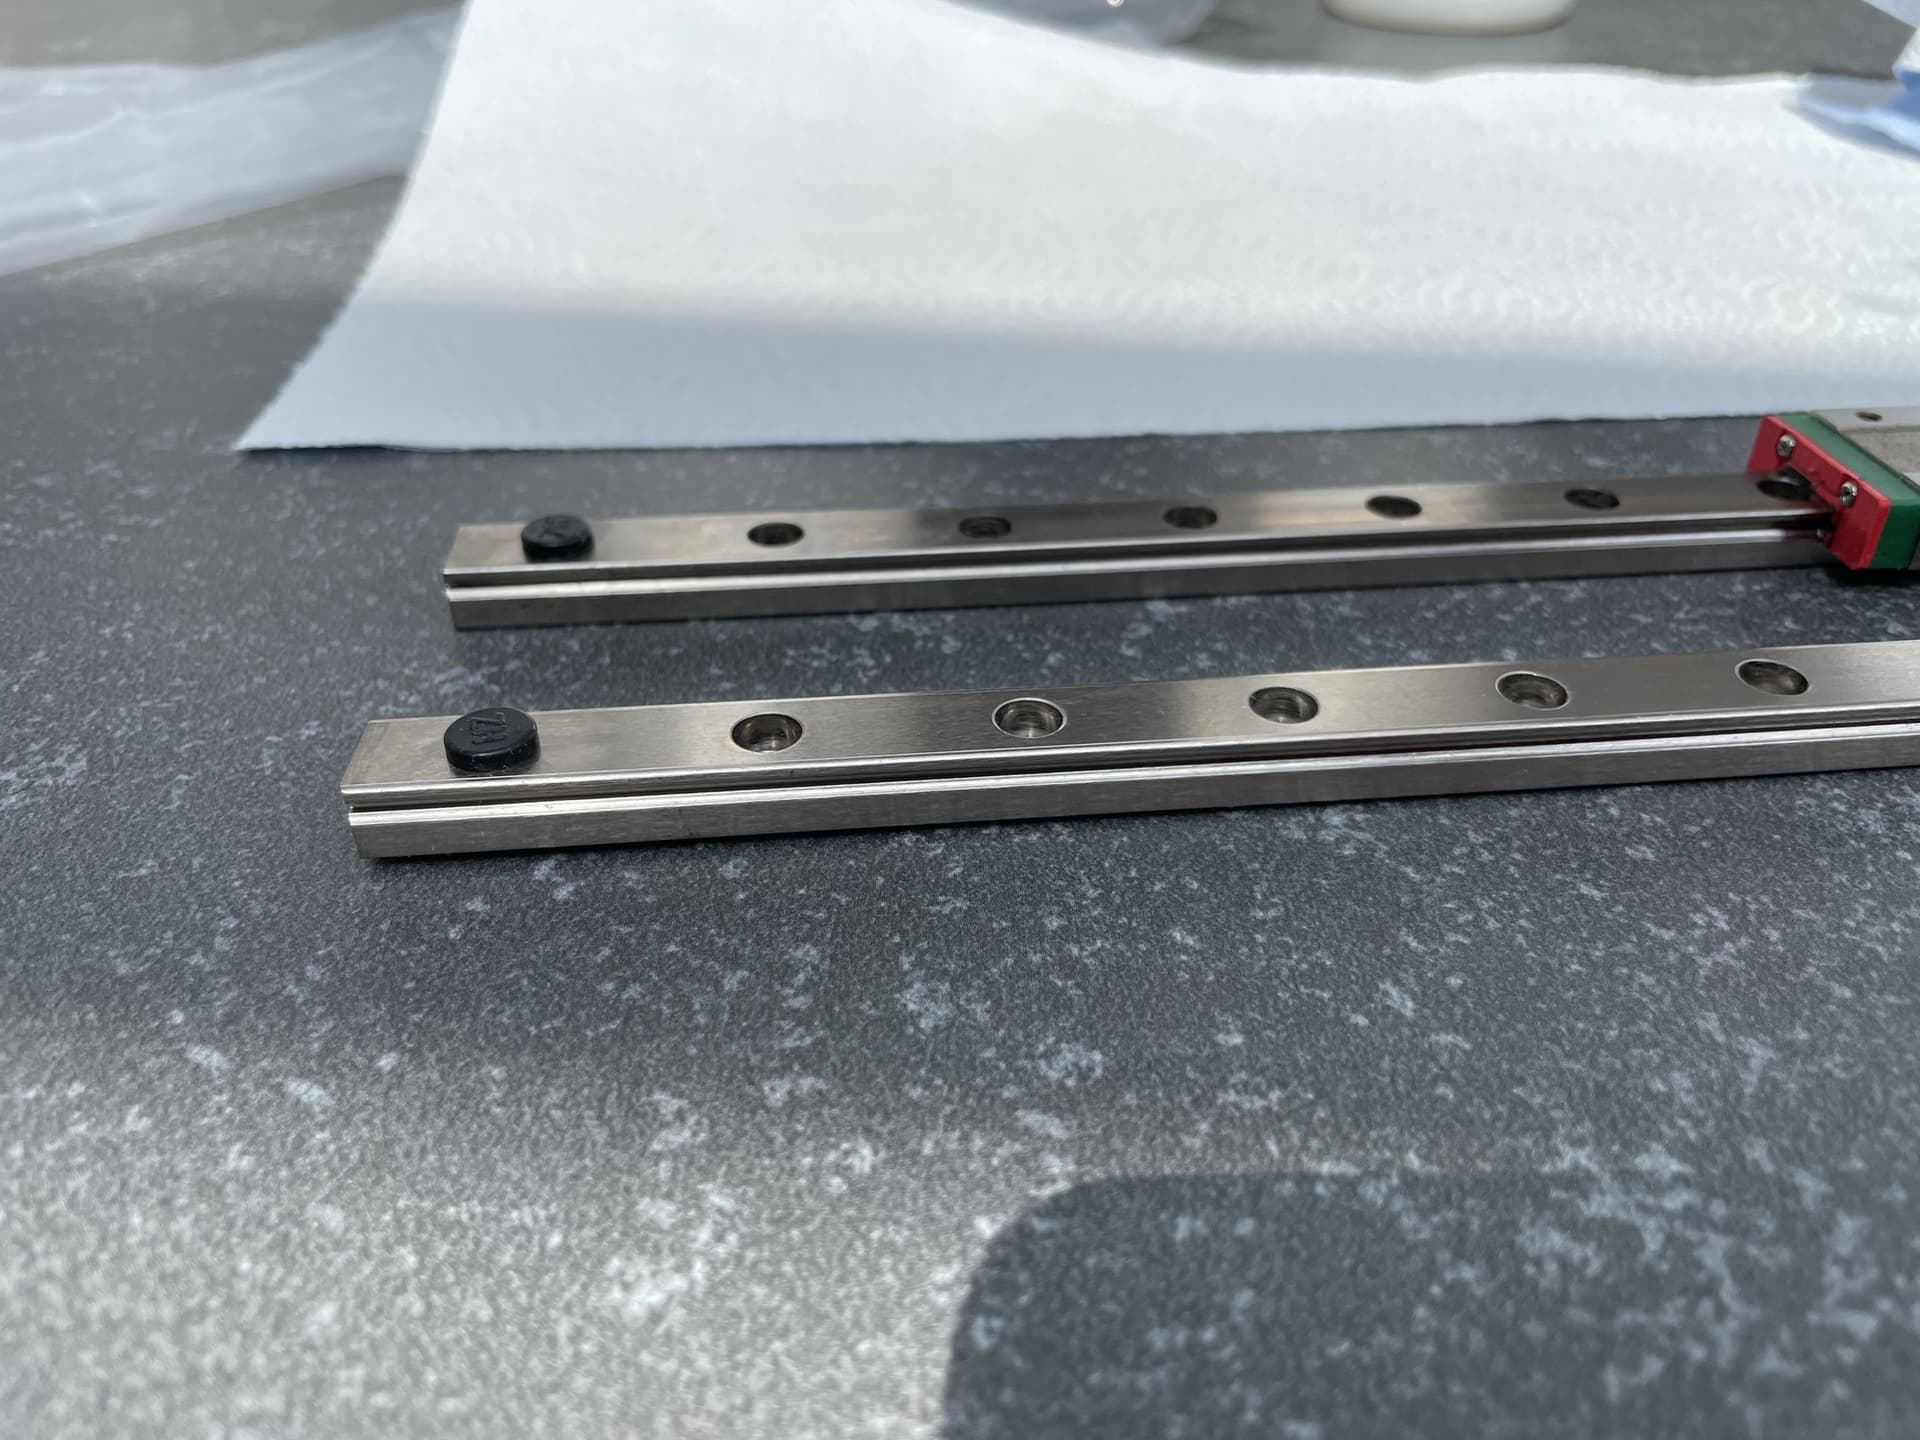
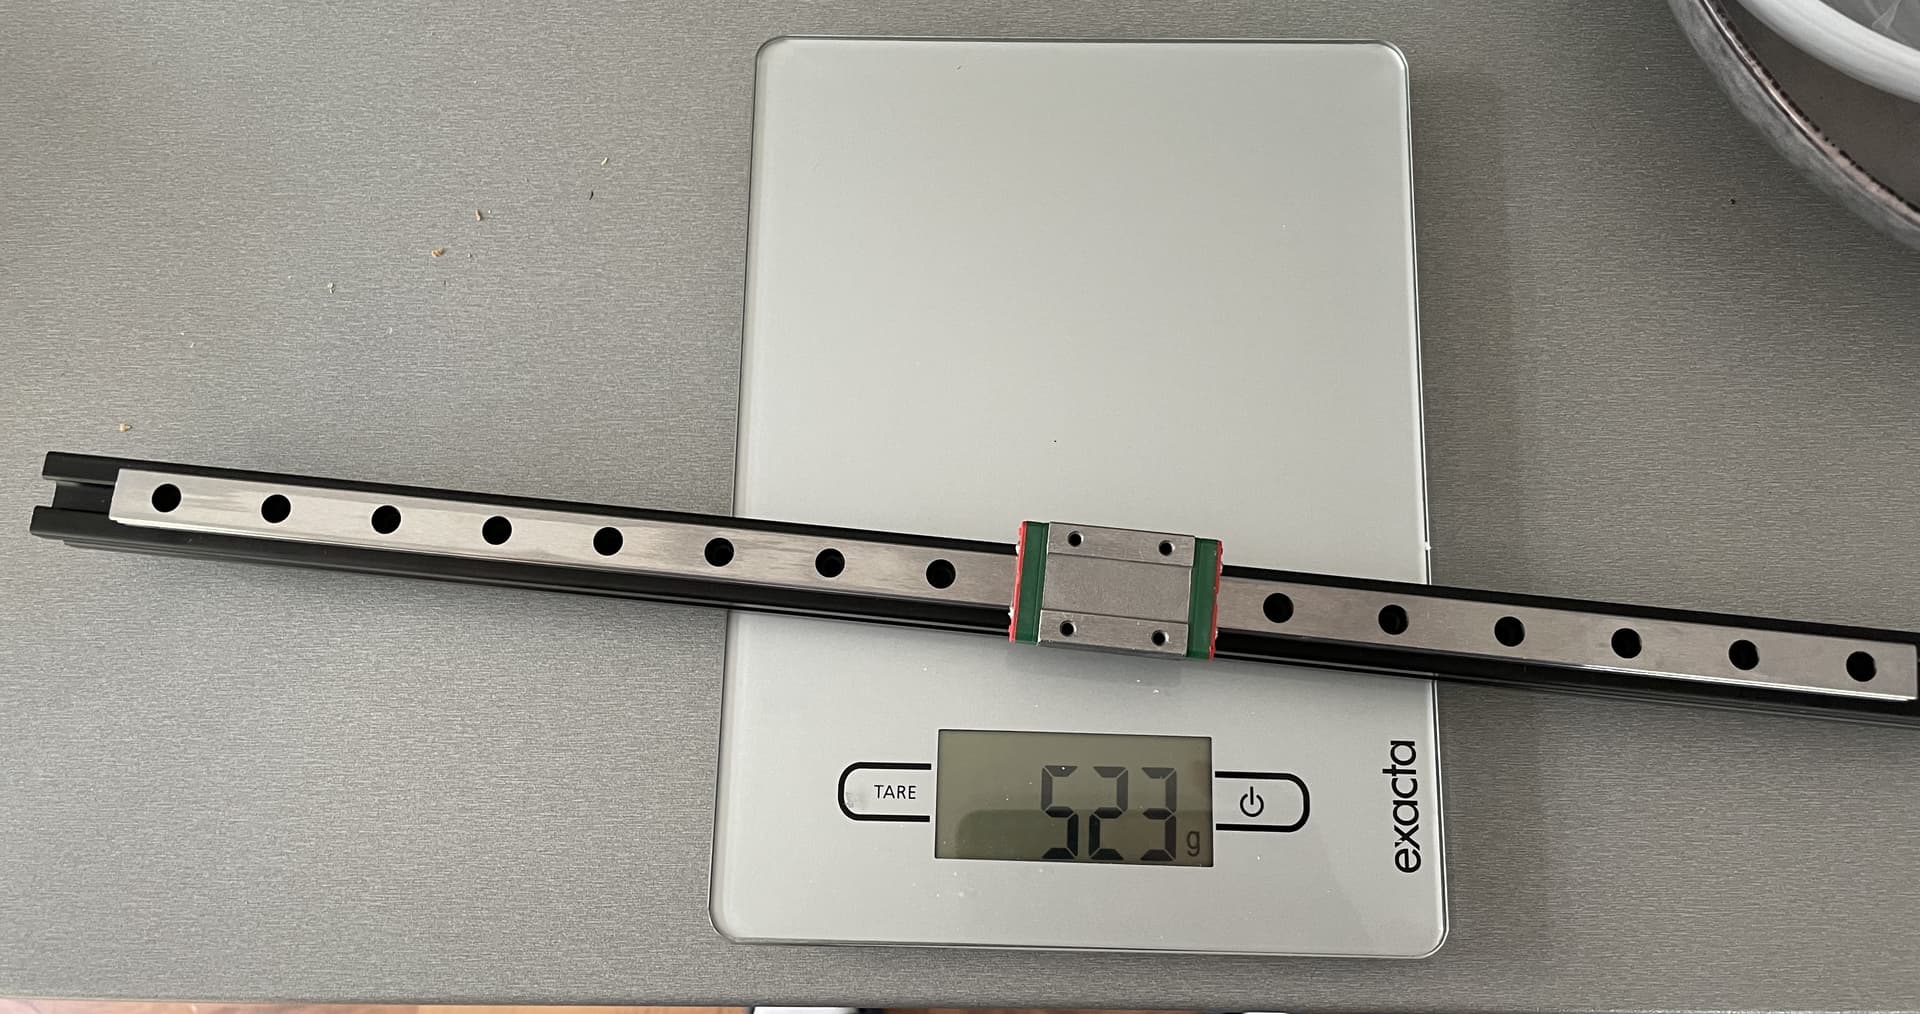
difference between Fysetc and my own sourced rails (on top), shame they don’t sell them anymore…
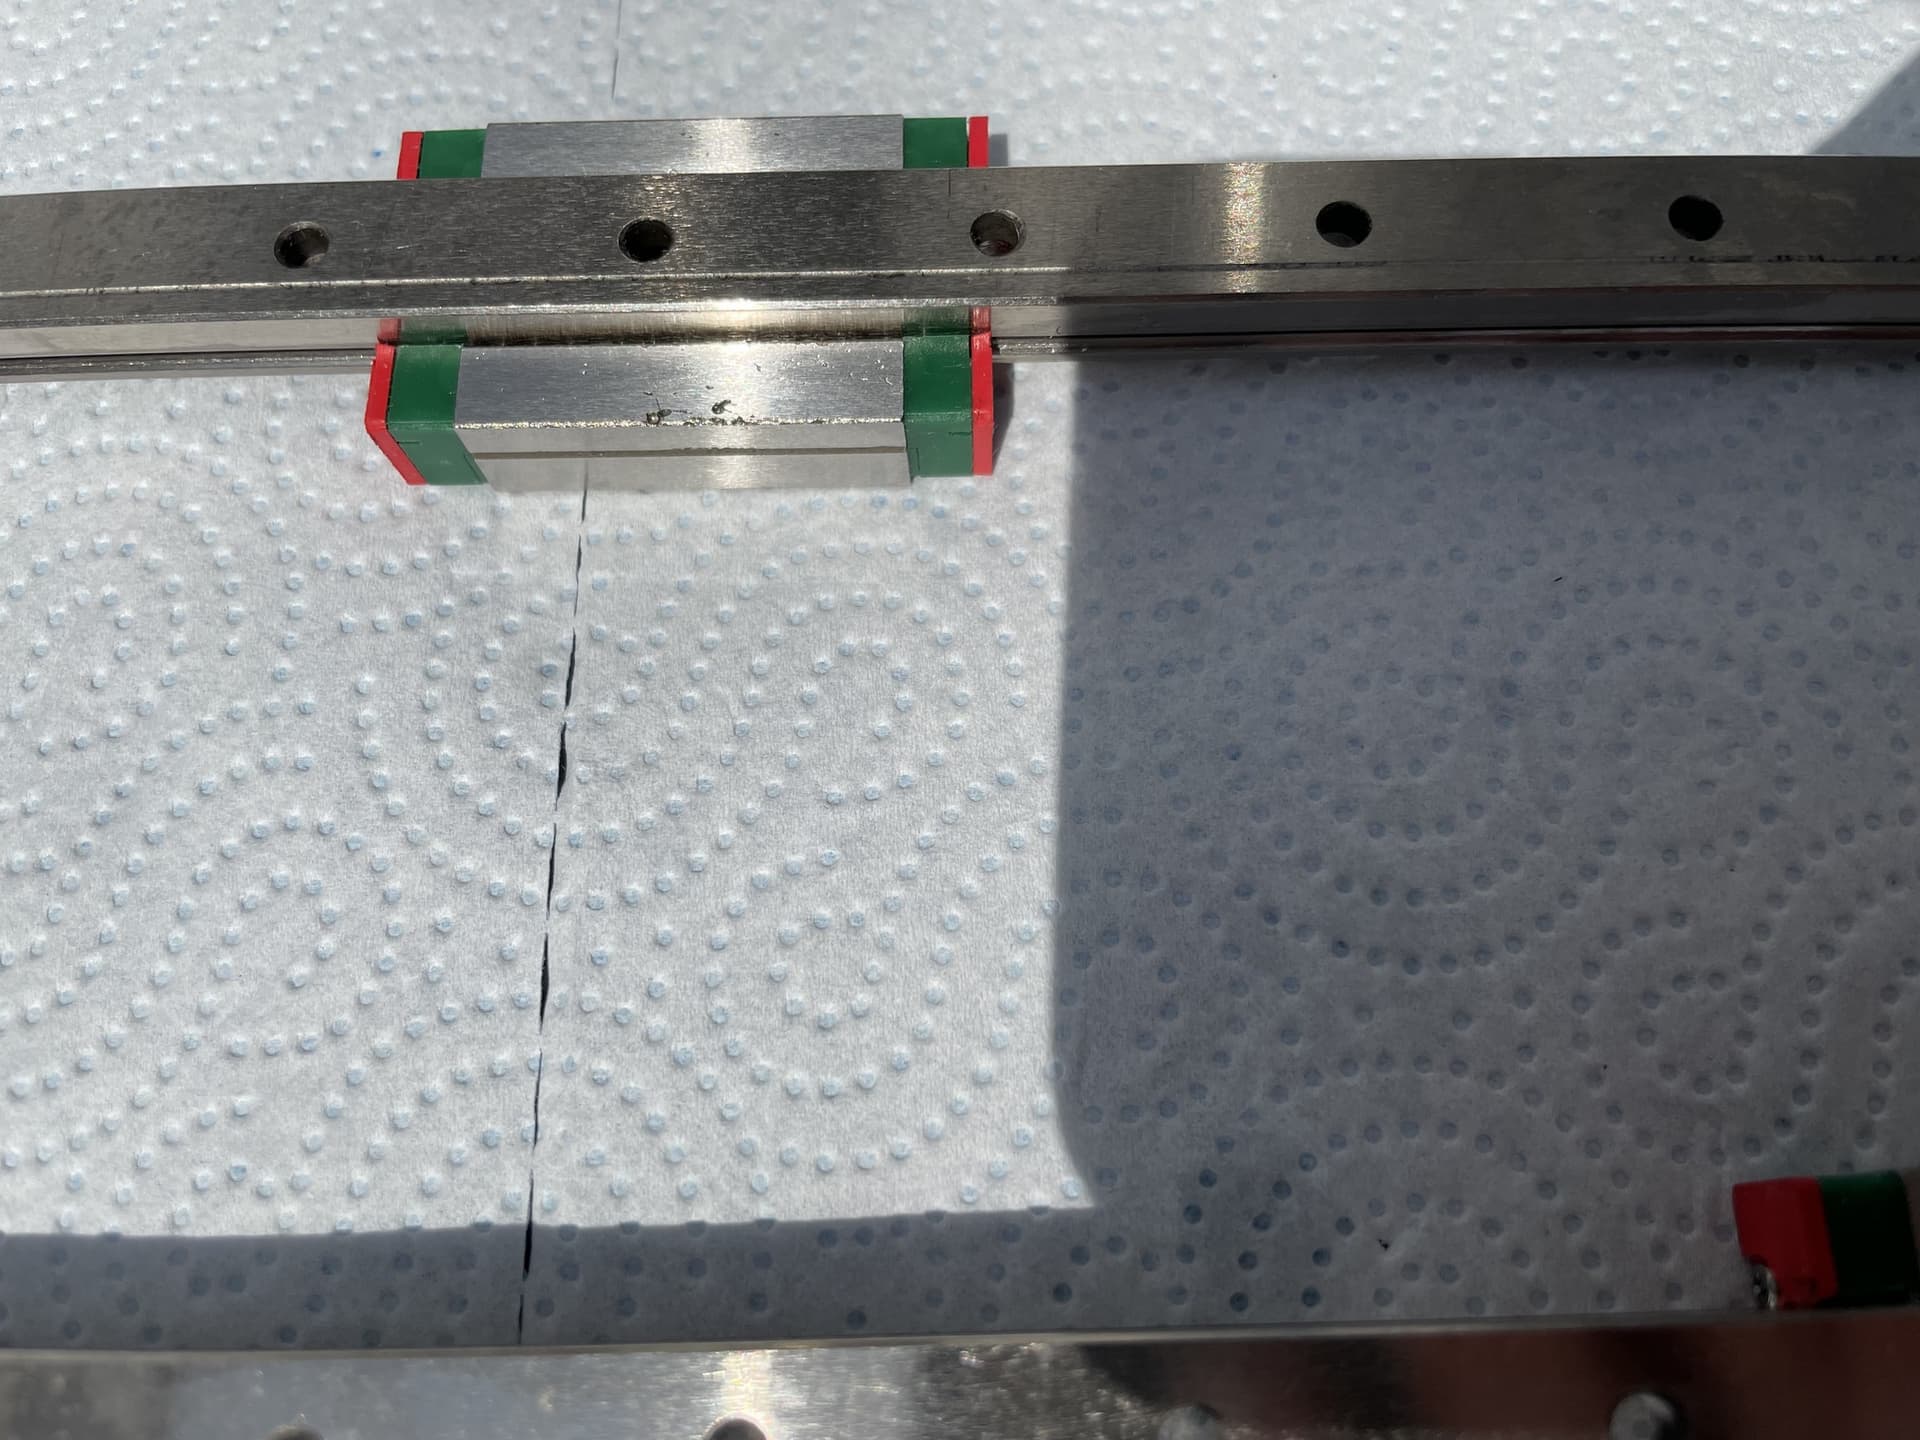
and before someone suggest, yup I did check and readjusted the rubber dust cover to make sure it’s not just misaligned, it seems like bad quality with excess of material during moulding or something, rails looks ok except the one bent so I’m gonna order just sliders to save some money…
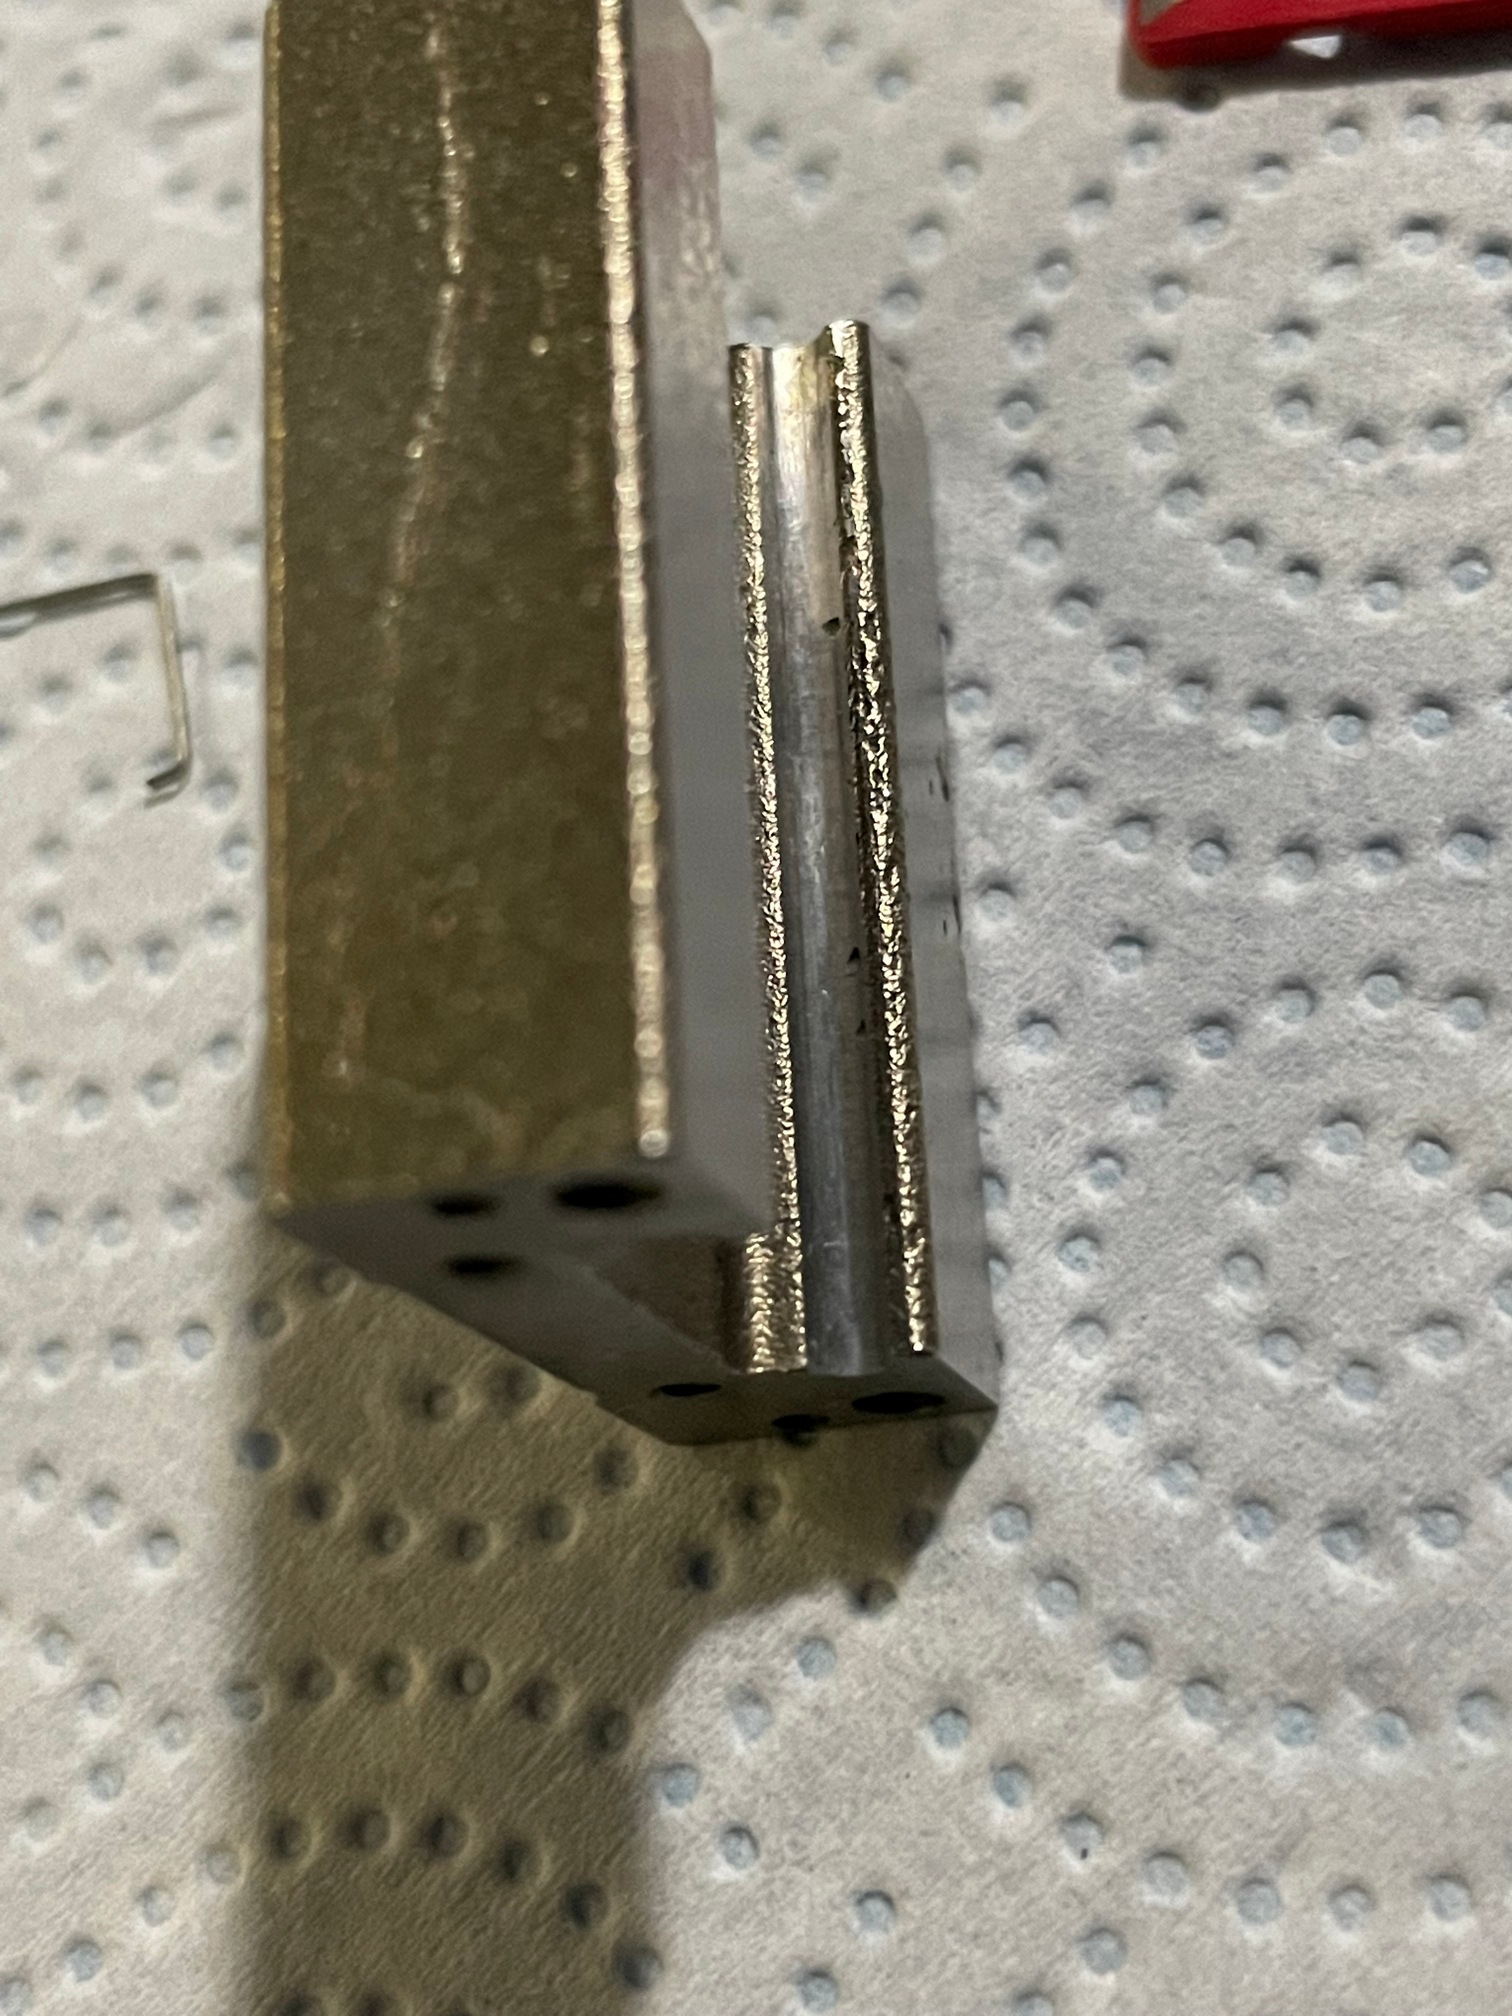
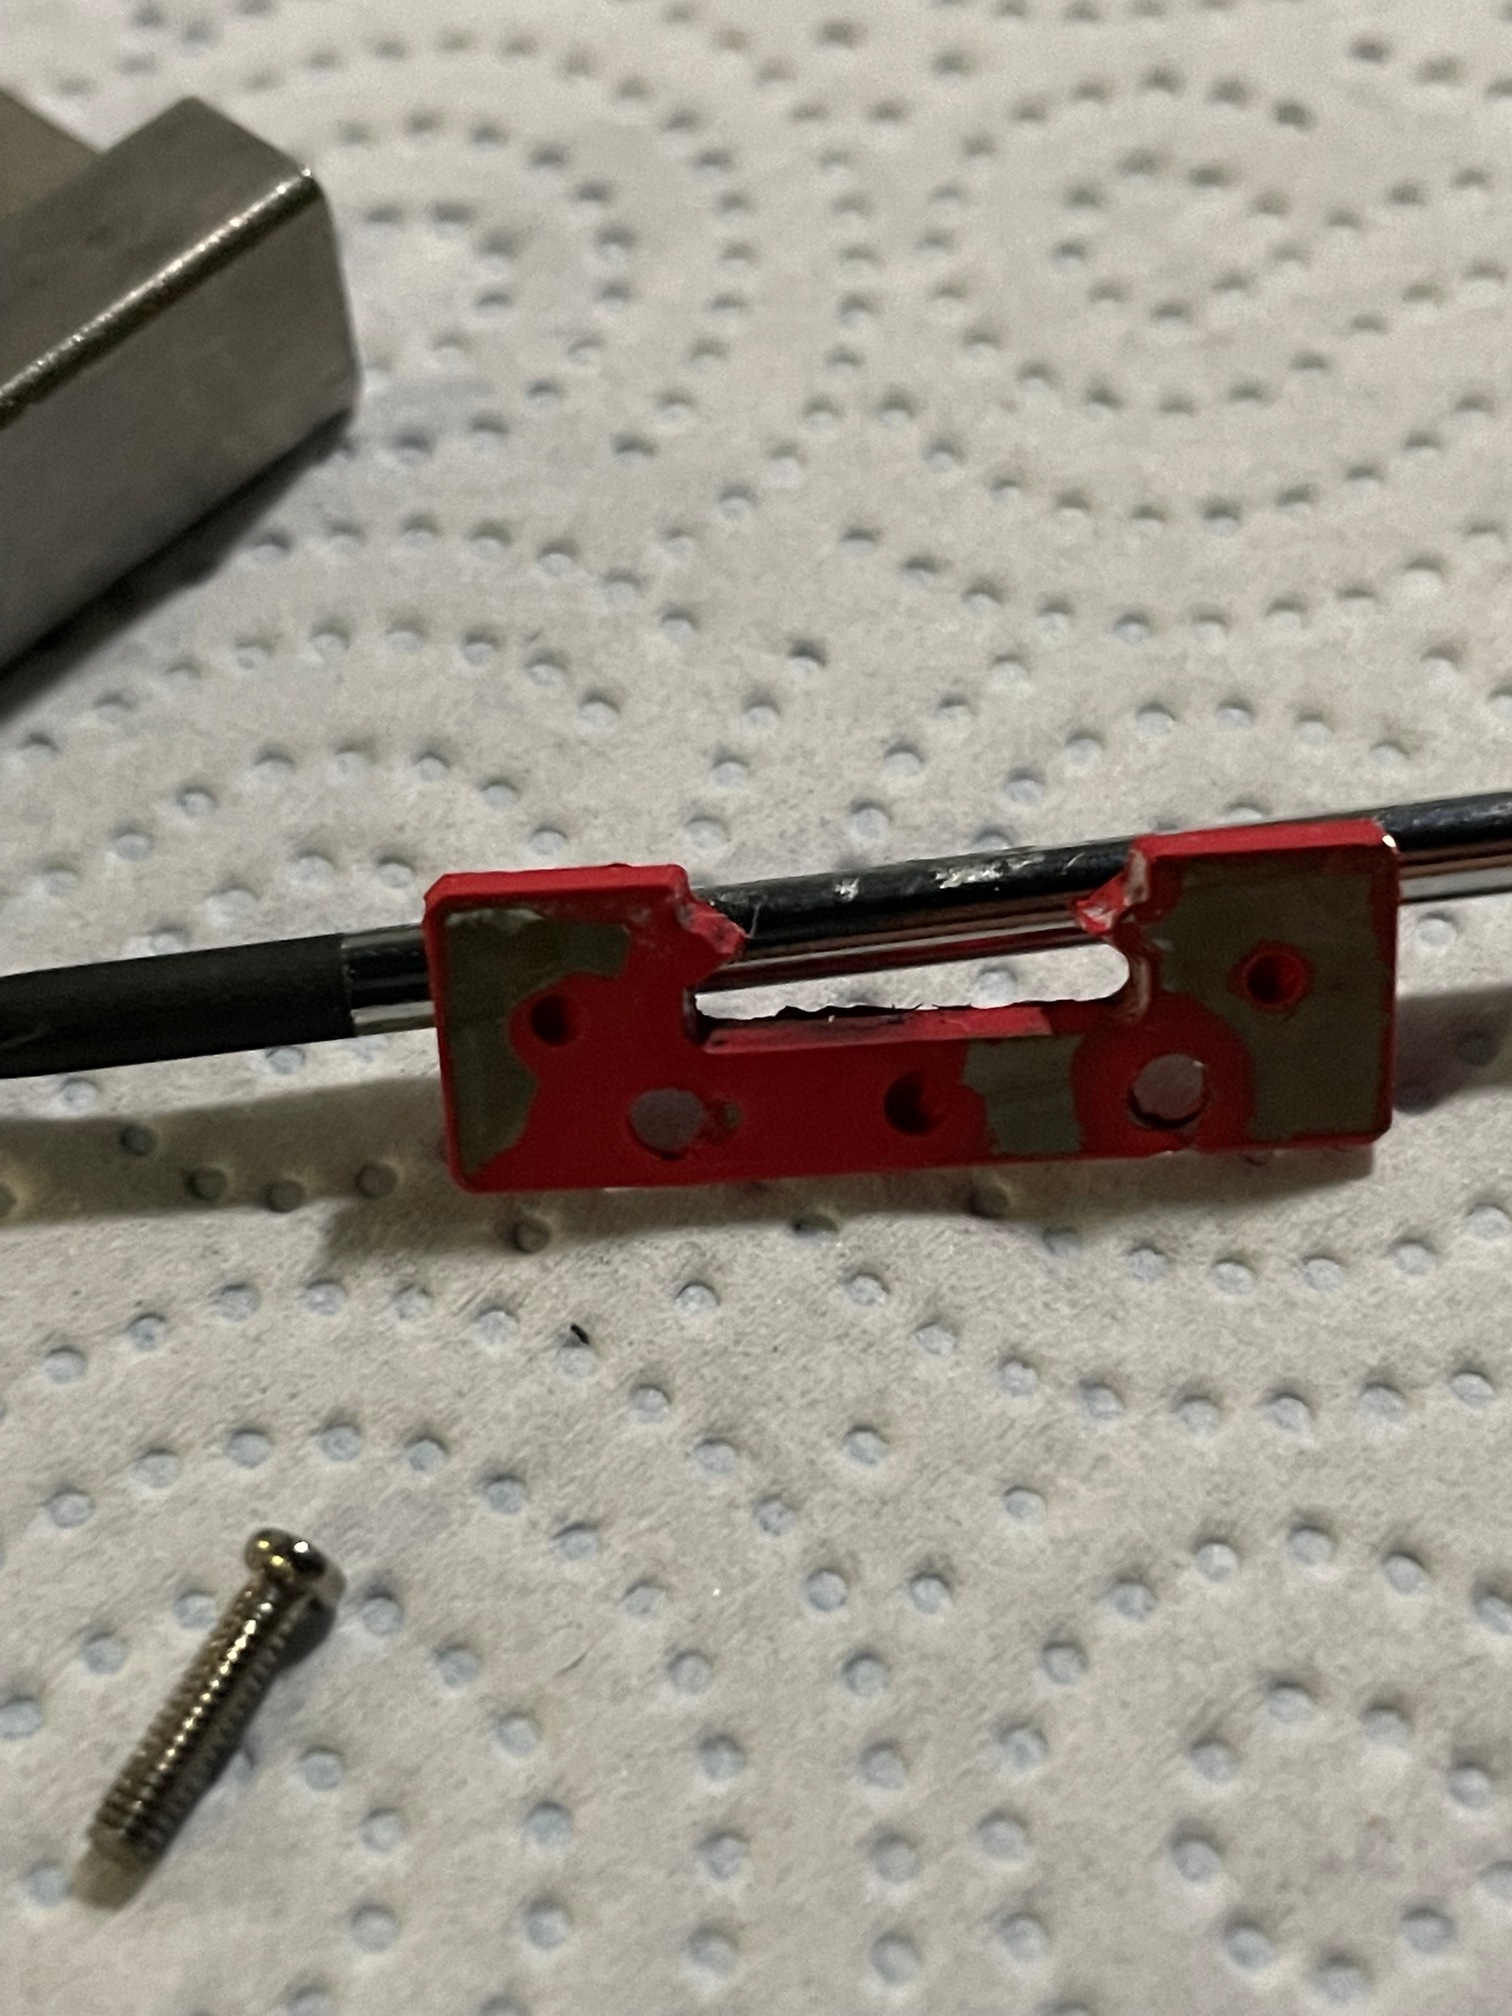
at the end took all the carriers (sliders) apart, cleaned them in IPA, regrease them with lithium grease, did cut off excess of that rubber dust covers and been able to safe 4 out of 5 (one with heavy dents in it) which is positive result, below some pictures how did it looked after cleaning, those black spots in the groove are dents and excess of the rubber preventing free slide
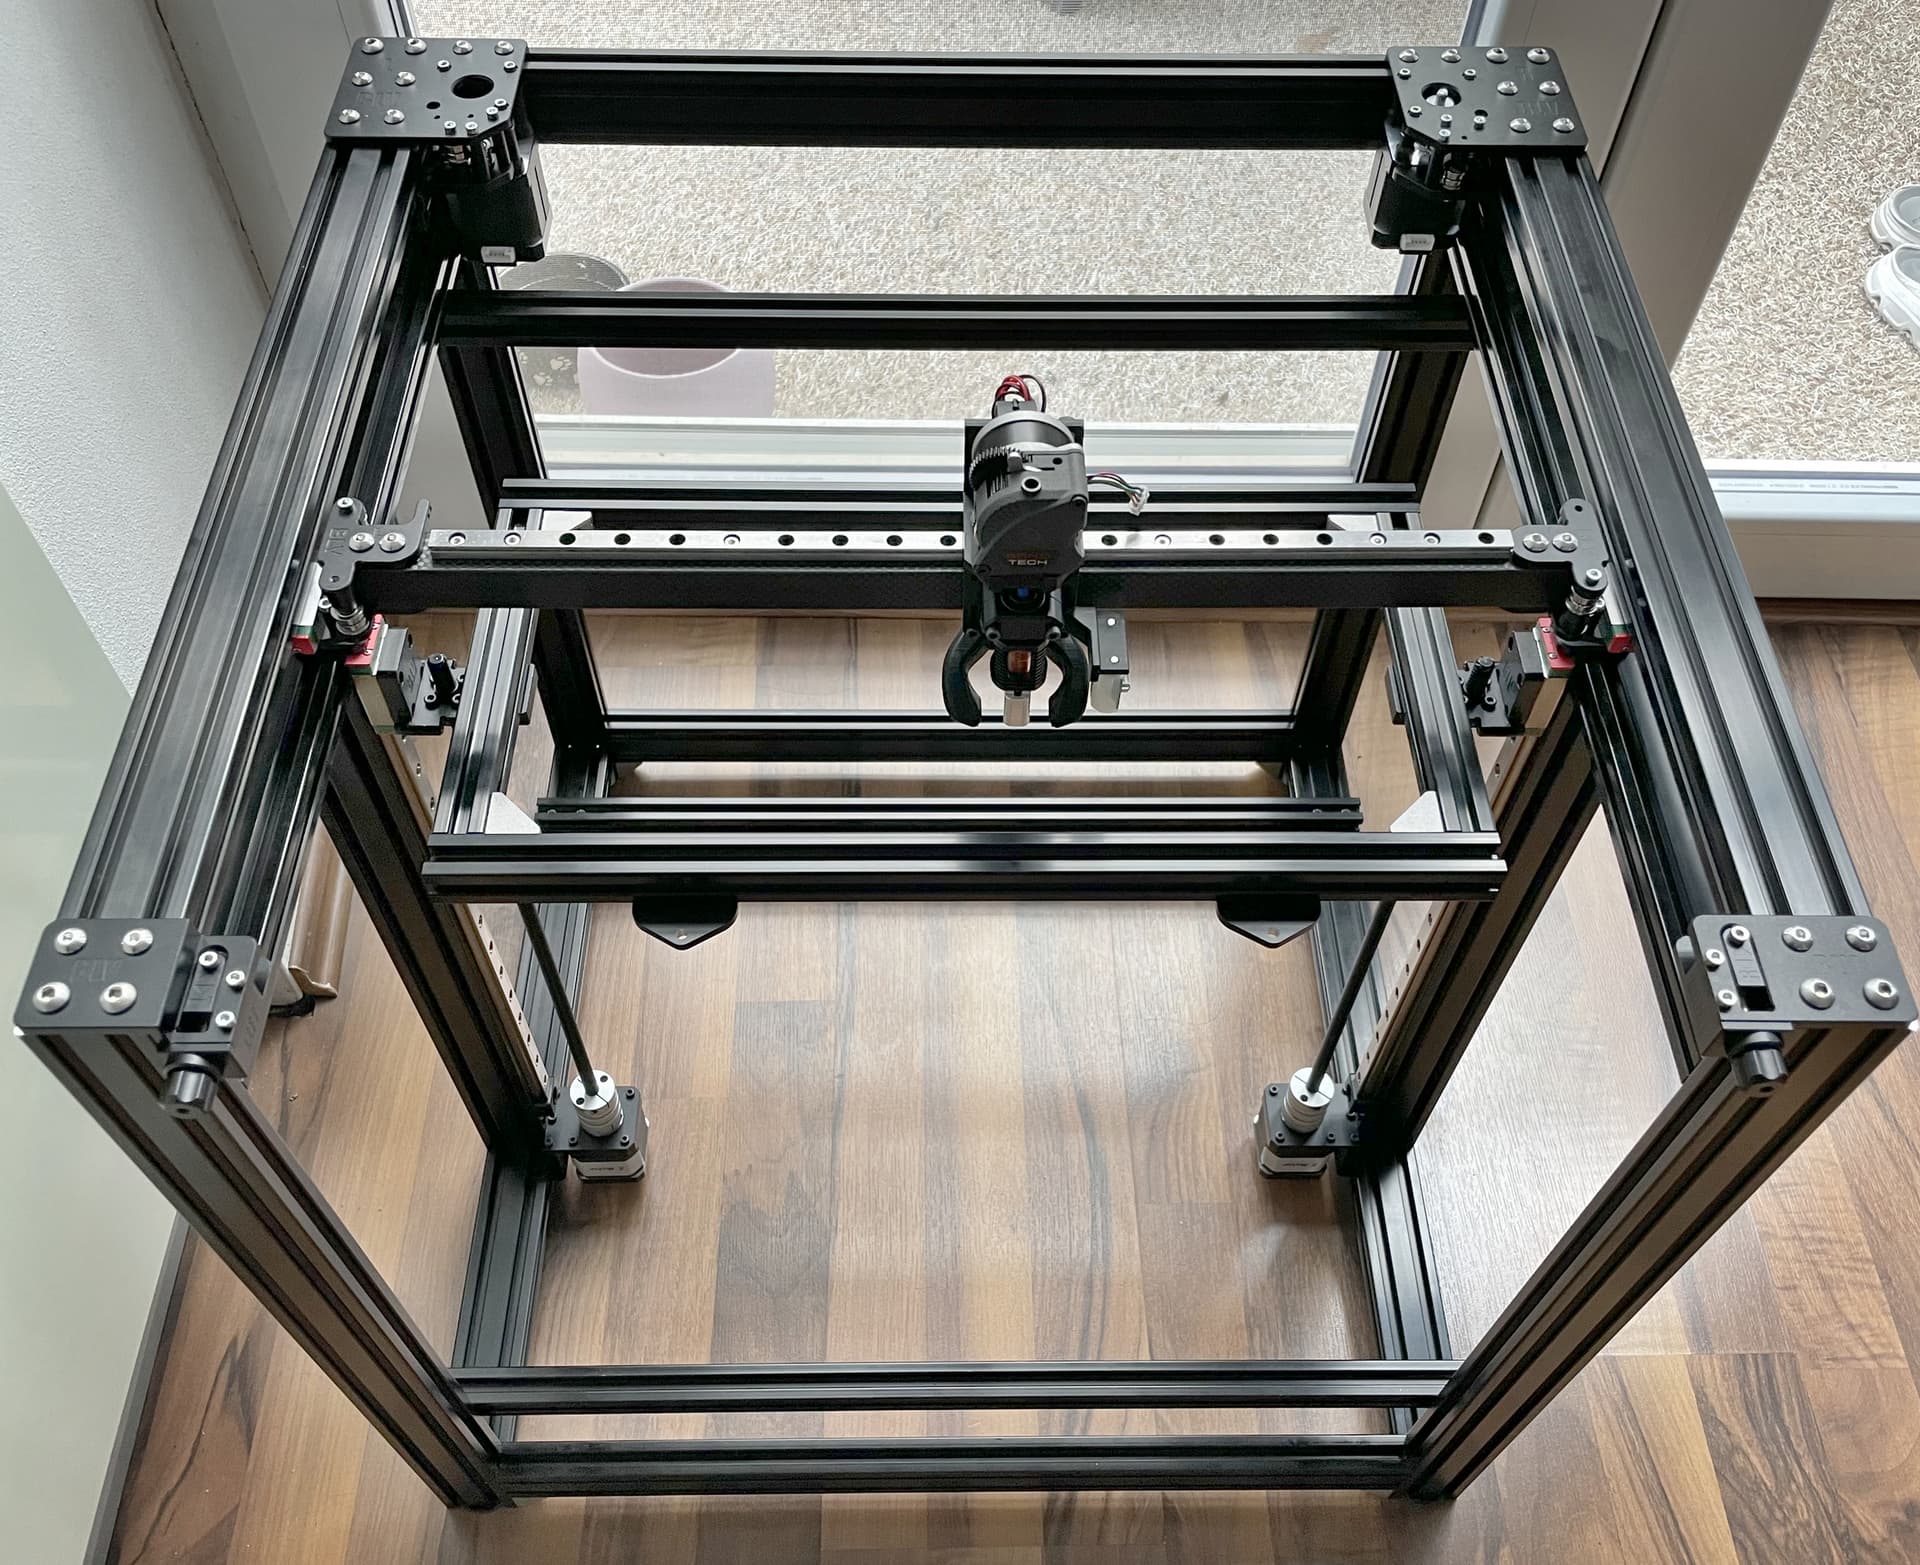
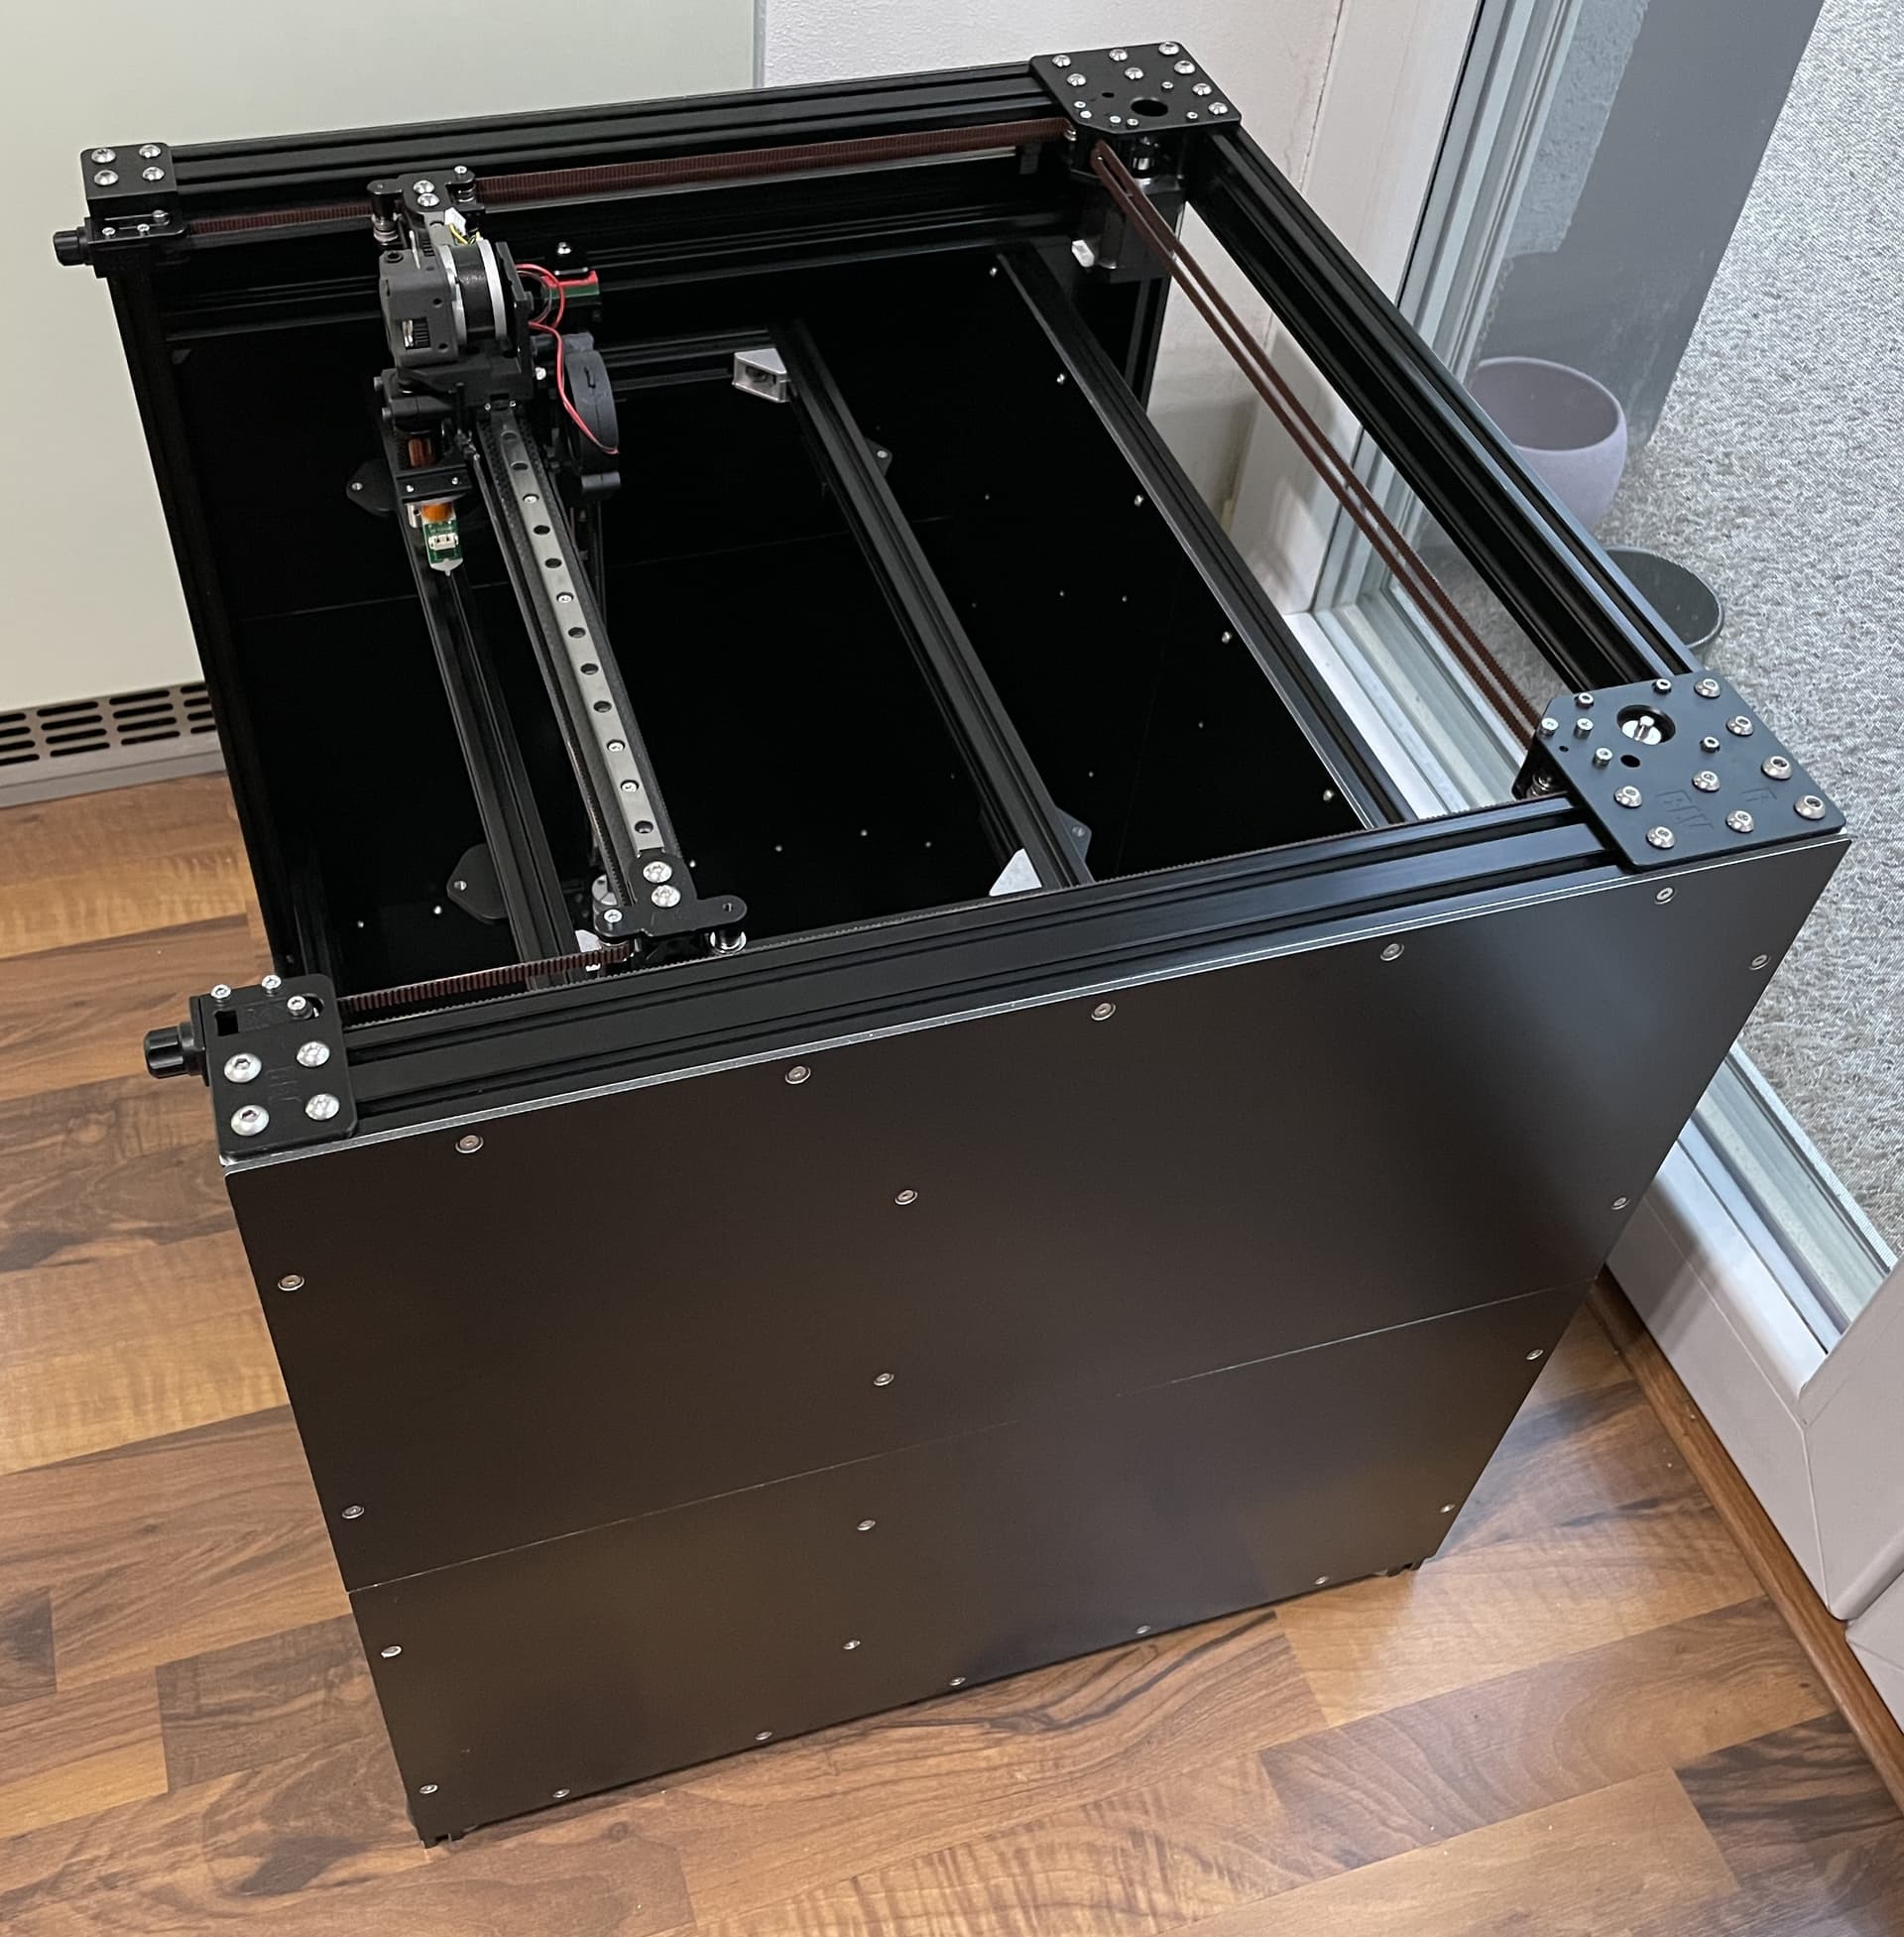
final assembly after weekend, not much done as I spent most of the time trying to fix those linear rails, also sent a note to Fysetc about my findings with their rails, lets see how they respond
Fysetc sending new linear rail so good sign of customer service one would expect but in the meantime I changed my mind…
Some time ago I said to myself I won’t work with carbon fibre again and here we are
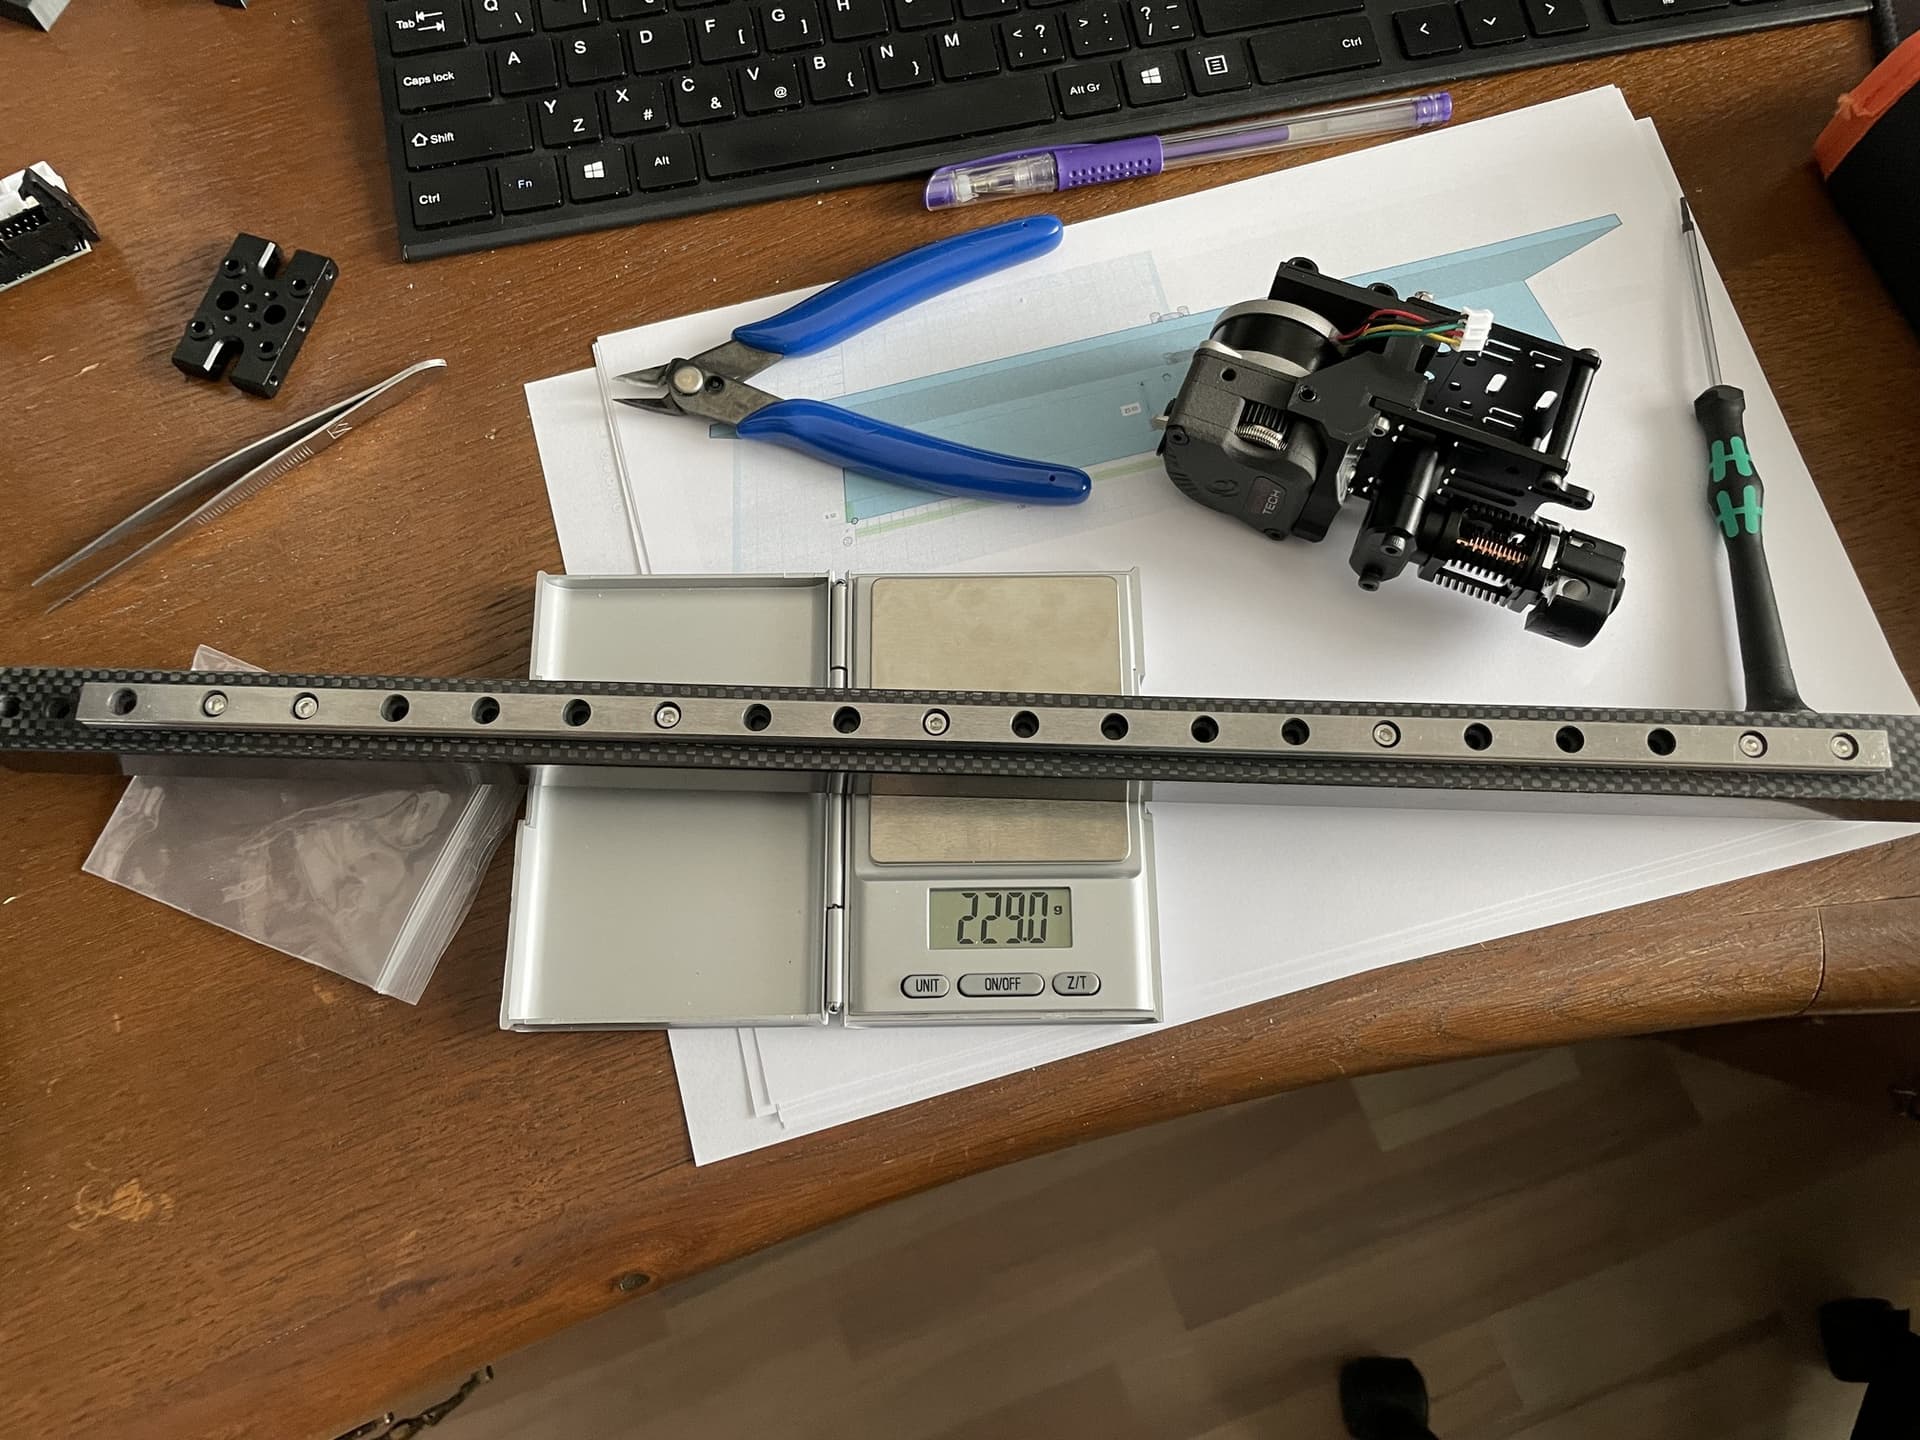
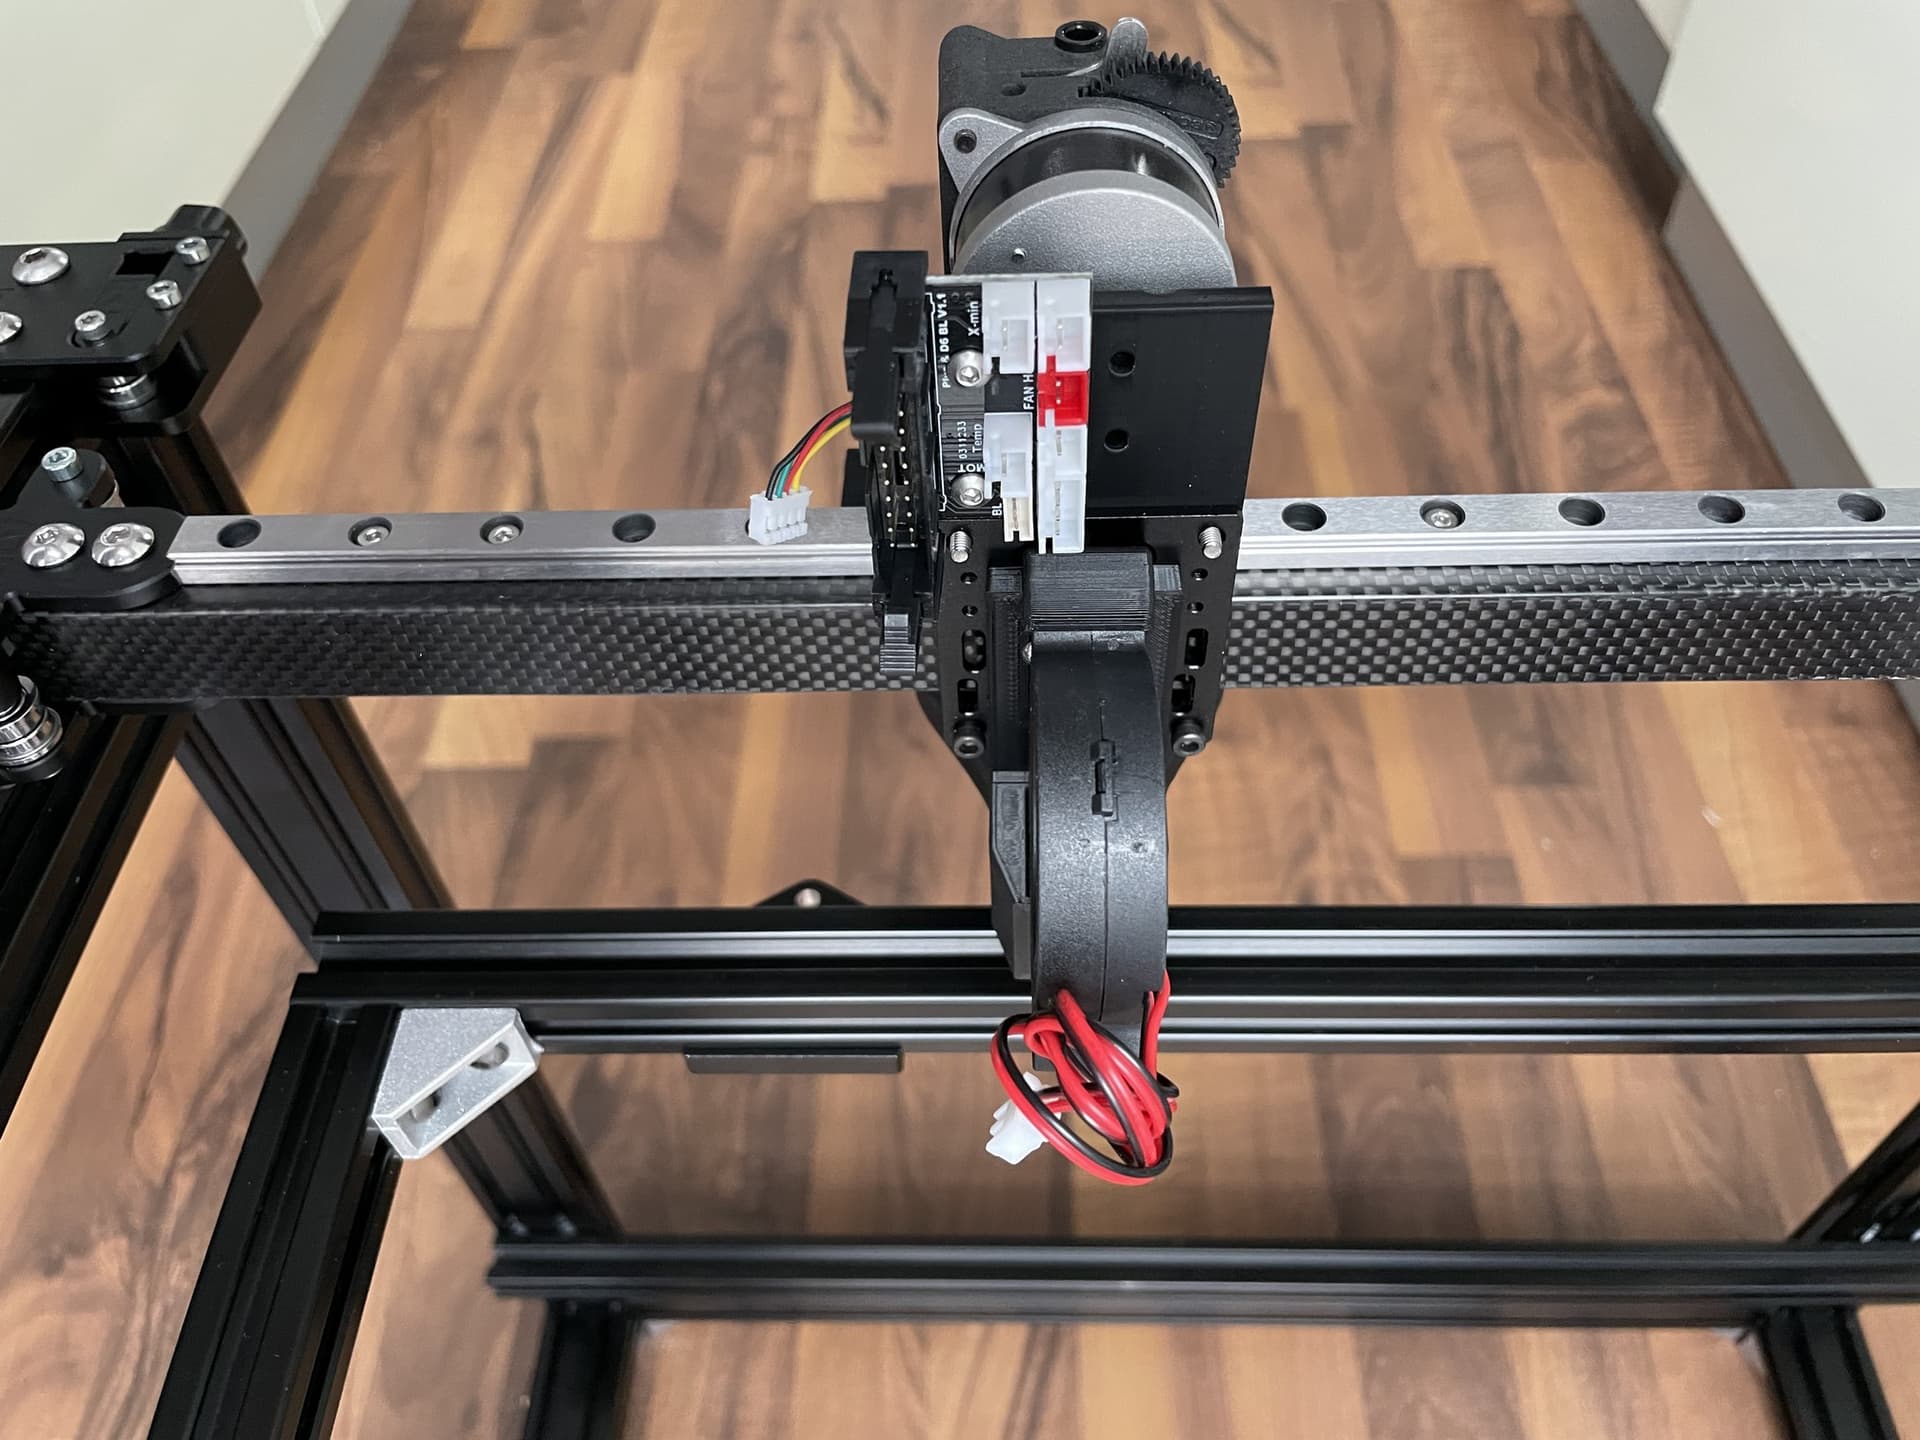
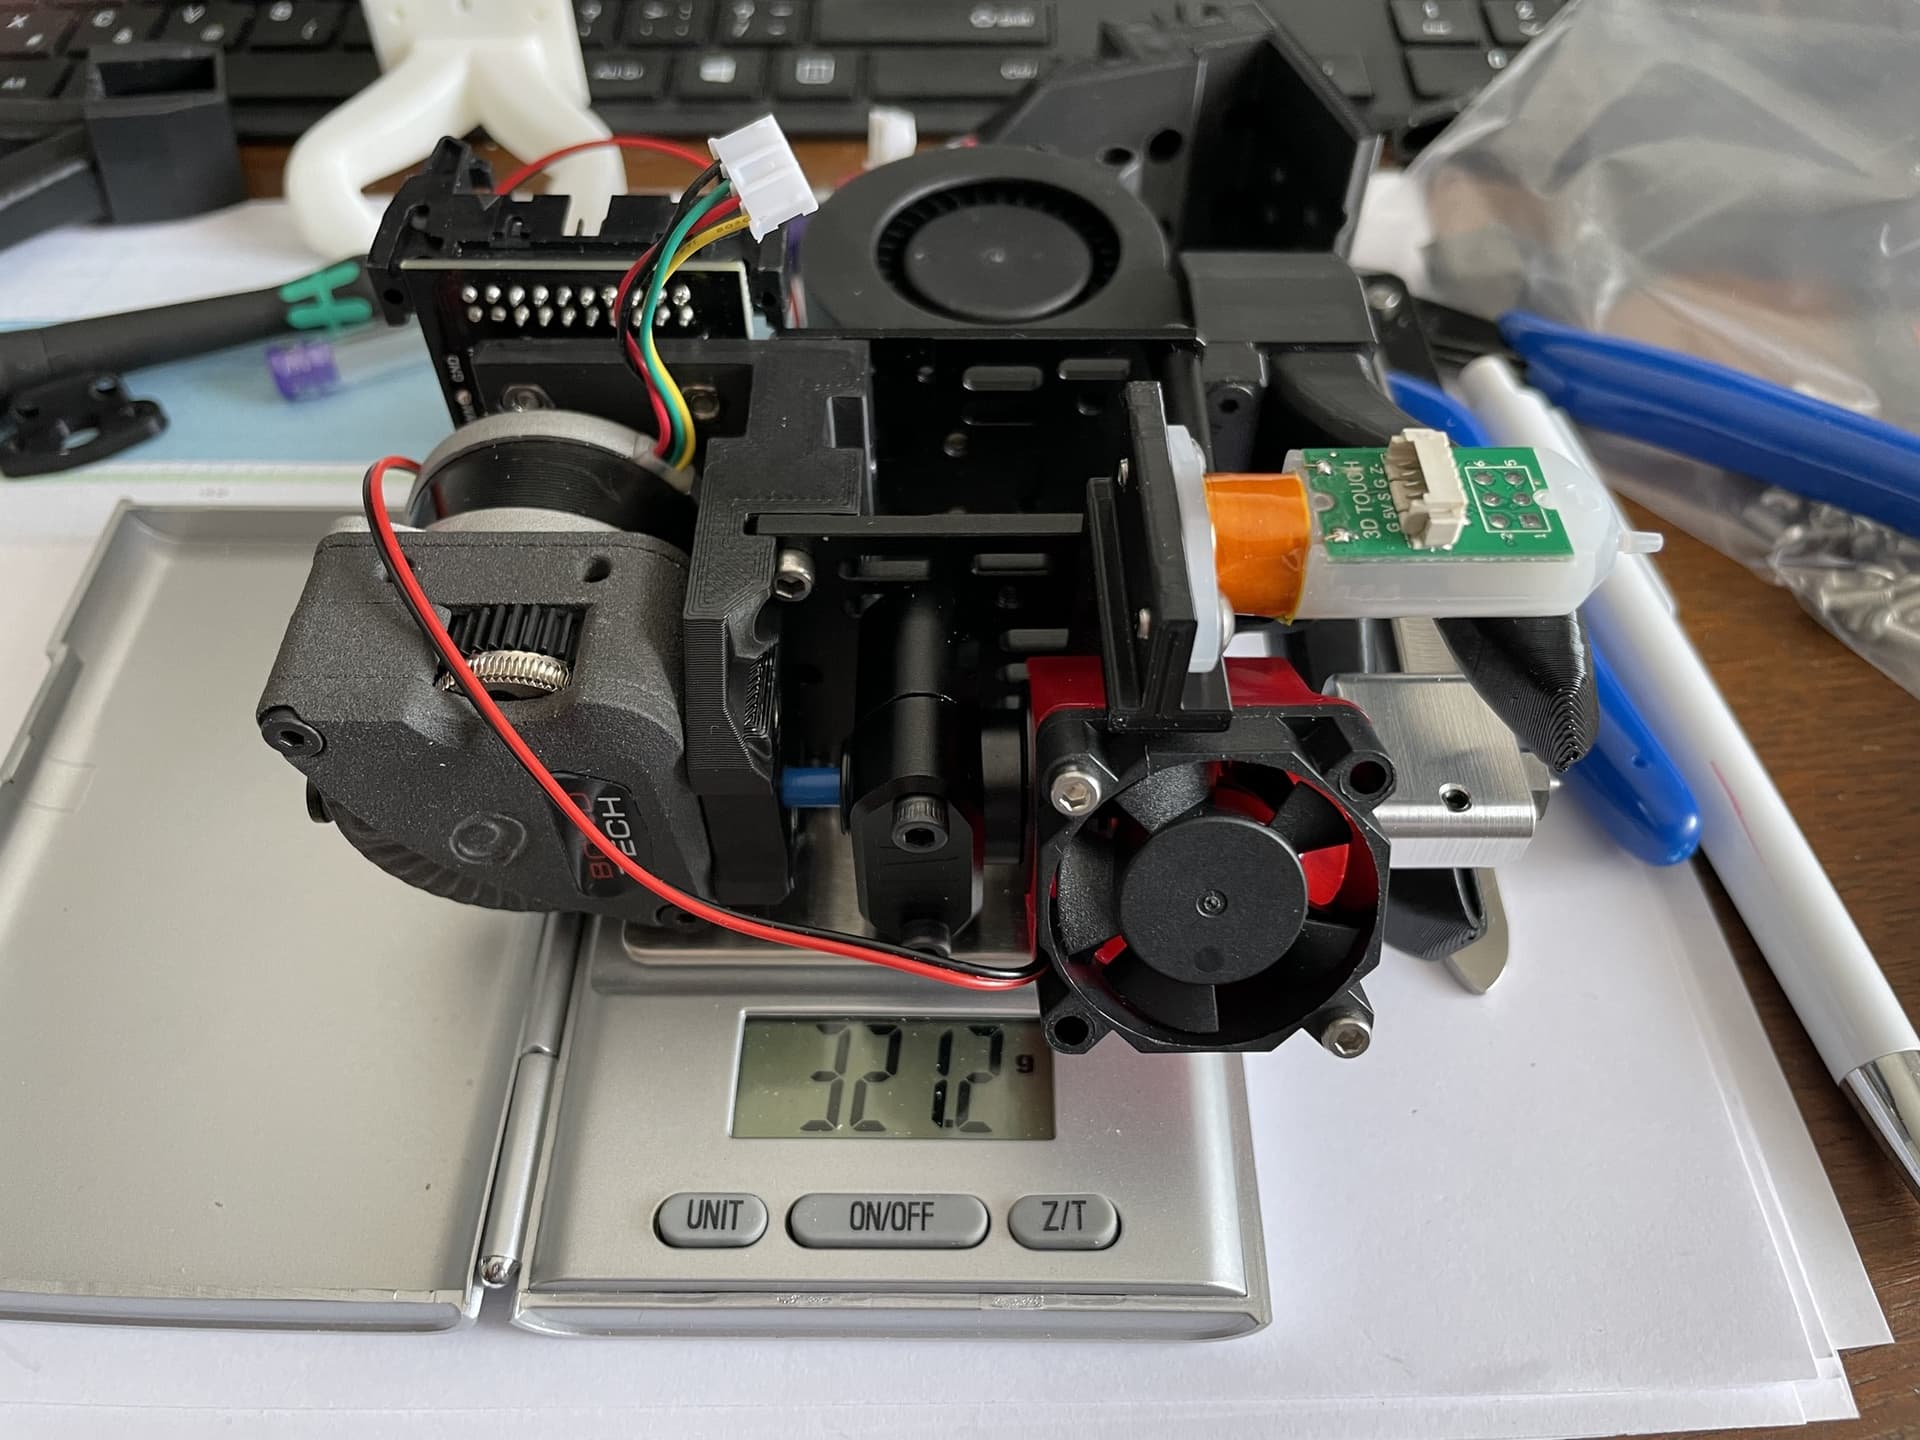
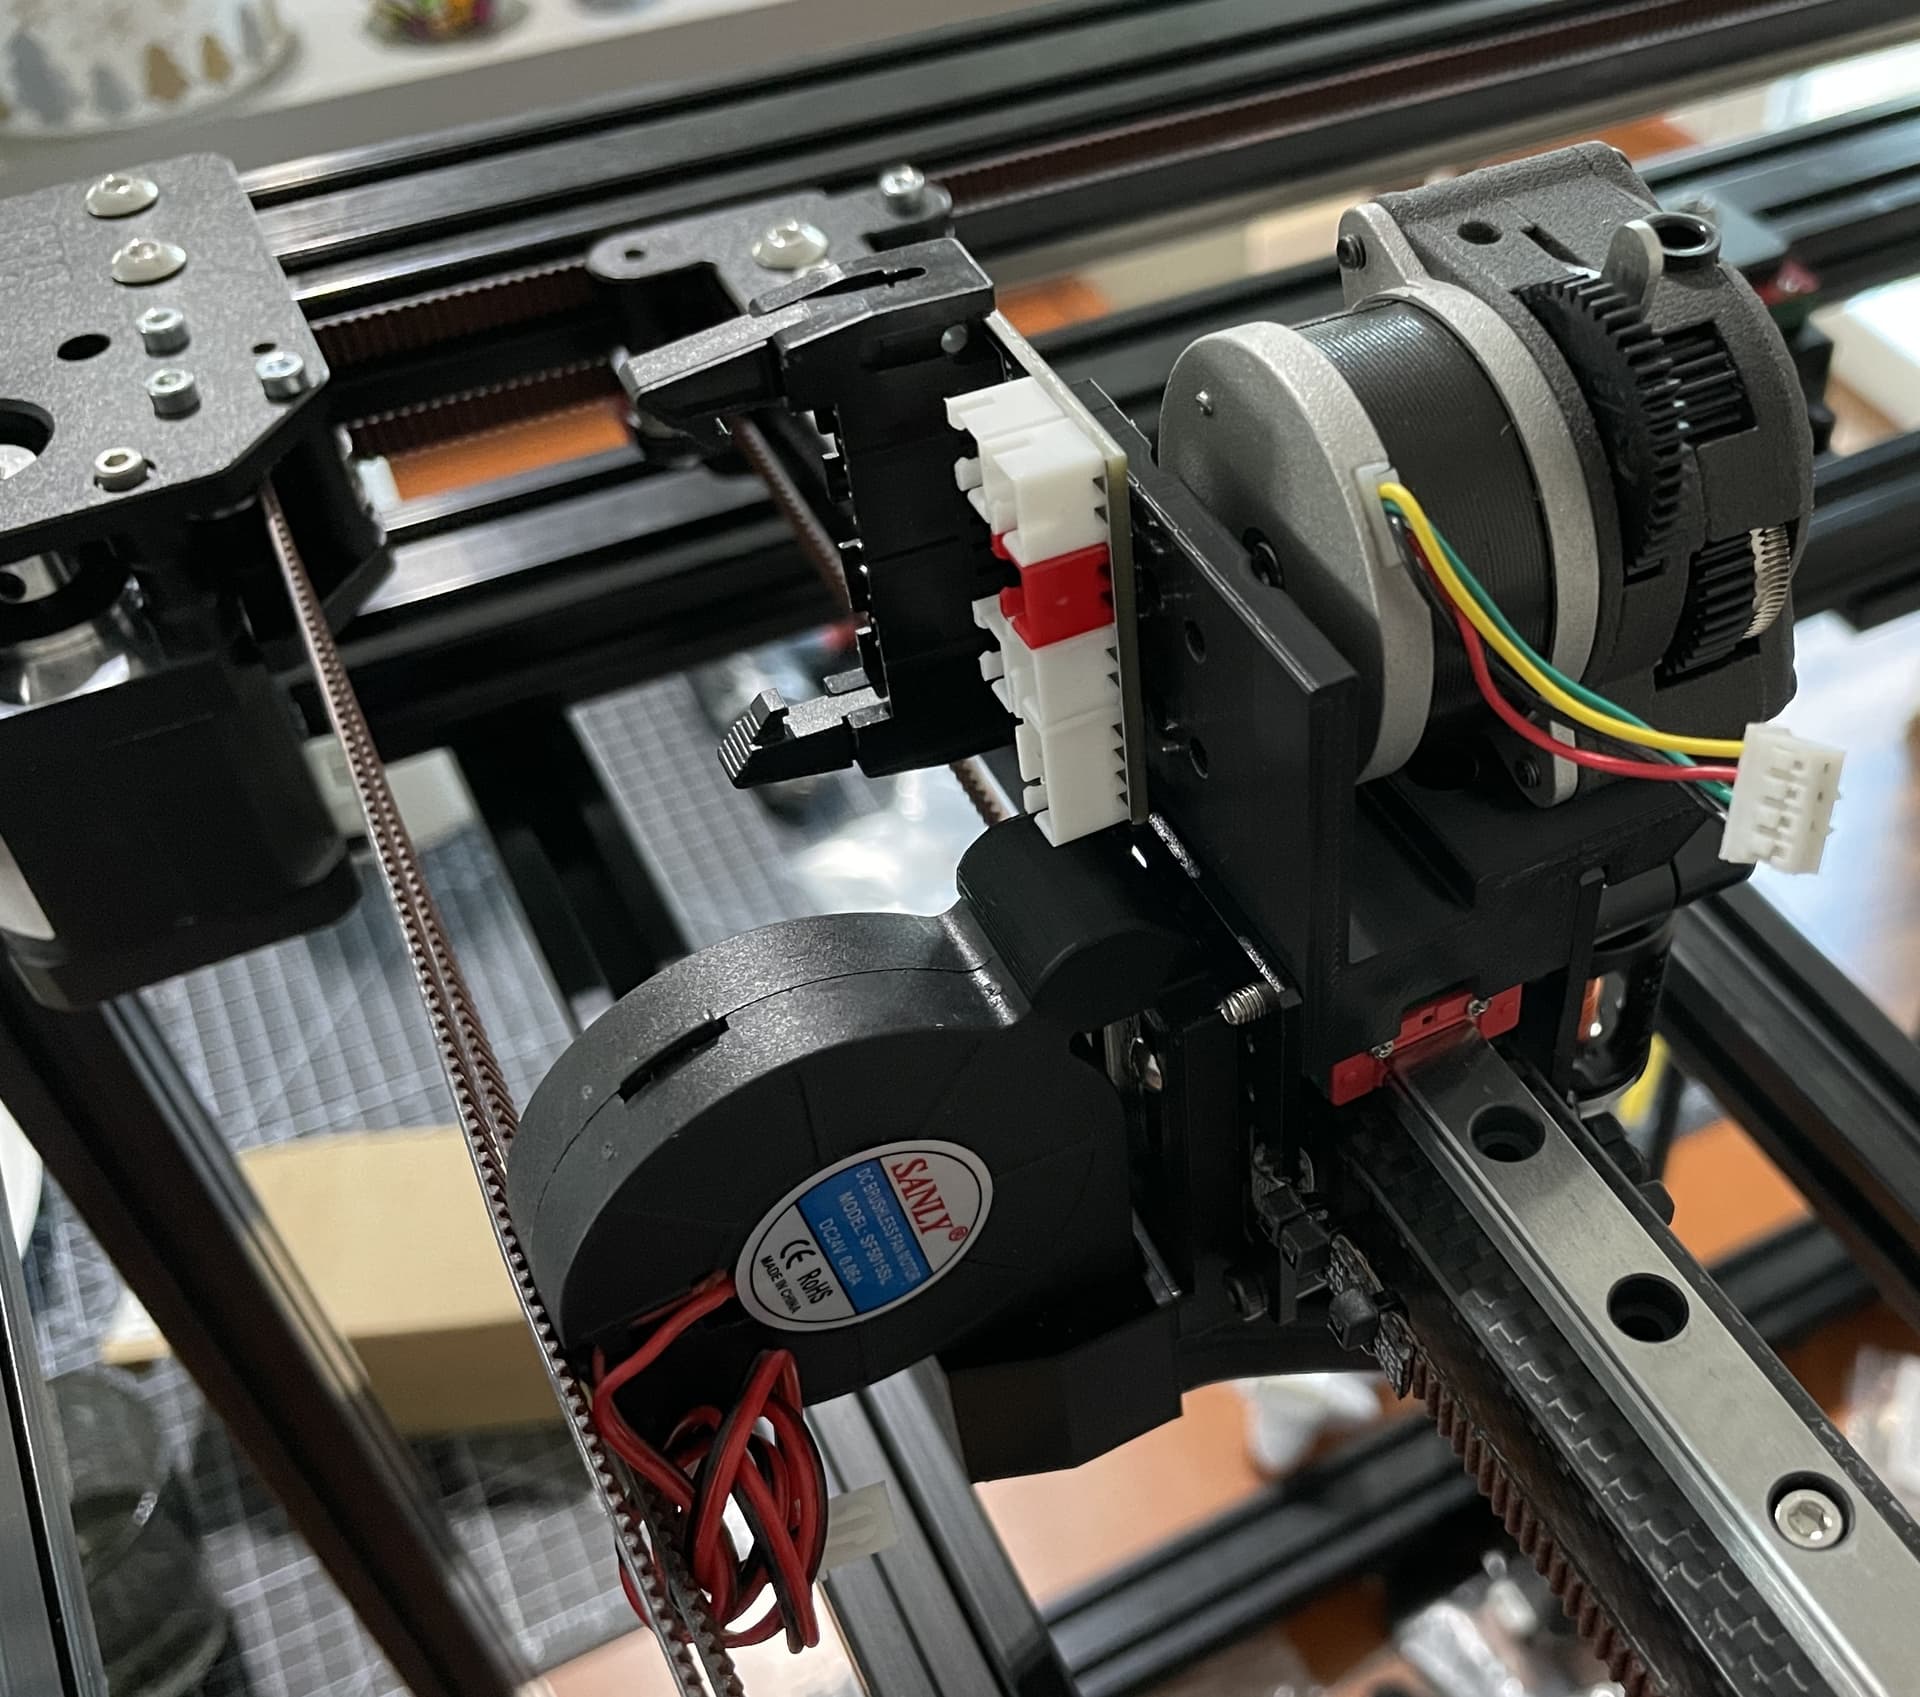
I think the weight saving was worth it…
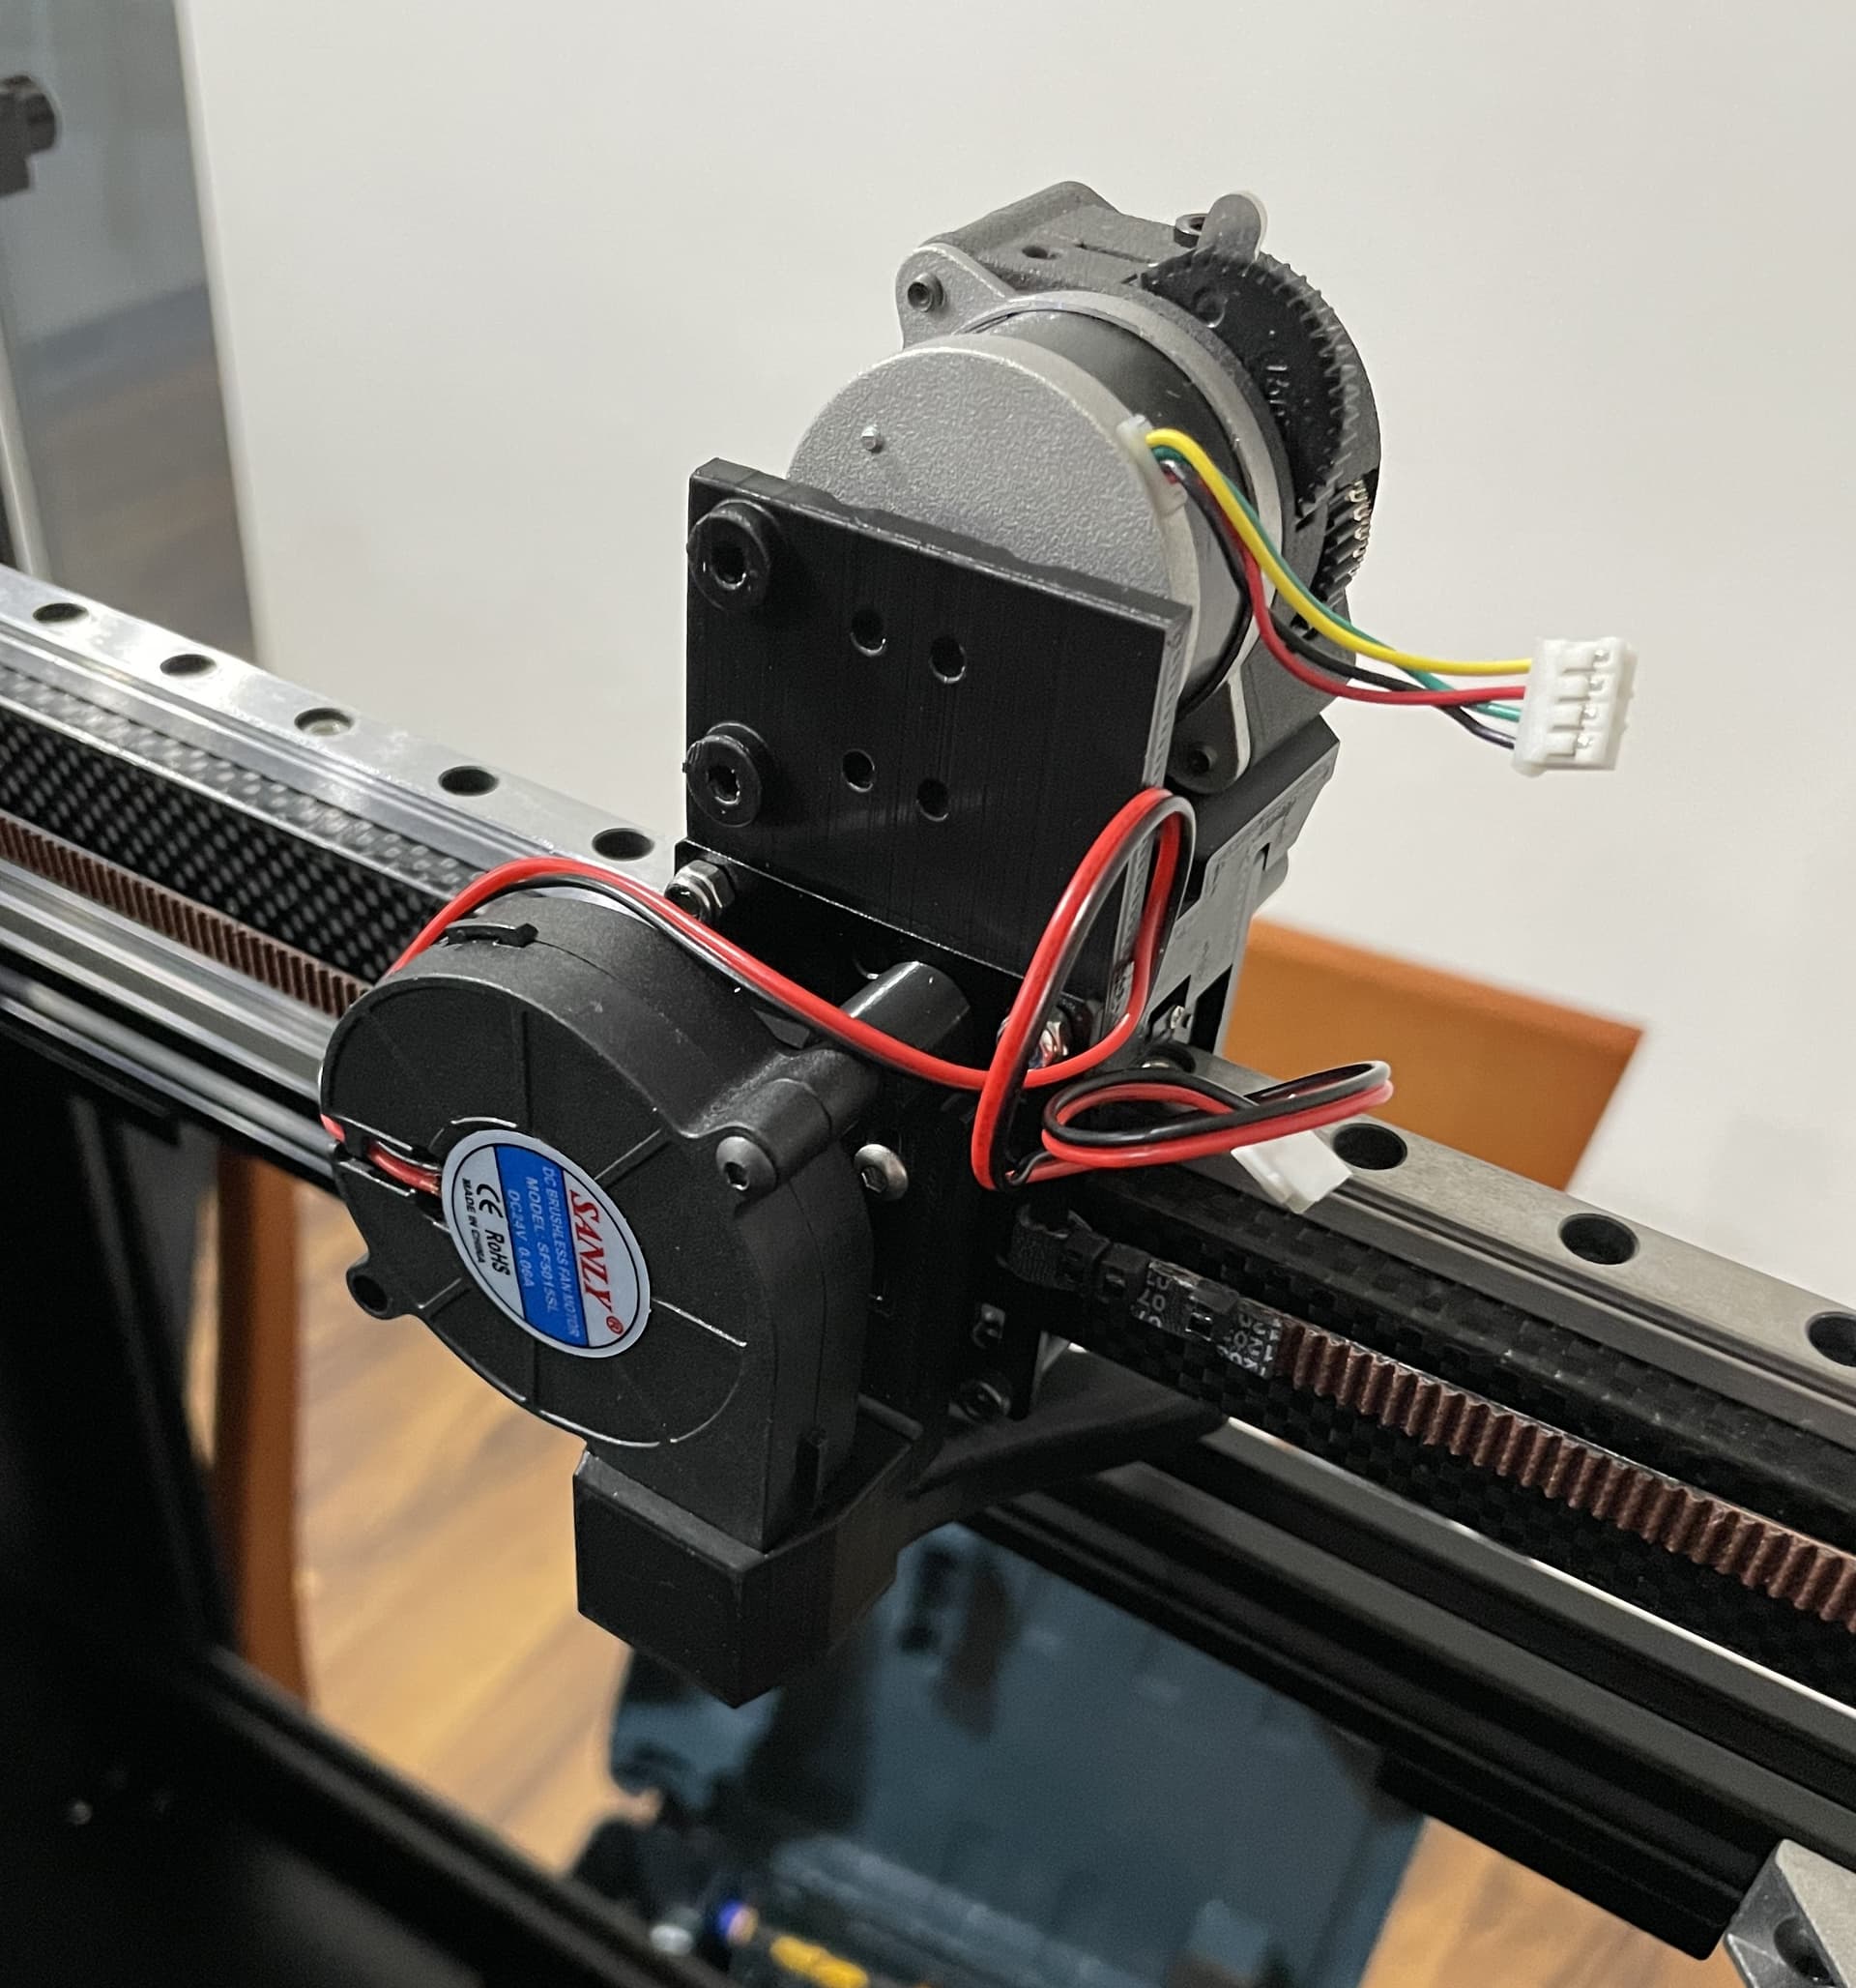
original carbon fibre gantry drilled with new holes to accomodate MGN9H instead of MGN12H
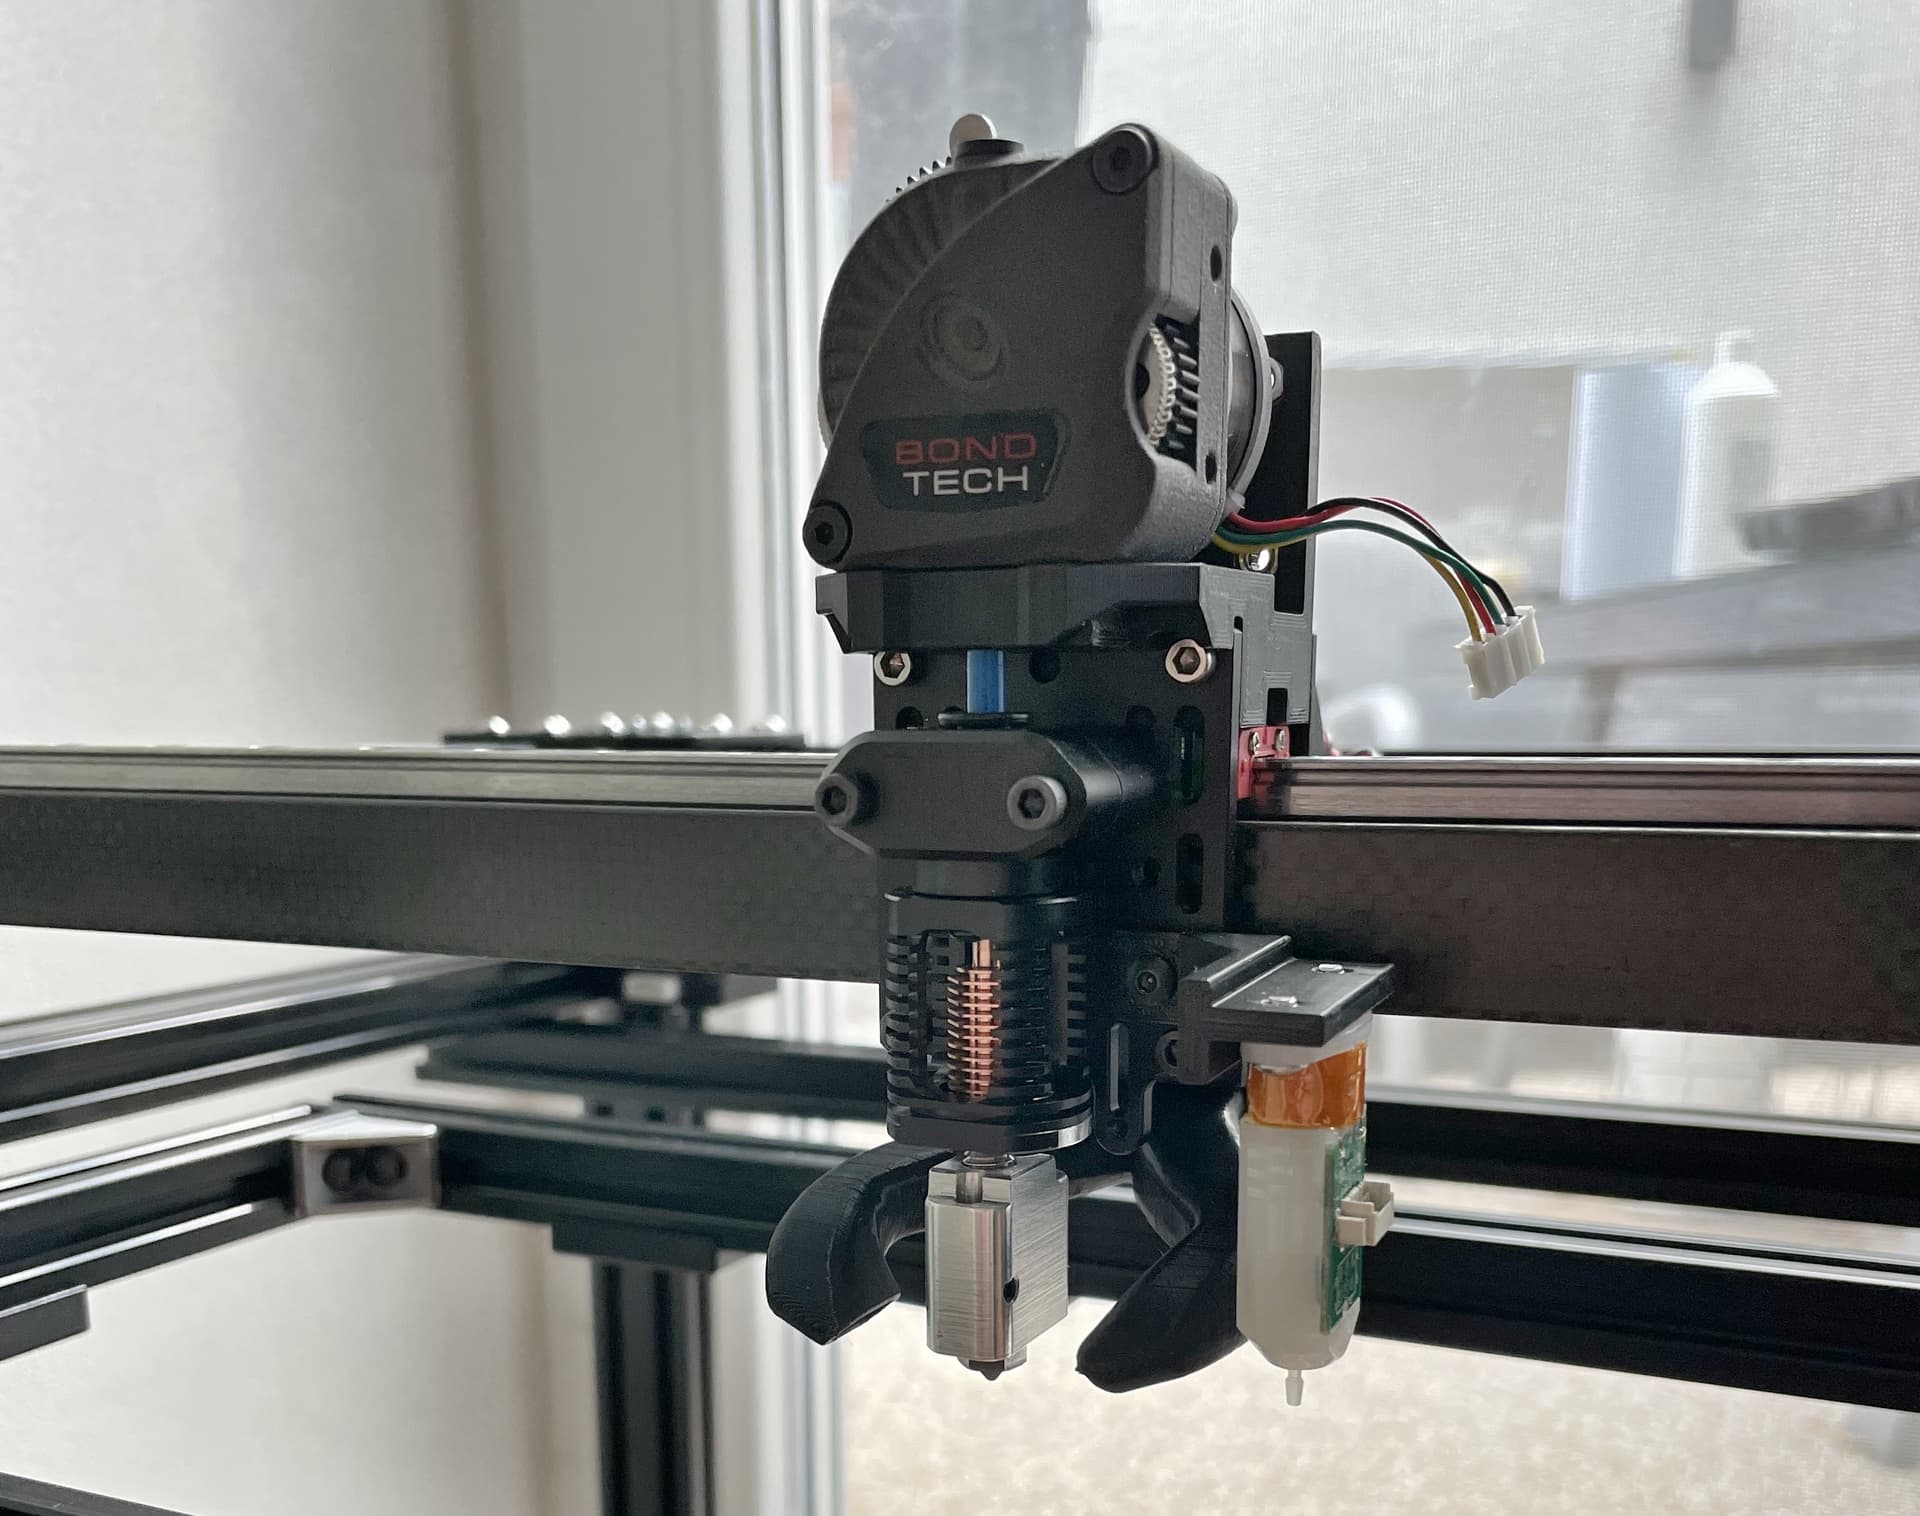
heating cartridge and temp sensor another ~15g but at the end I will use CHC unit so should be still below 350g, I thought I could manage it below 300g but not with metal mount and volcano setup
hotend has little flex (front/back) when I push it enough on the nozzle so either I’ll try to print stiffer version of the top plate or in worst case back to MGN12H with metal plate, but first will test it during printing and see how it impact printing accuracy


